Designed By Woodworkers For Woodworkers
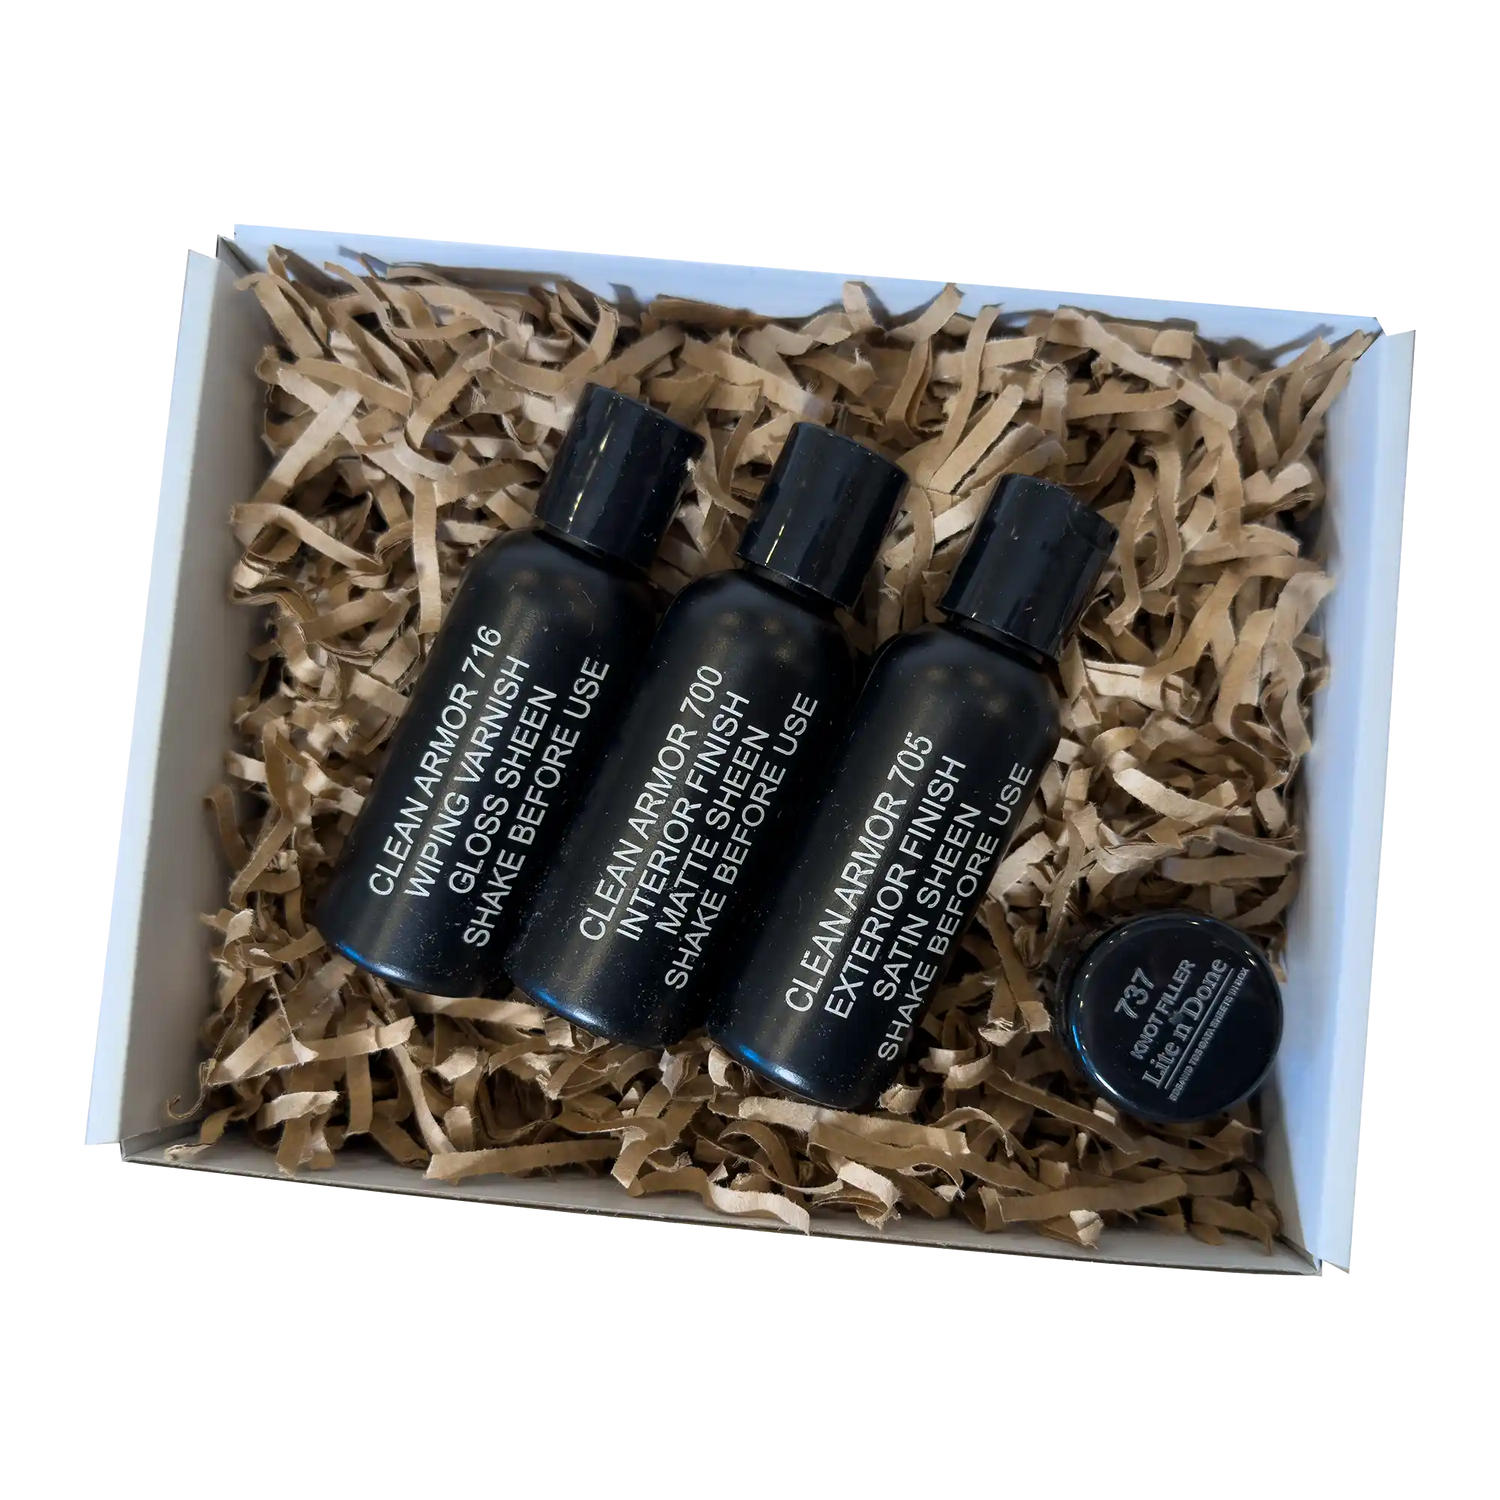
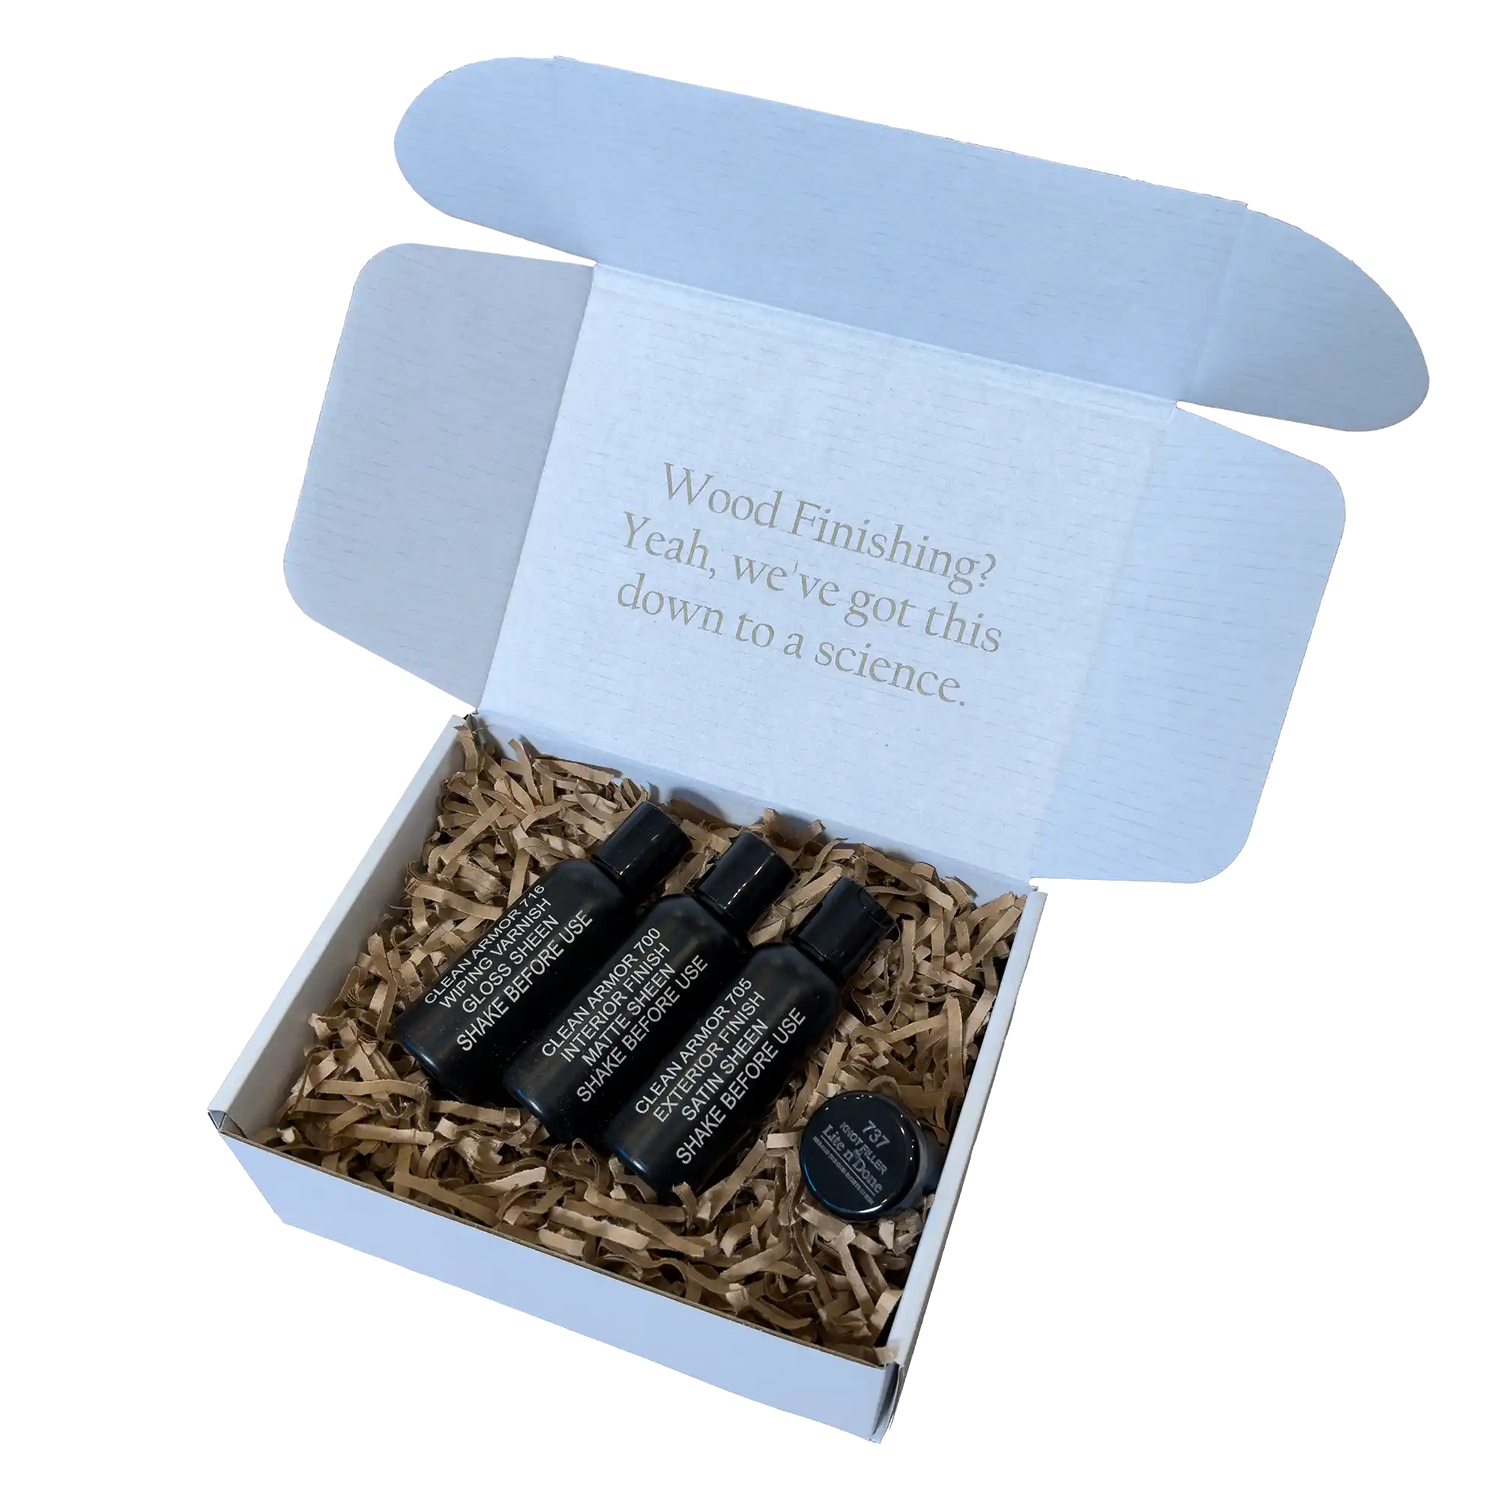
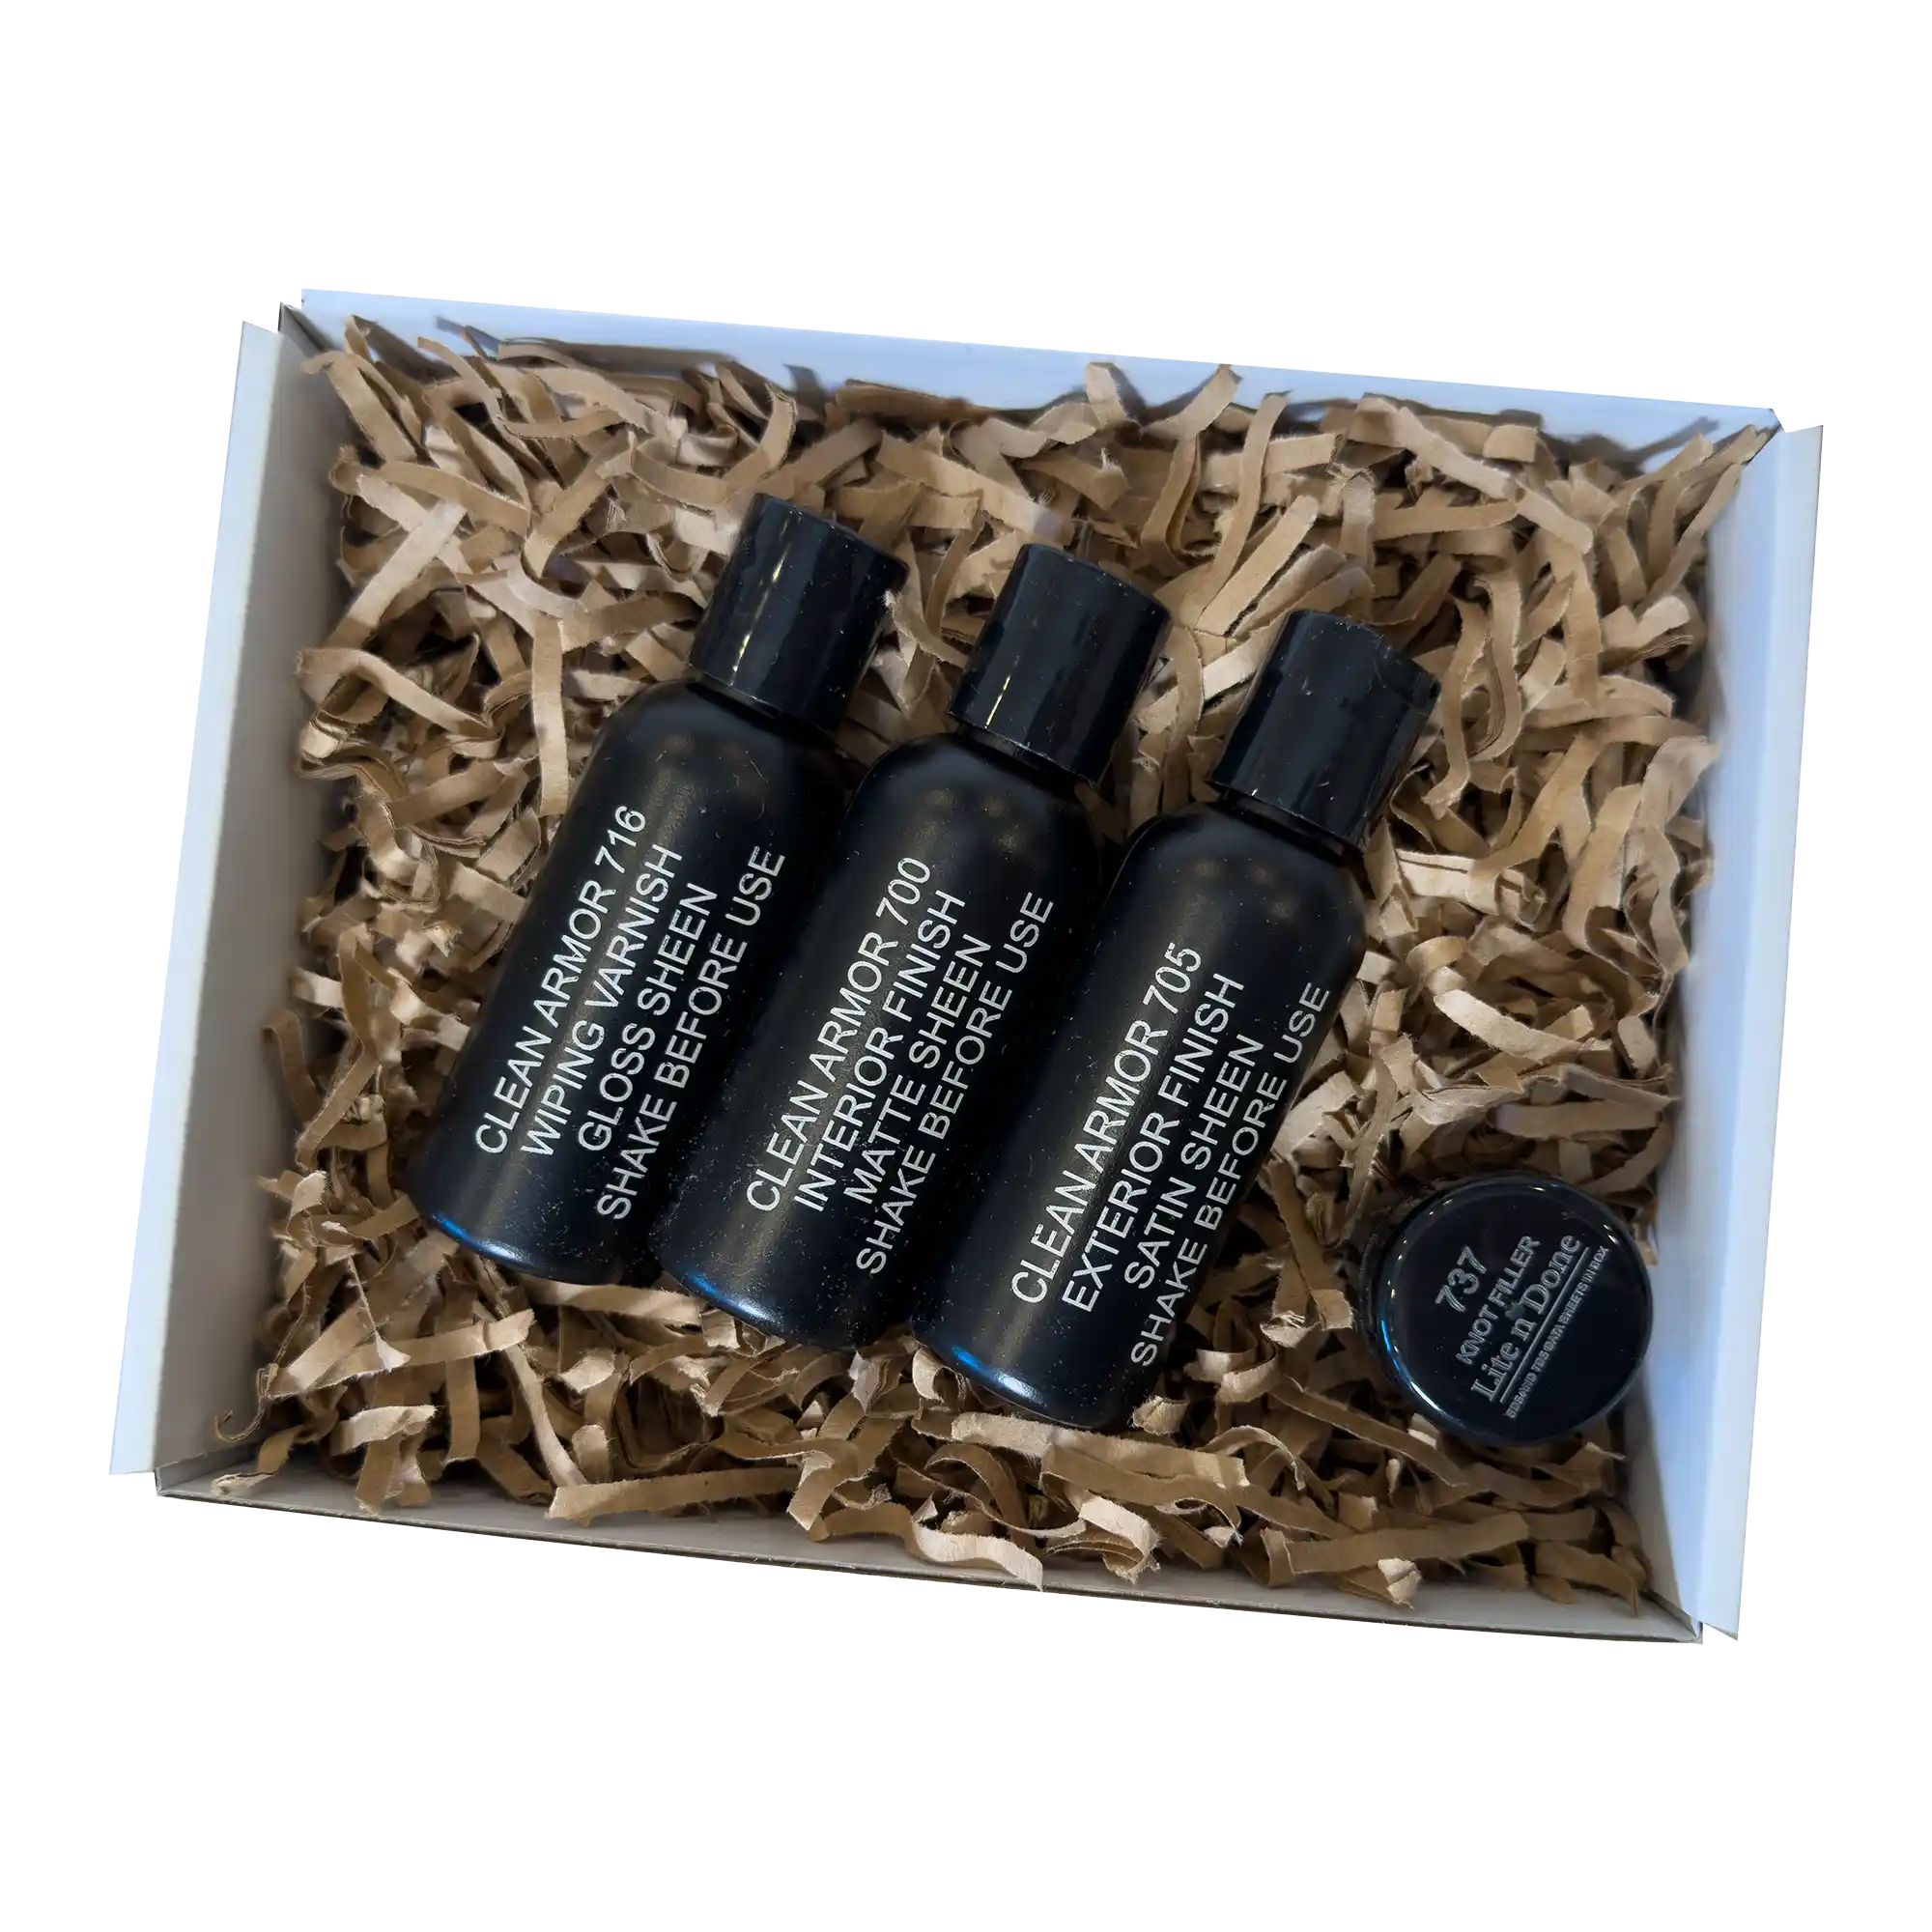
Clean Armor Sample Kit- Try it before you buy it!
- Regular price
-
$95.00 - Regular price
-
- Sale price
-
$95.00
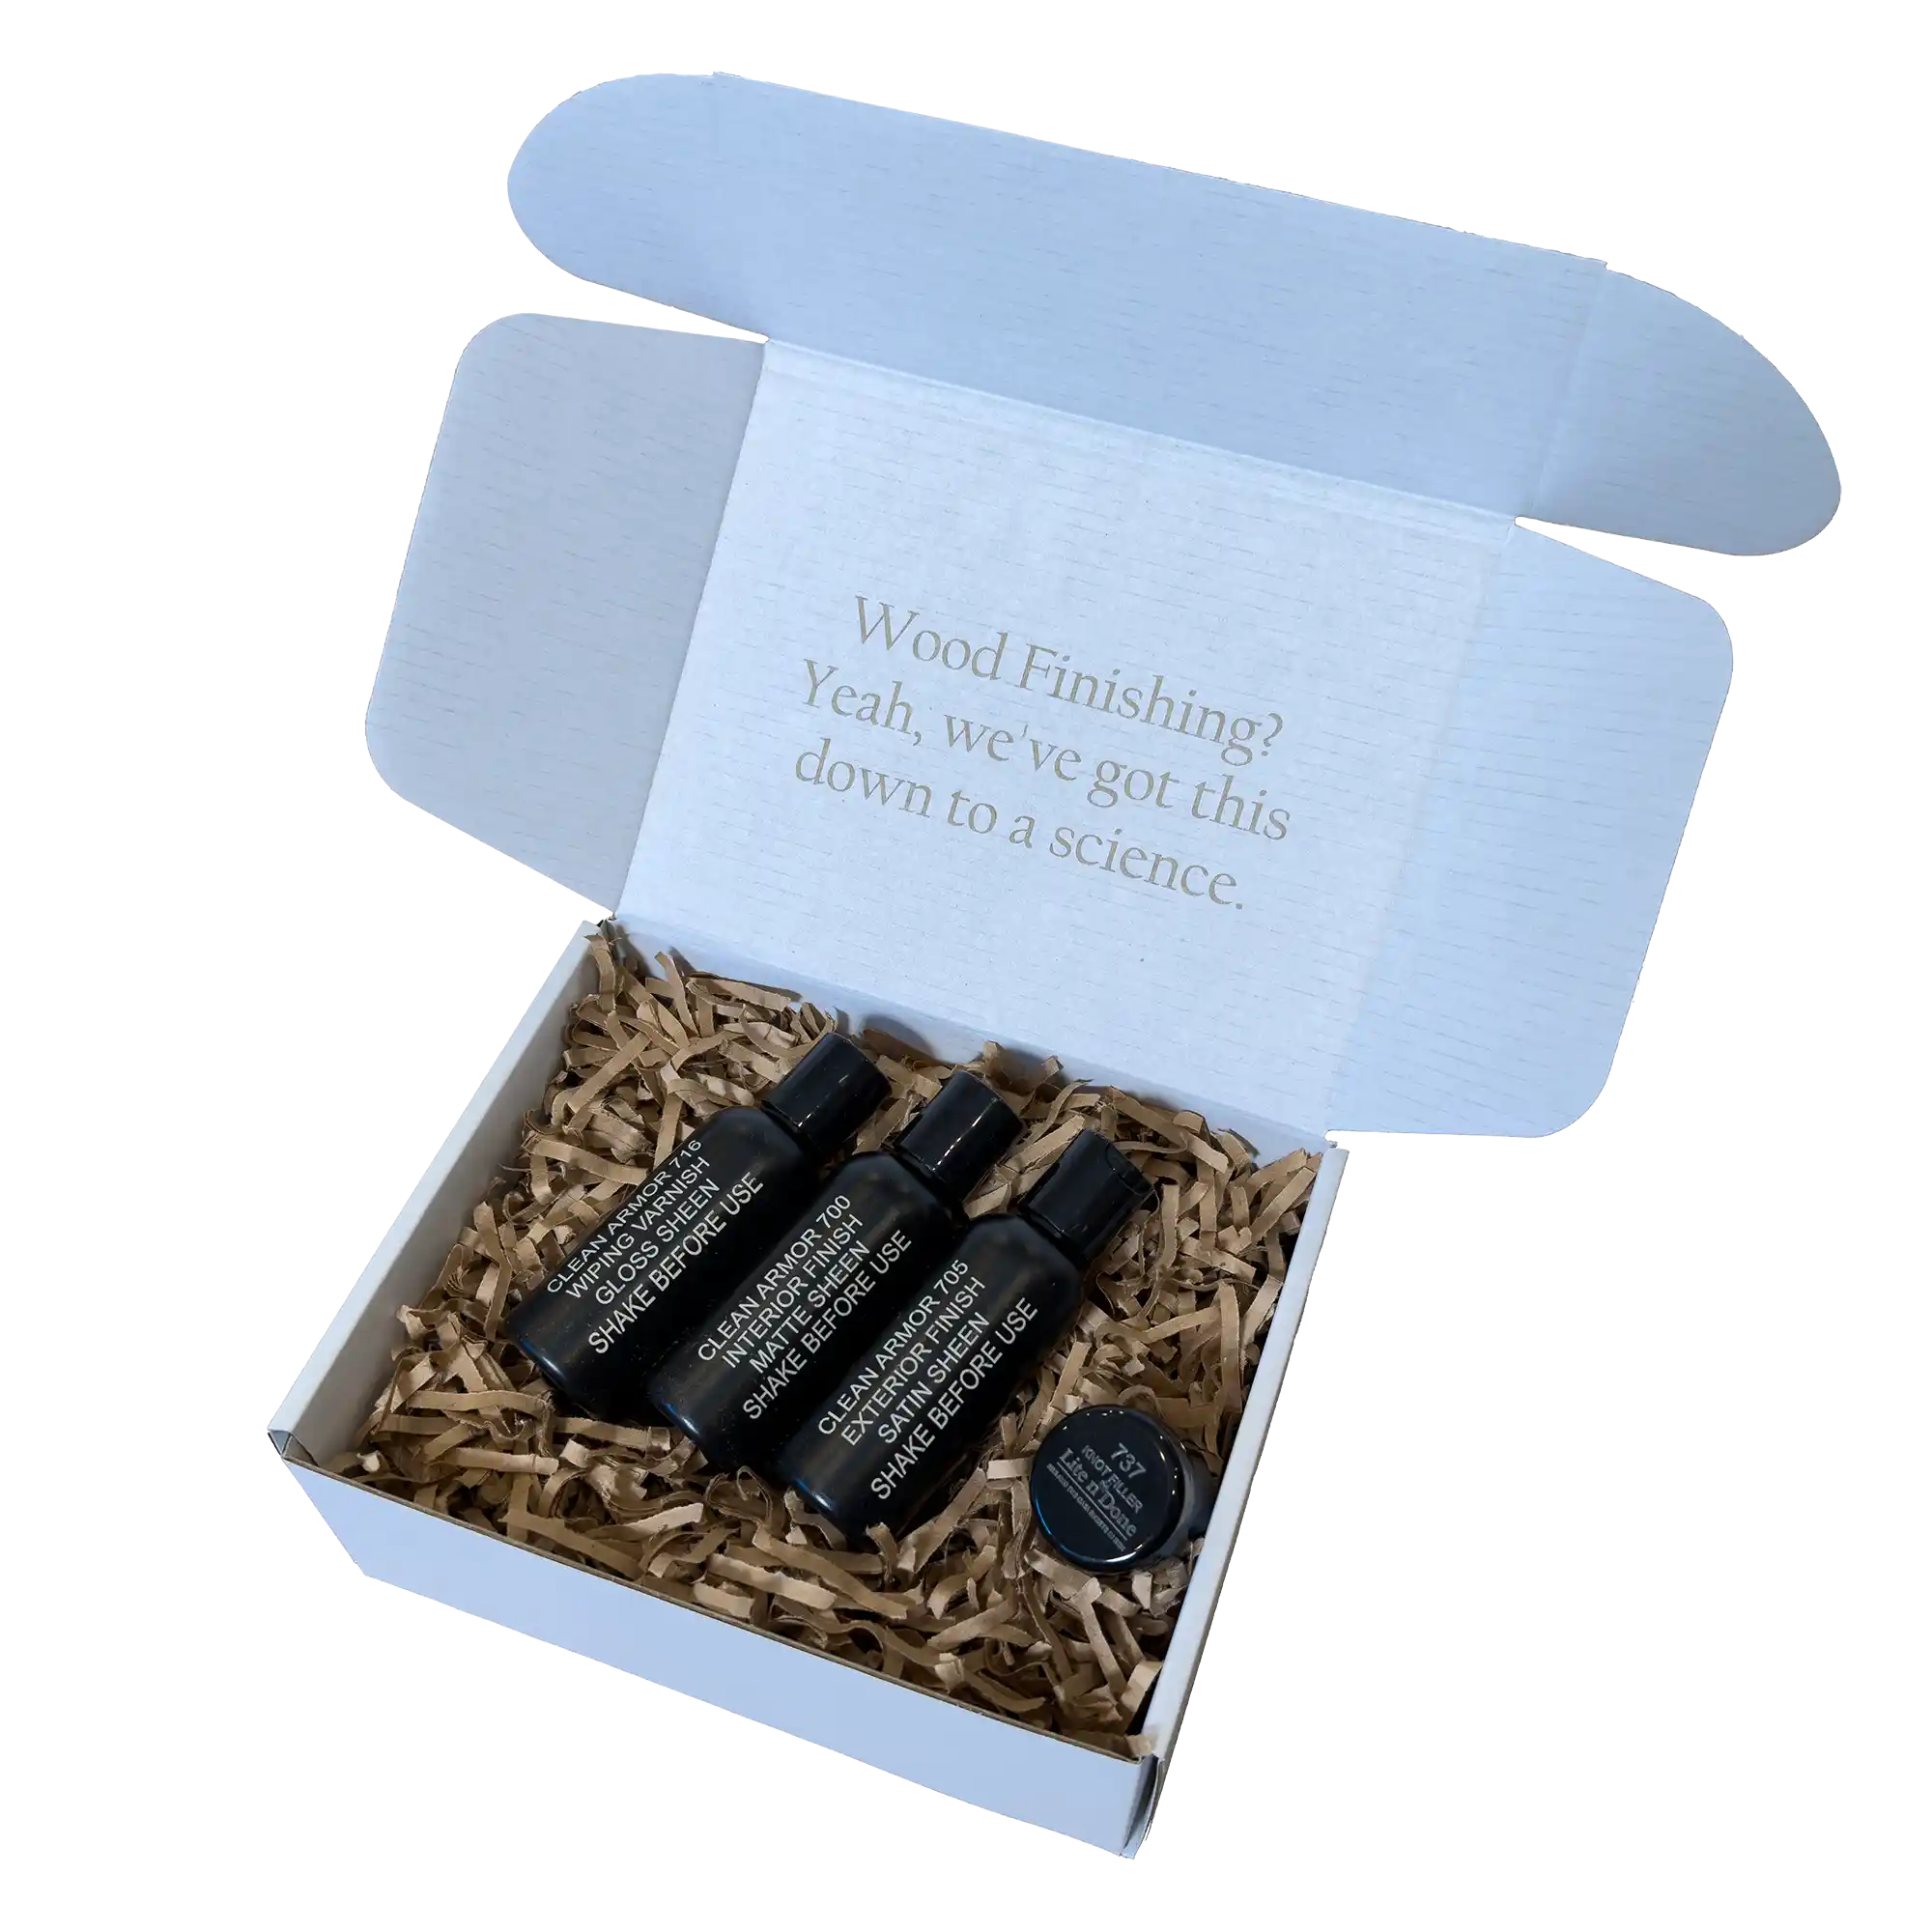
Curated for customers who want to test out Clean Armor Products without investing in the professional grade light and a quart of product. These sample sizes will give you just enough material to become more familiar with UV Cured finishes and knot fillers. No need for a professional UV Light. Just cure in the sun to see how it works!
New kit includes:
- 2nd Day Air shipping Included in price
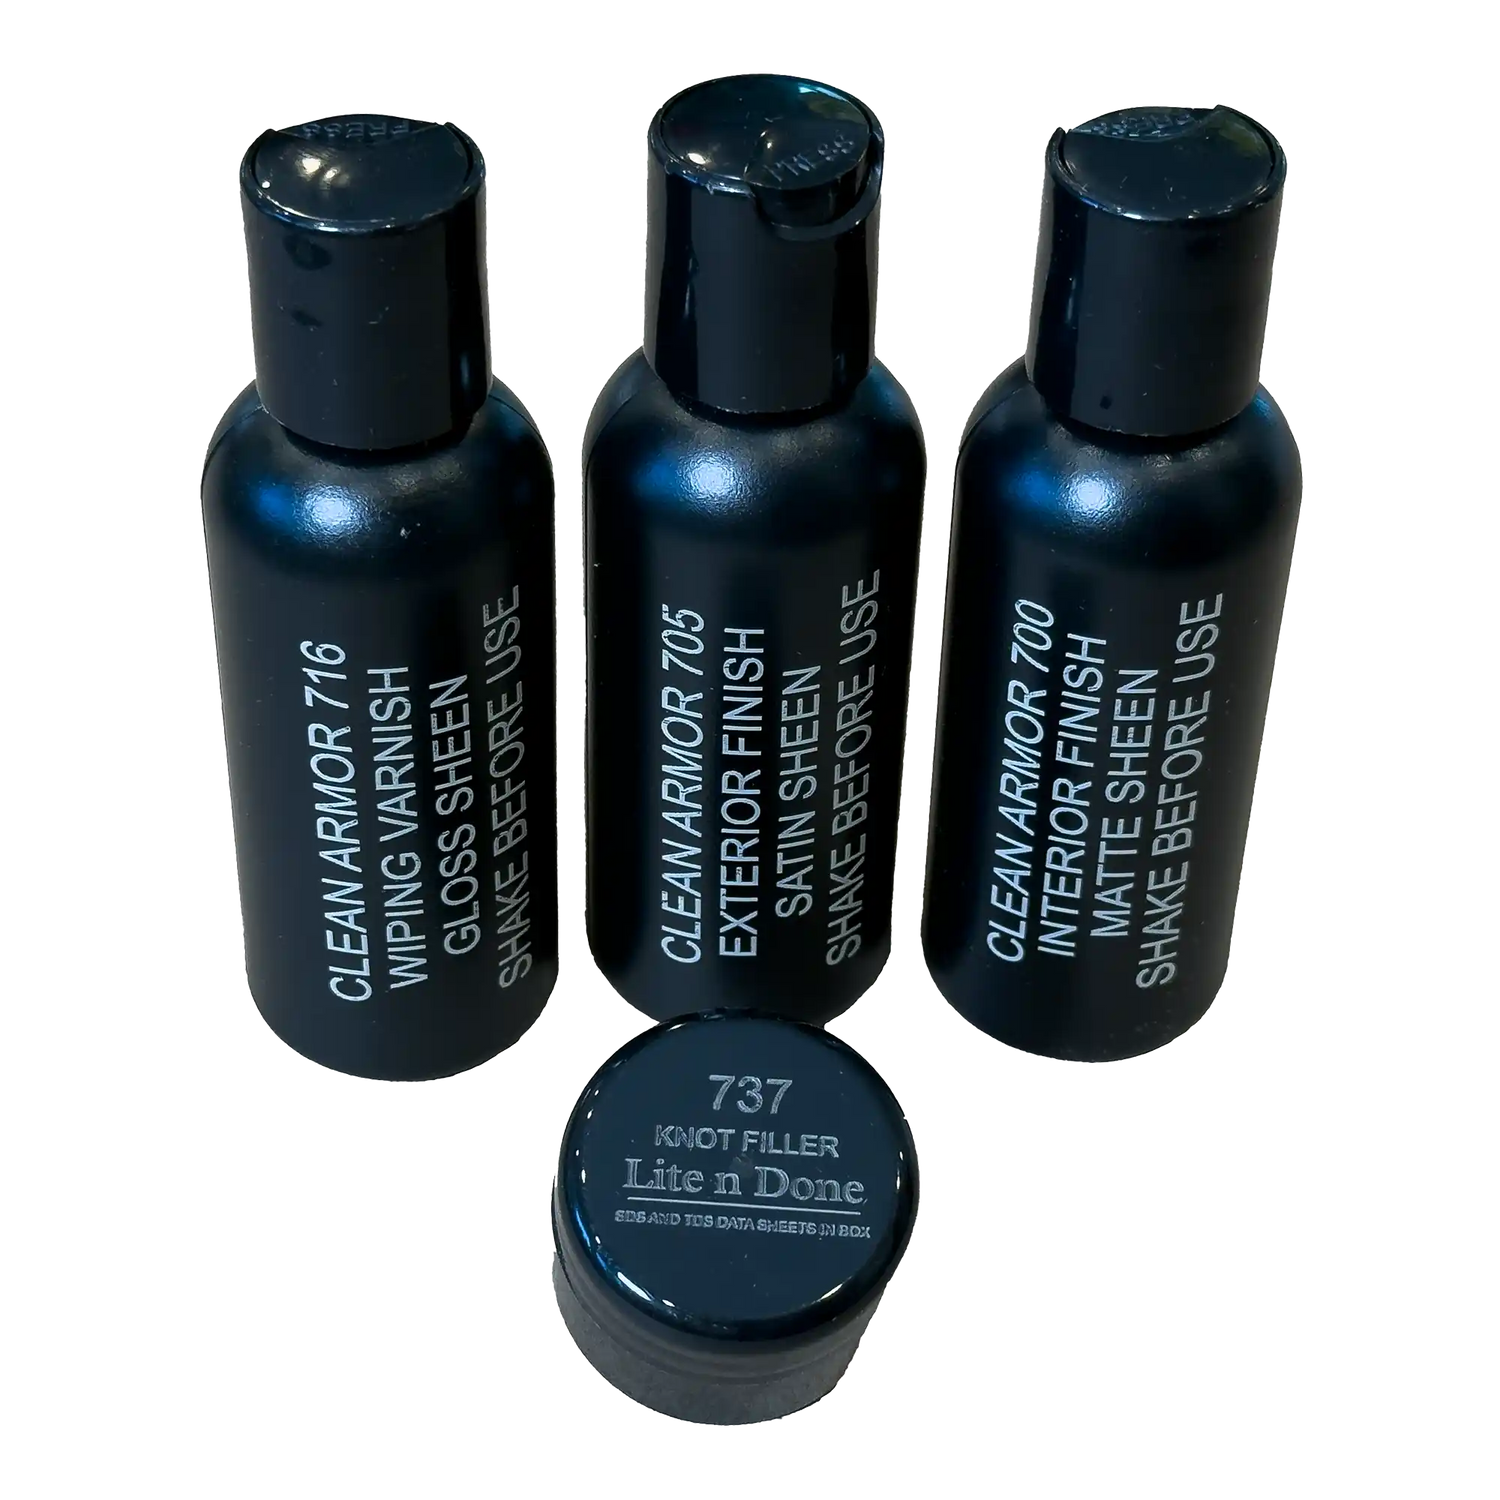
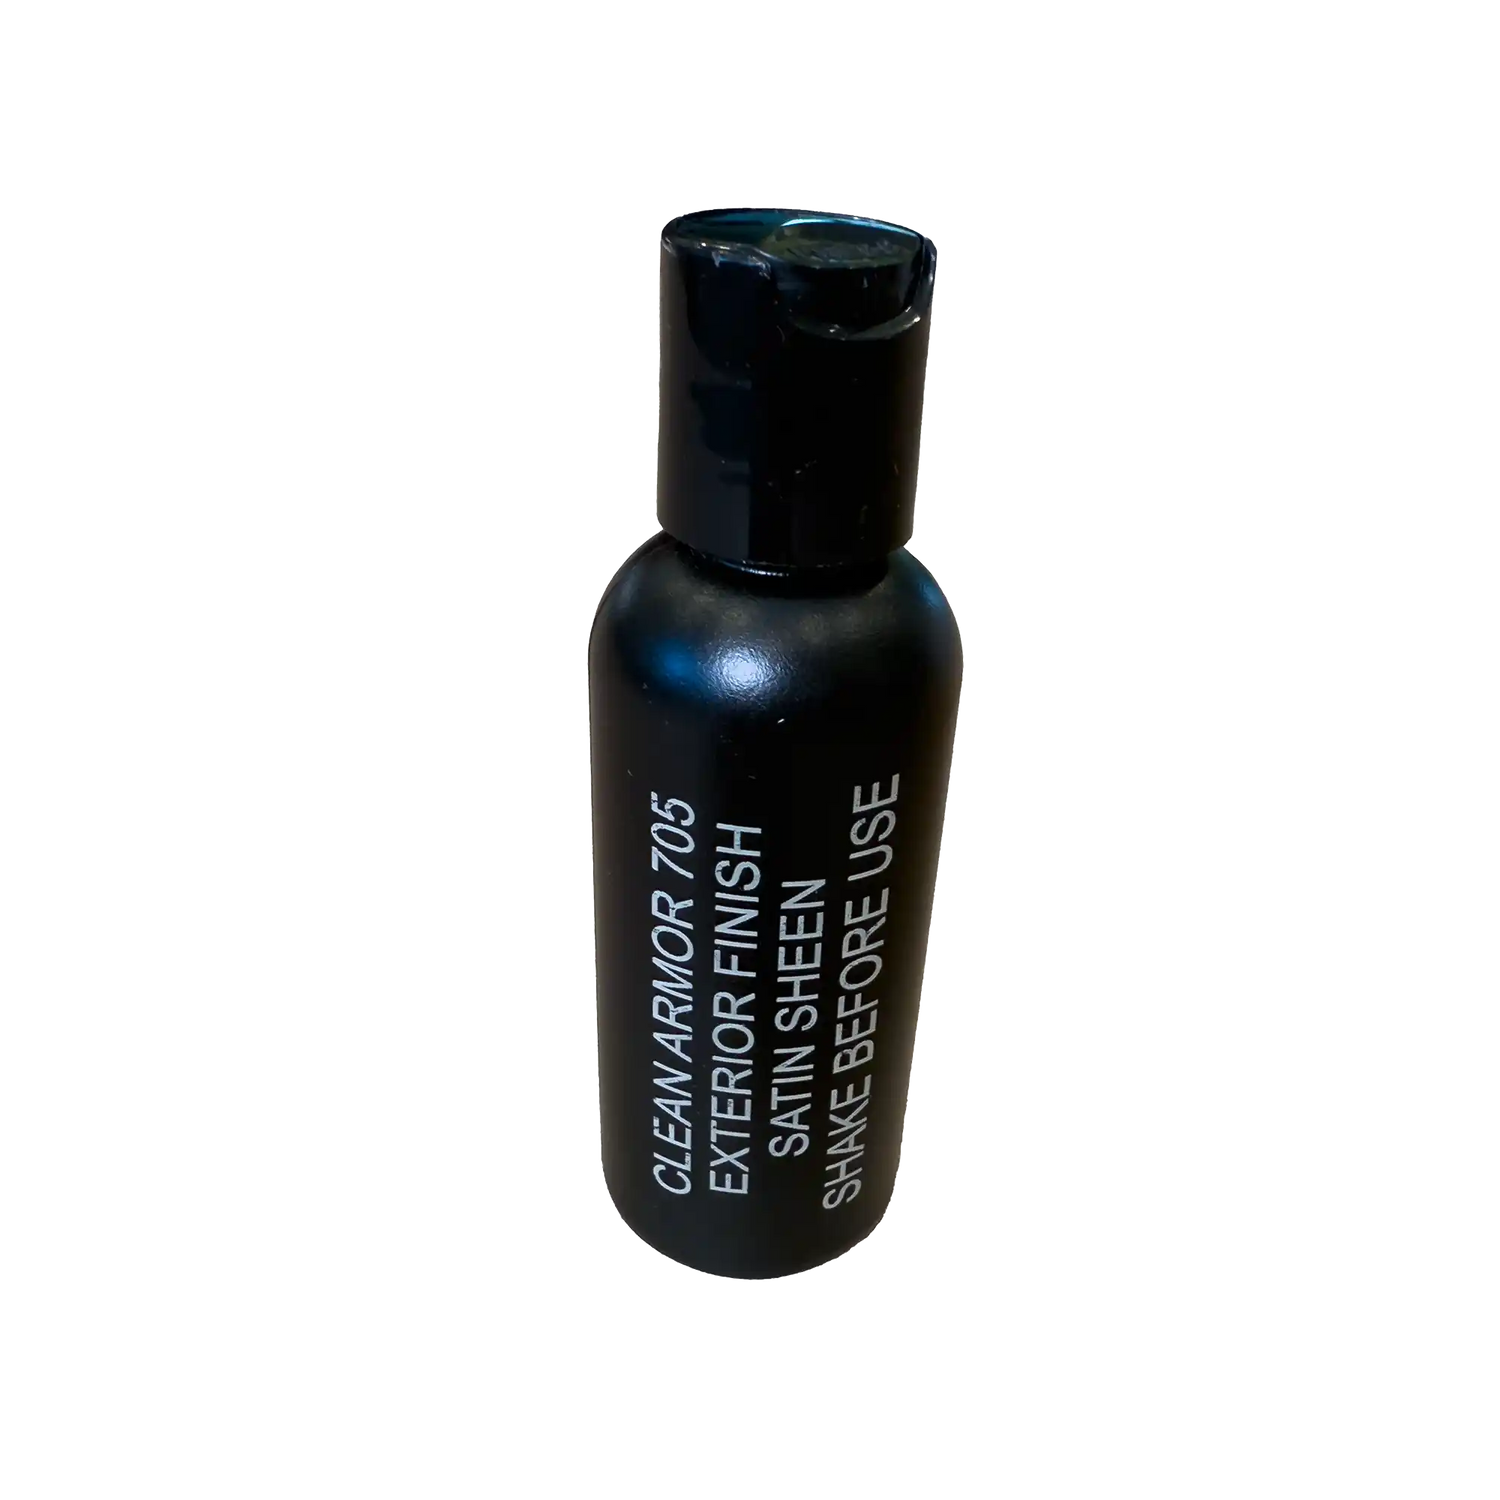
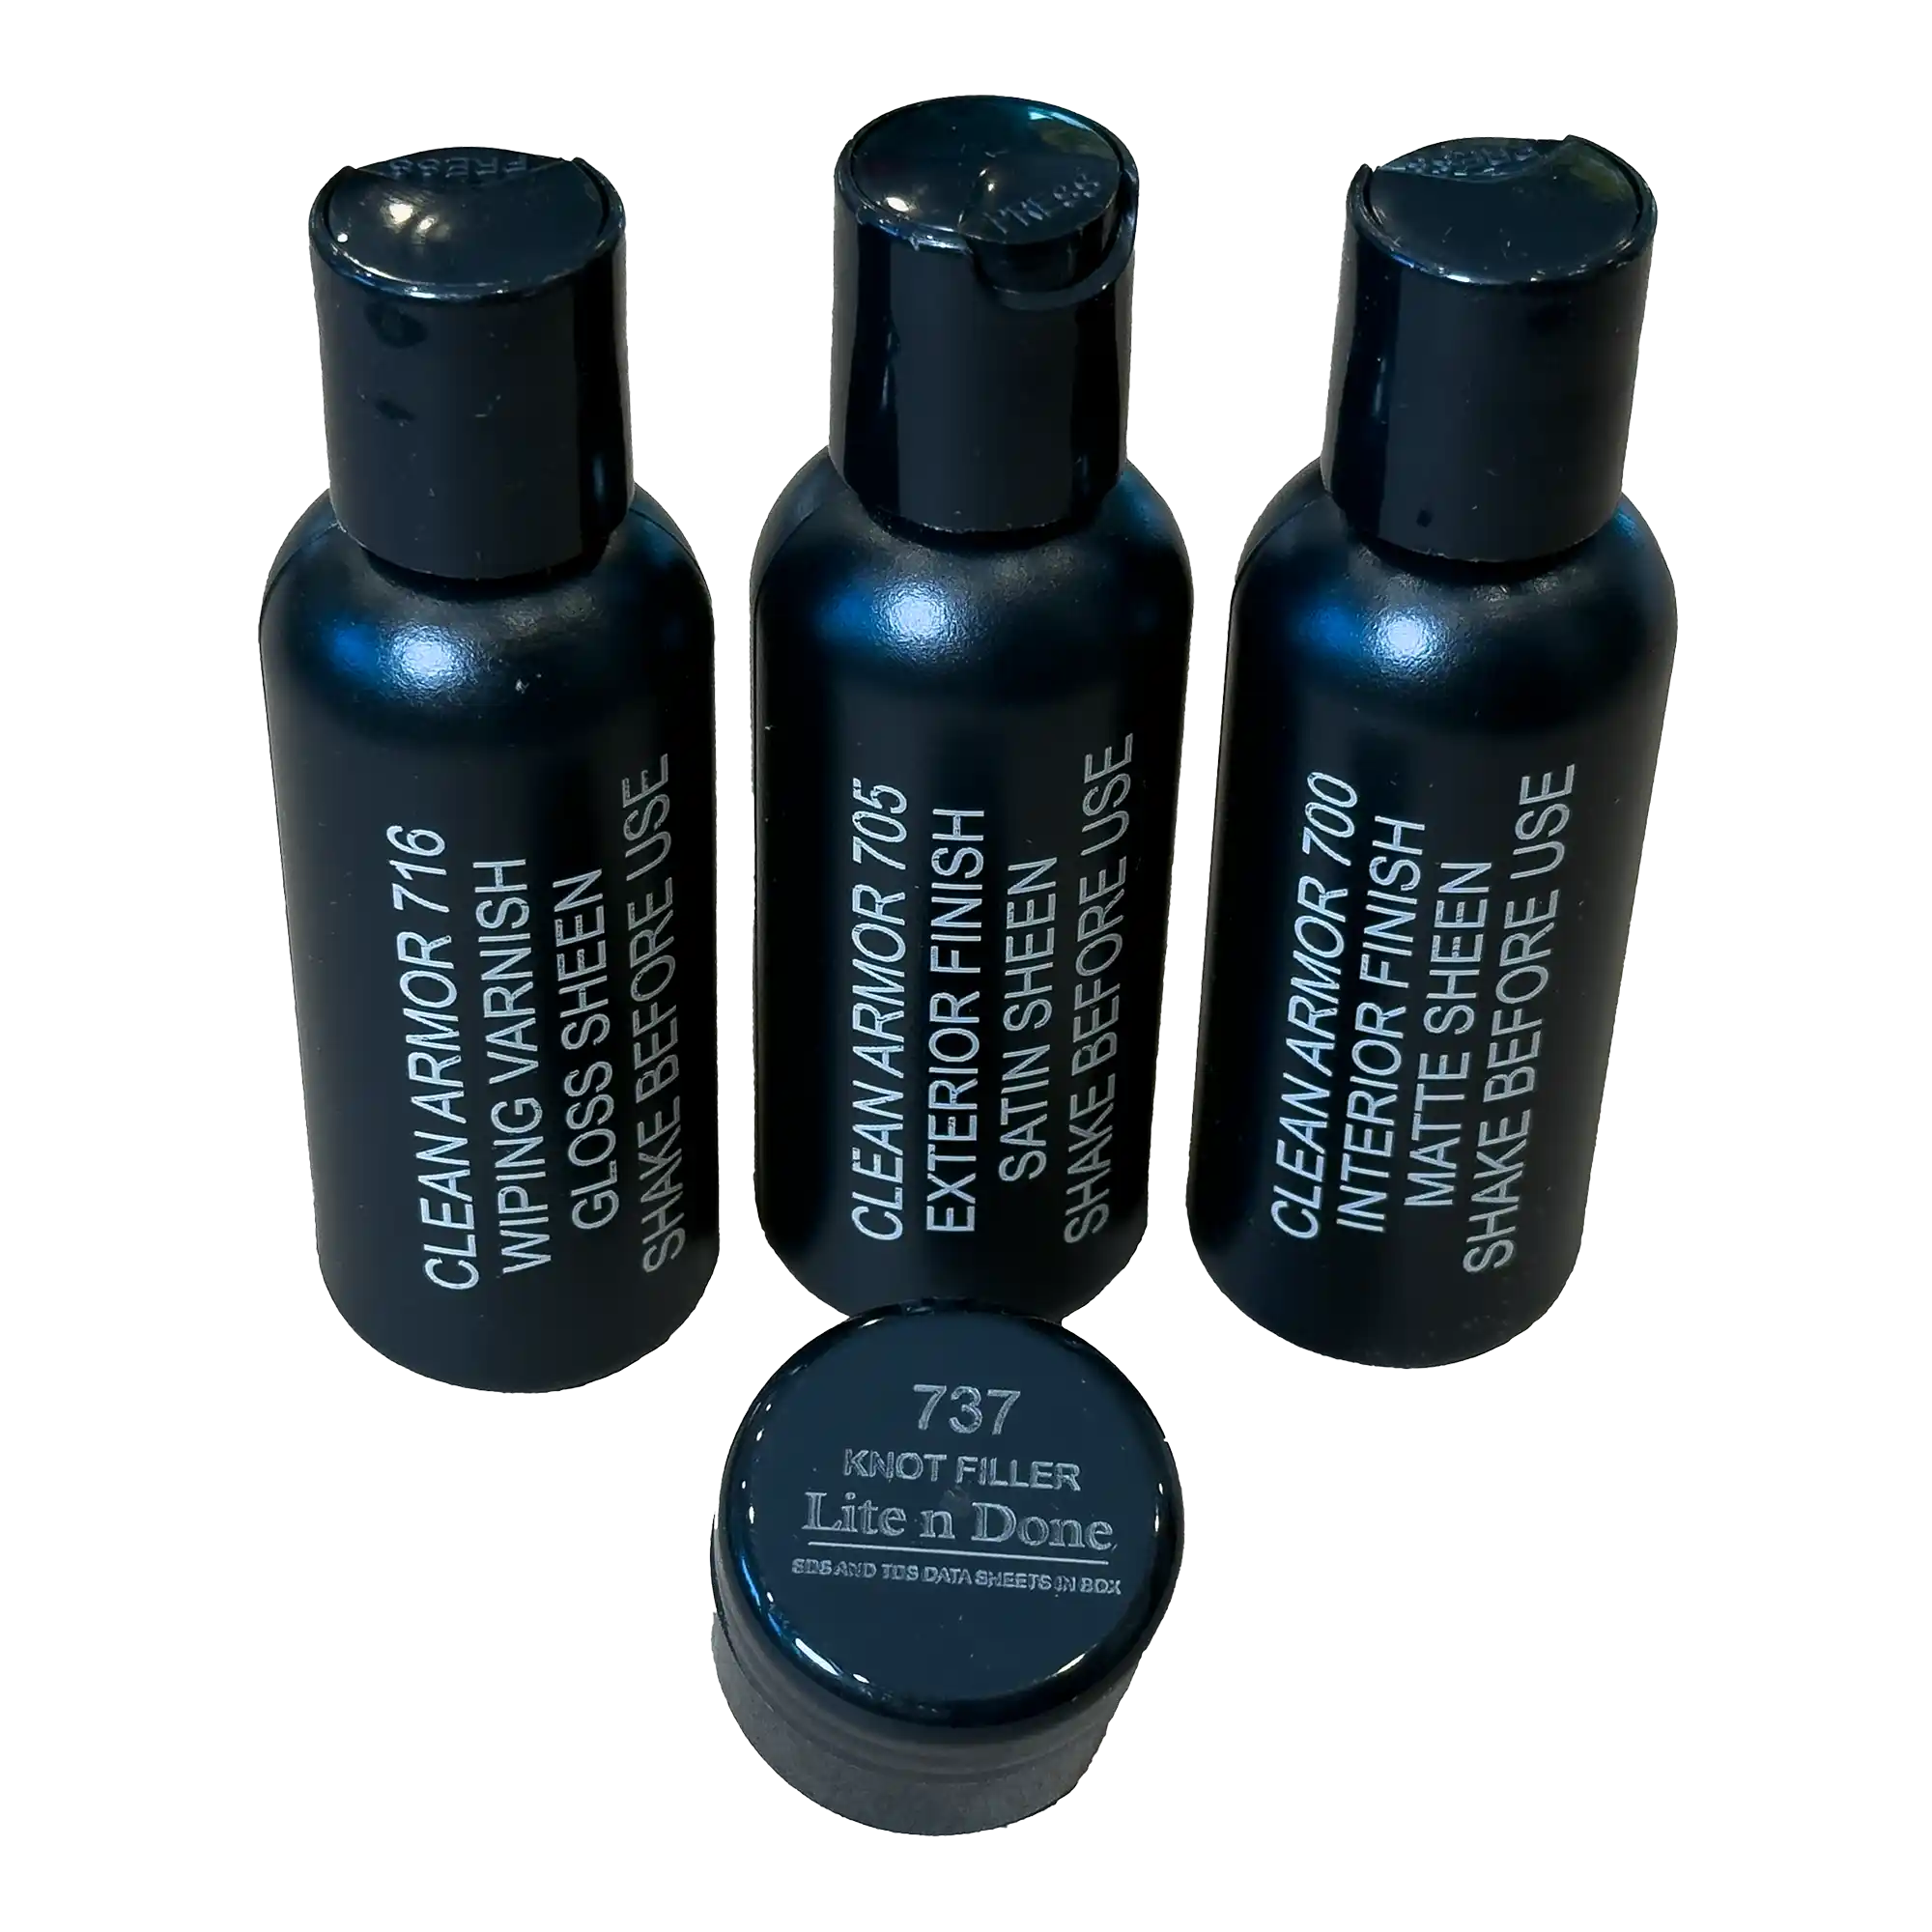
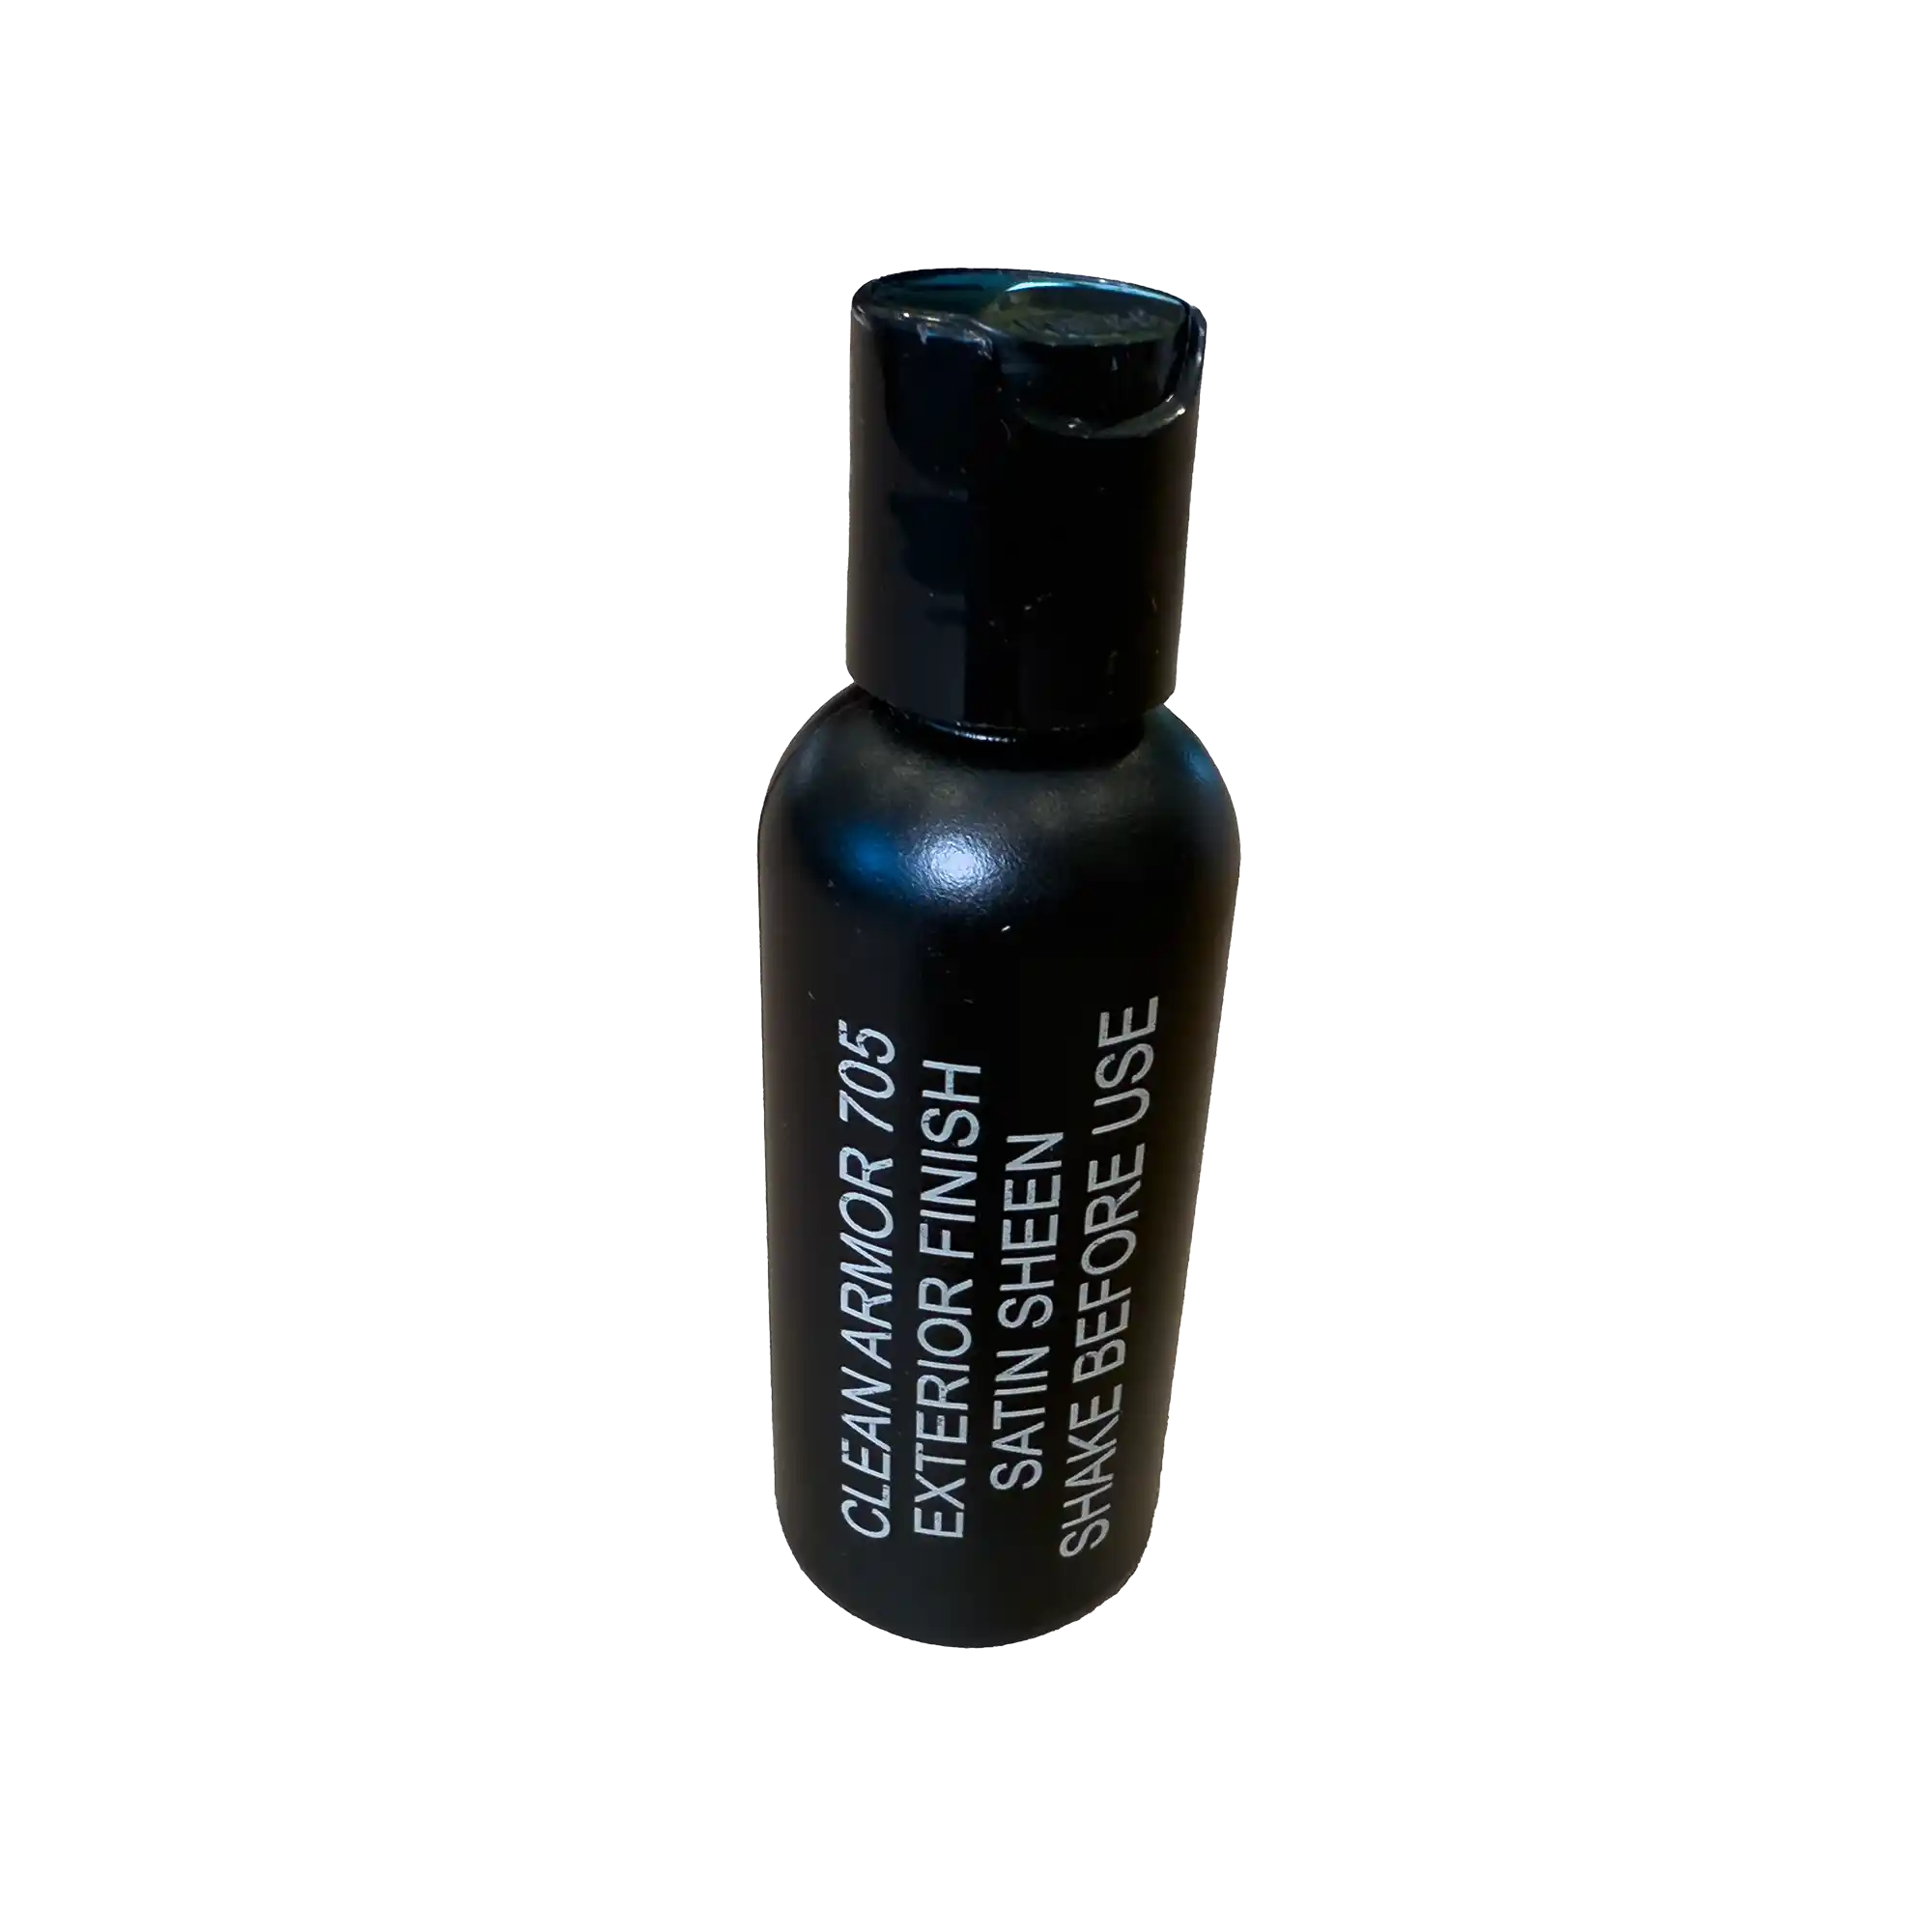
- 2oz of 705 in Satin
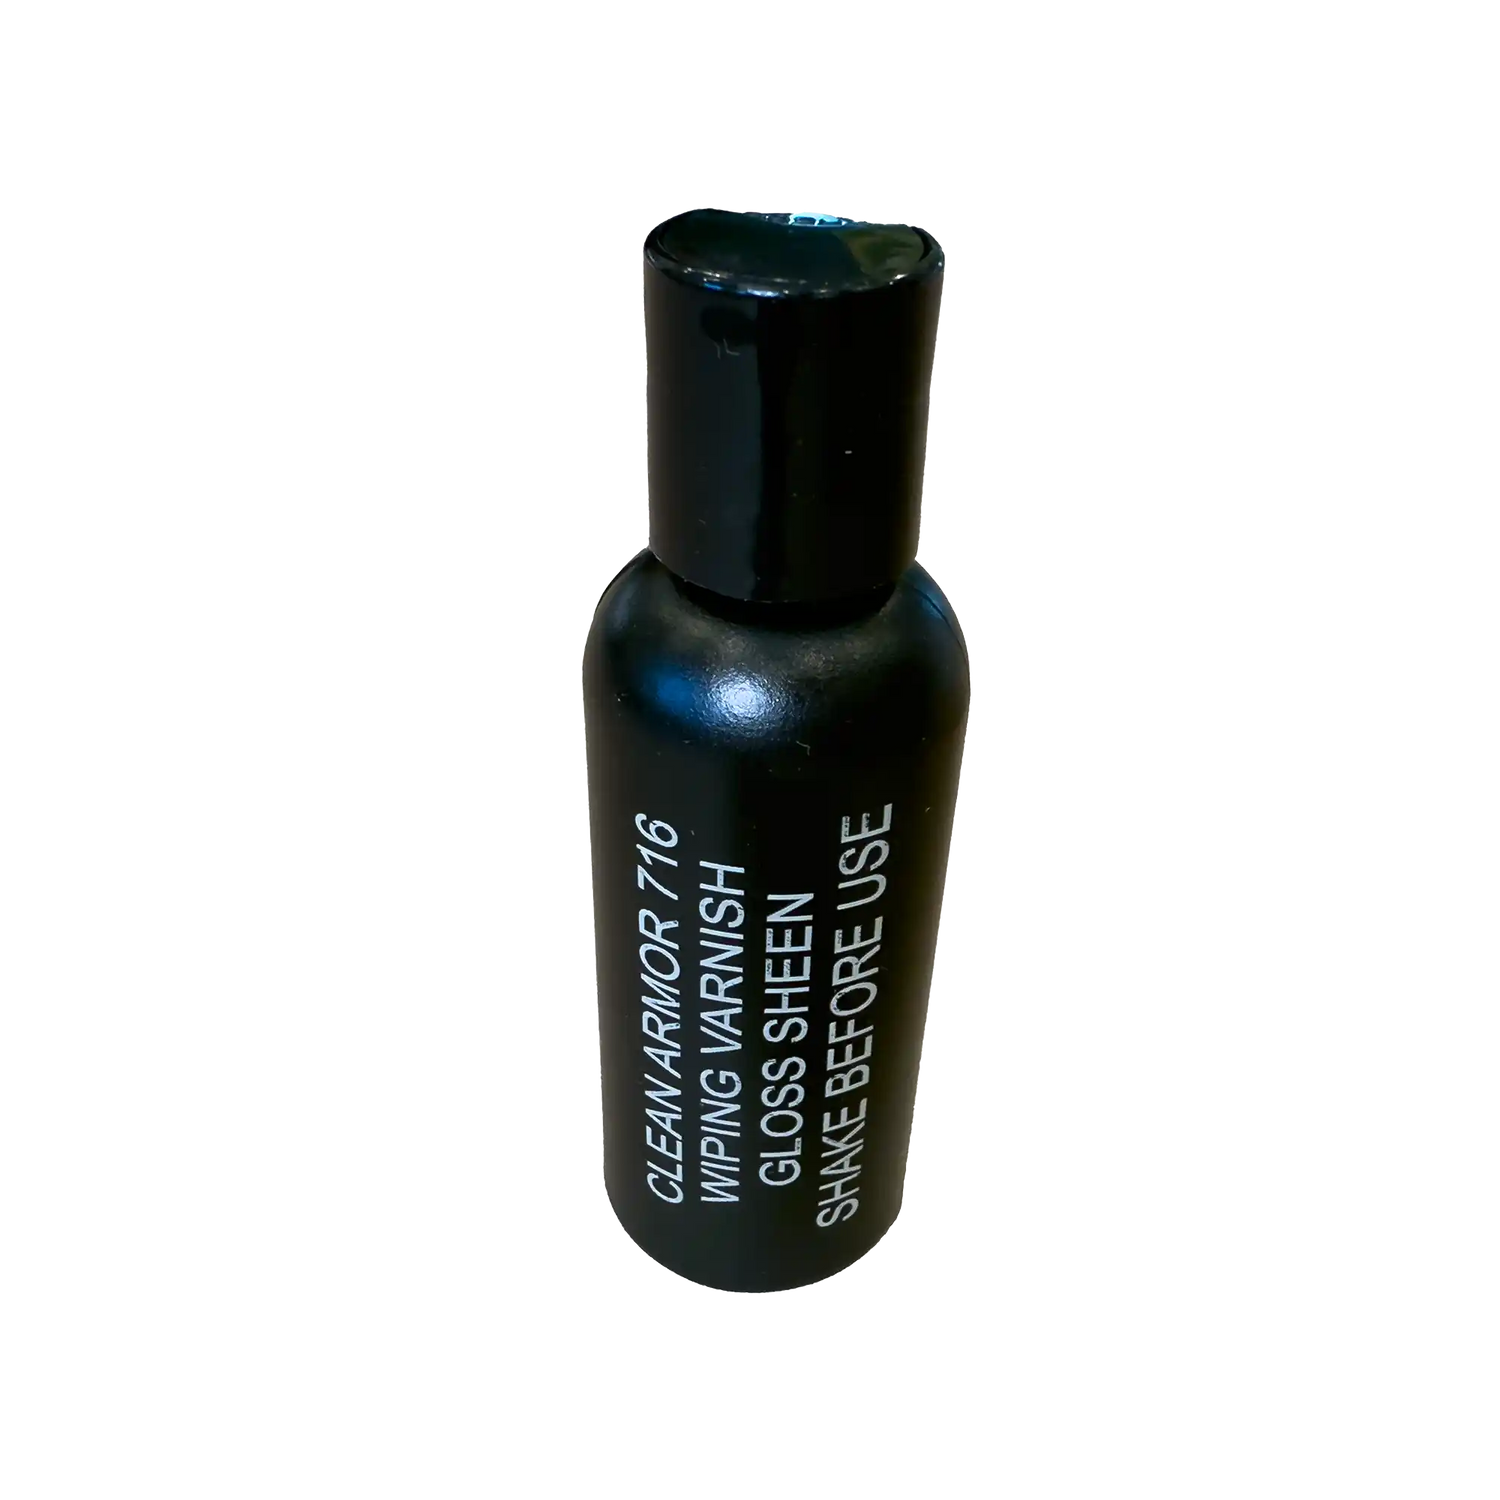
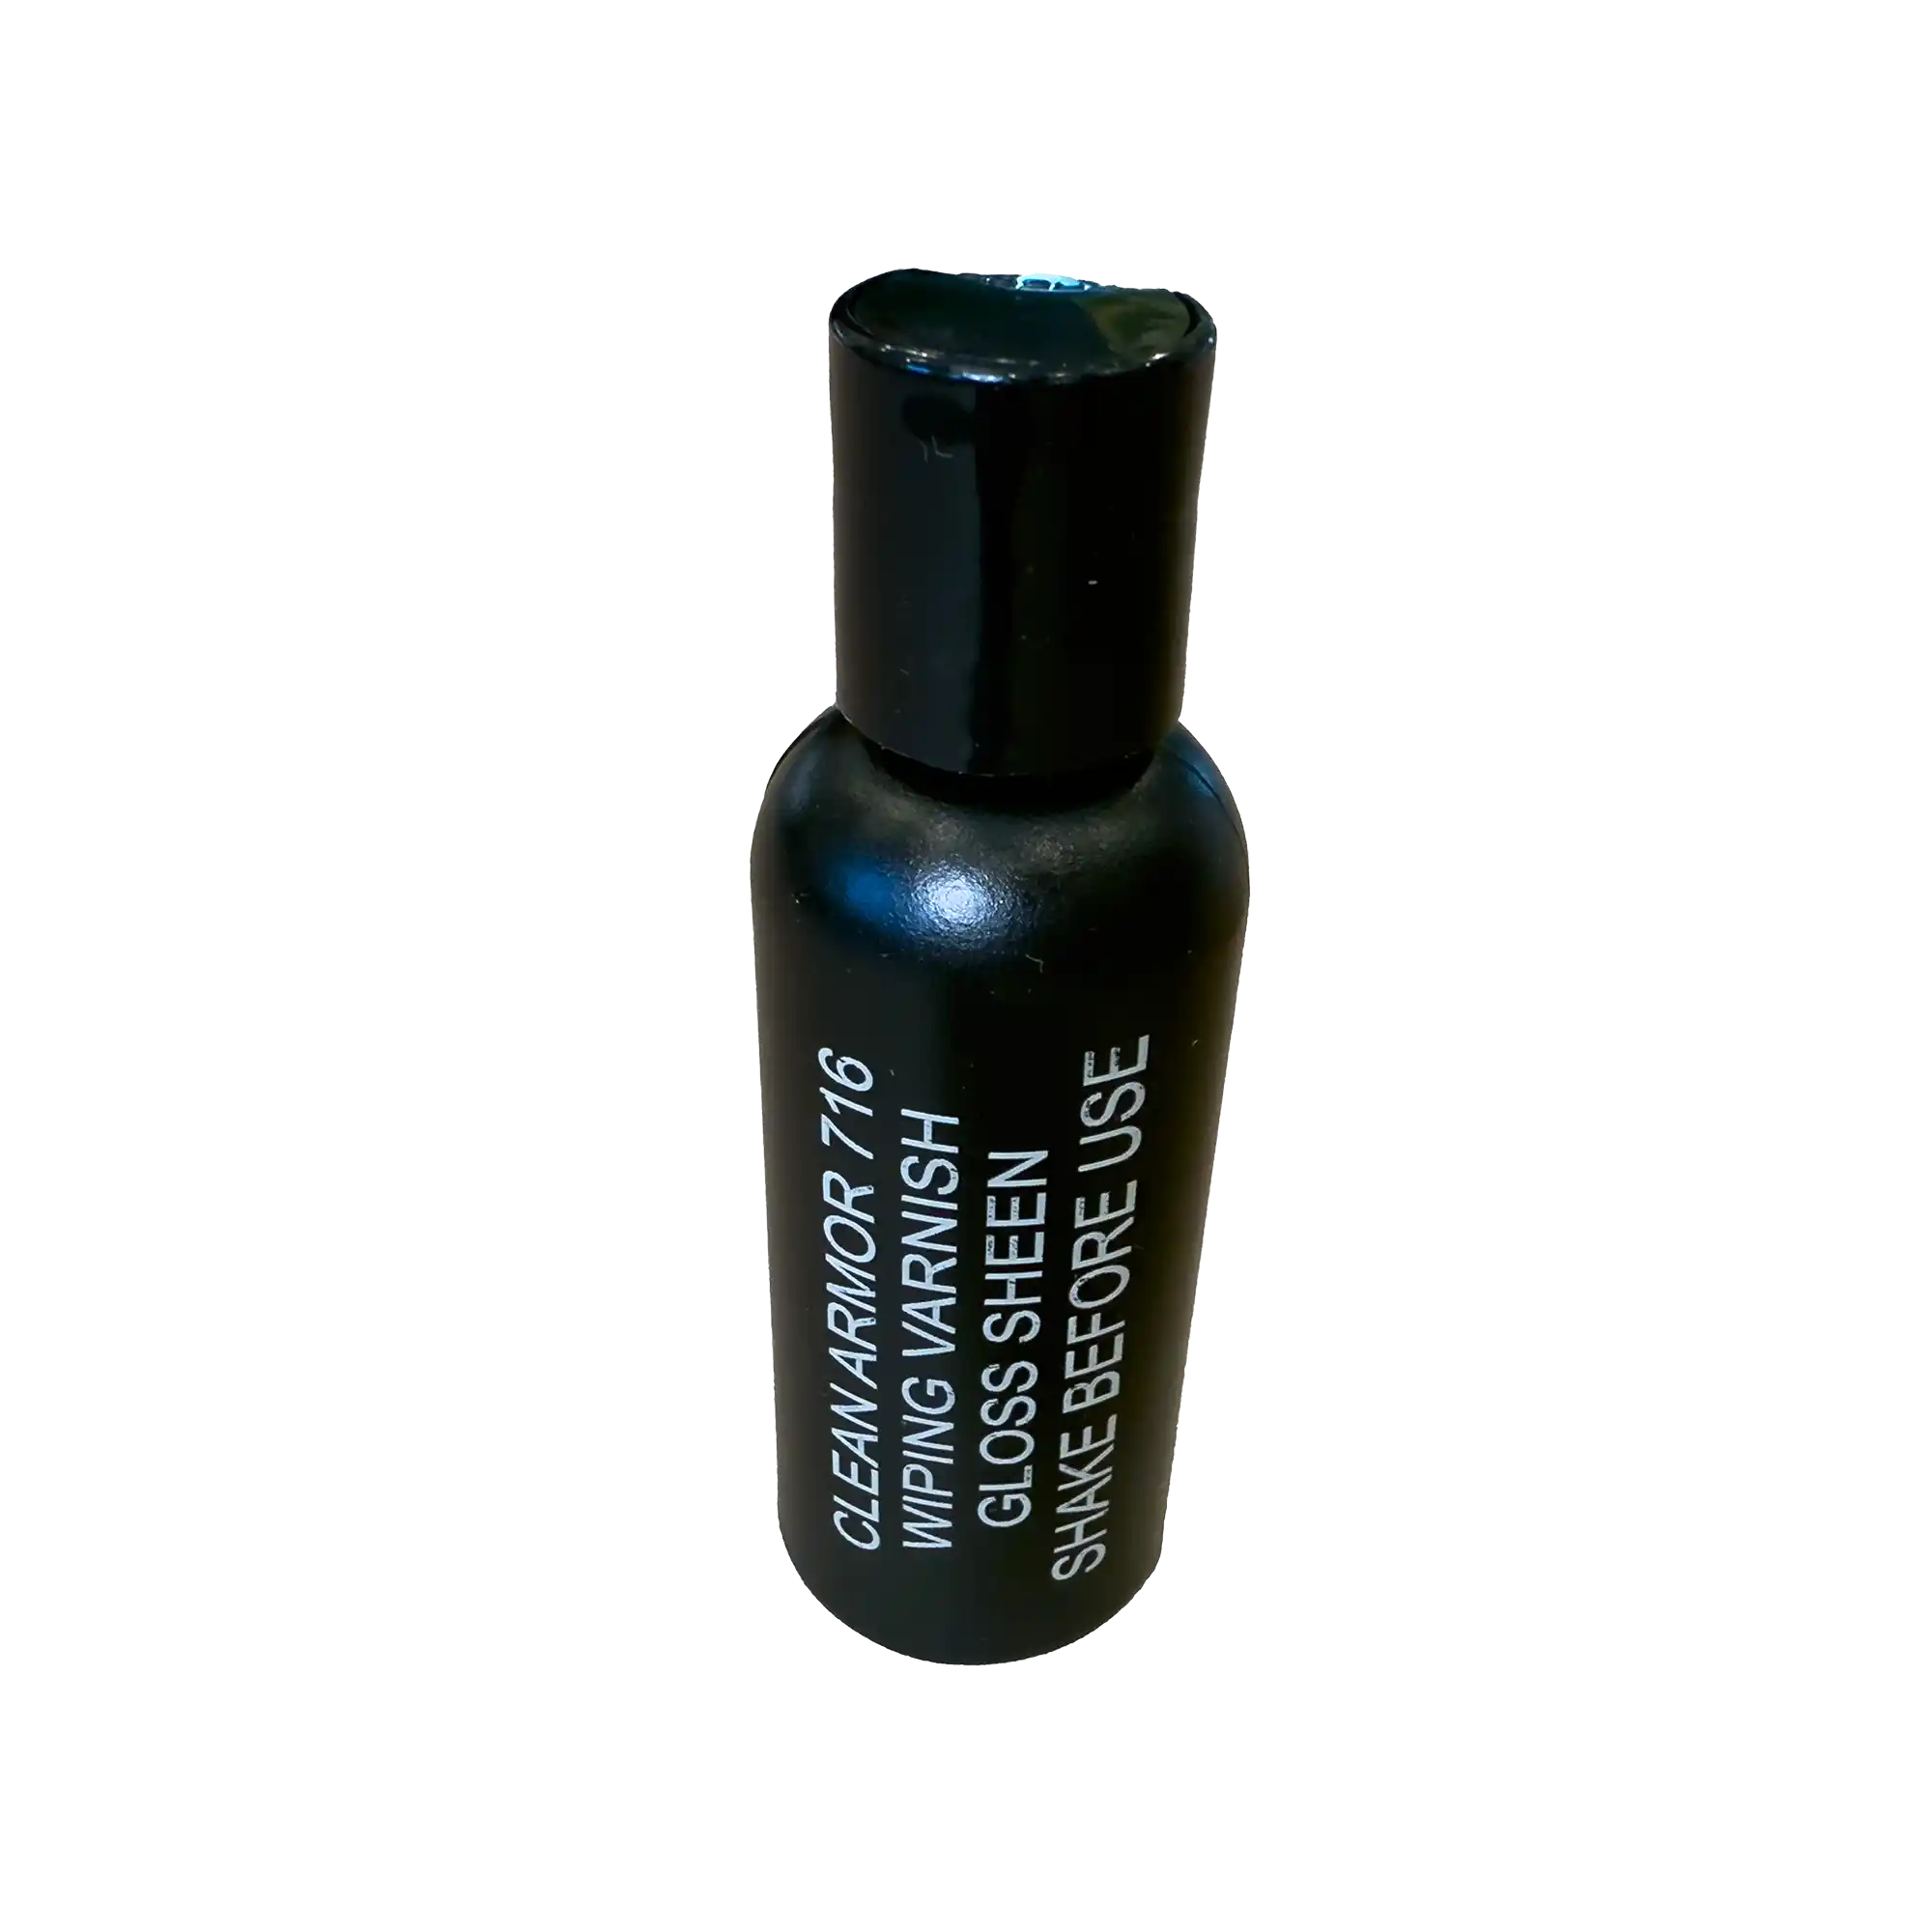
- 2oz of 716 in Gloss
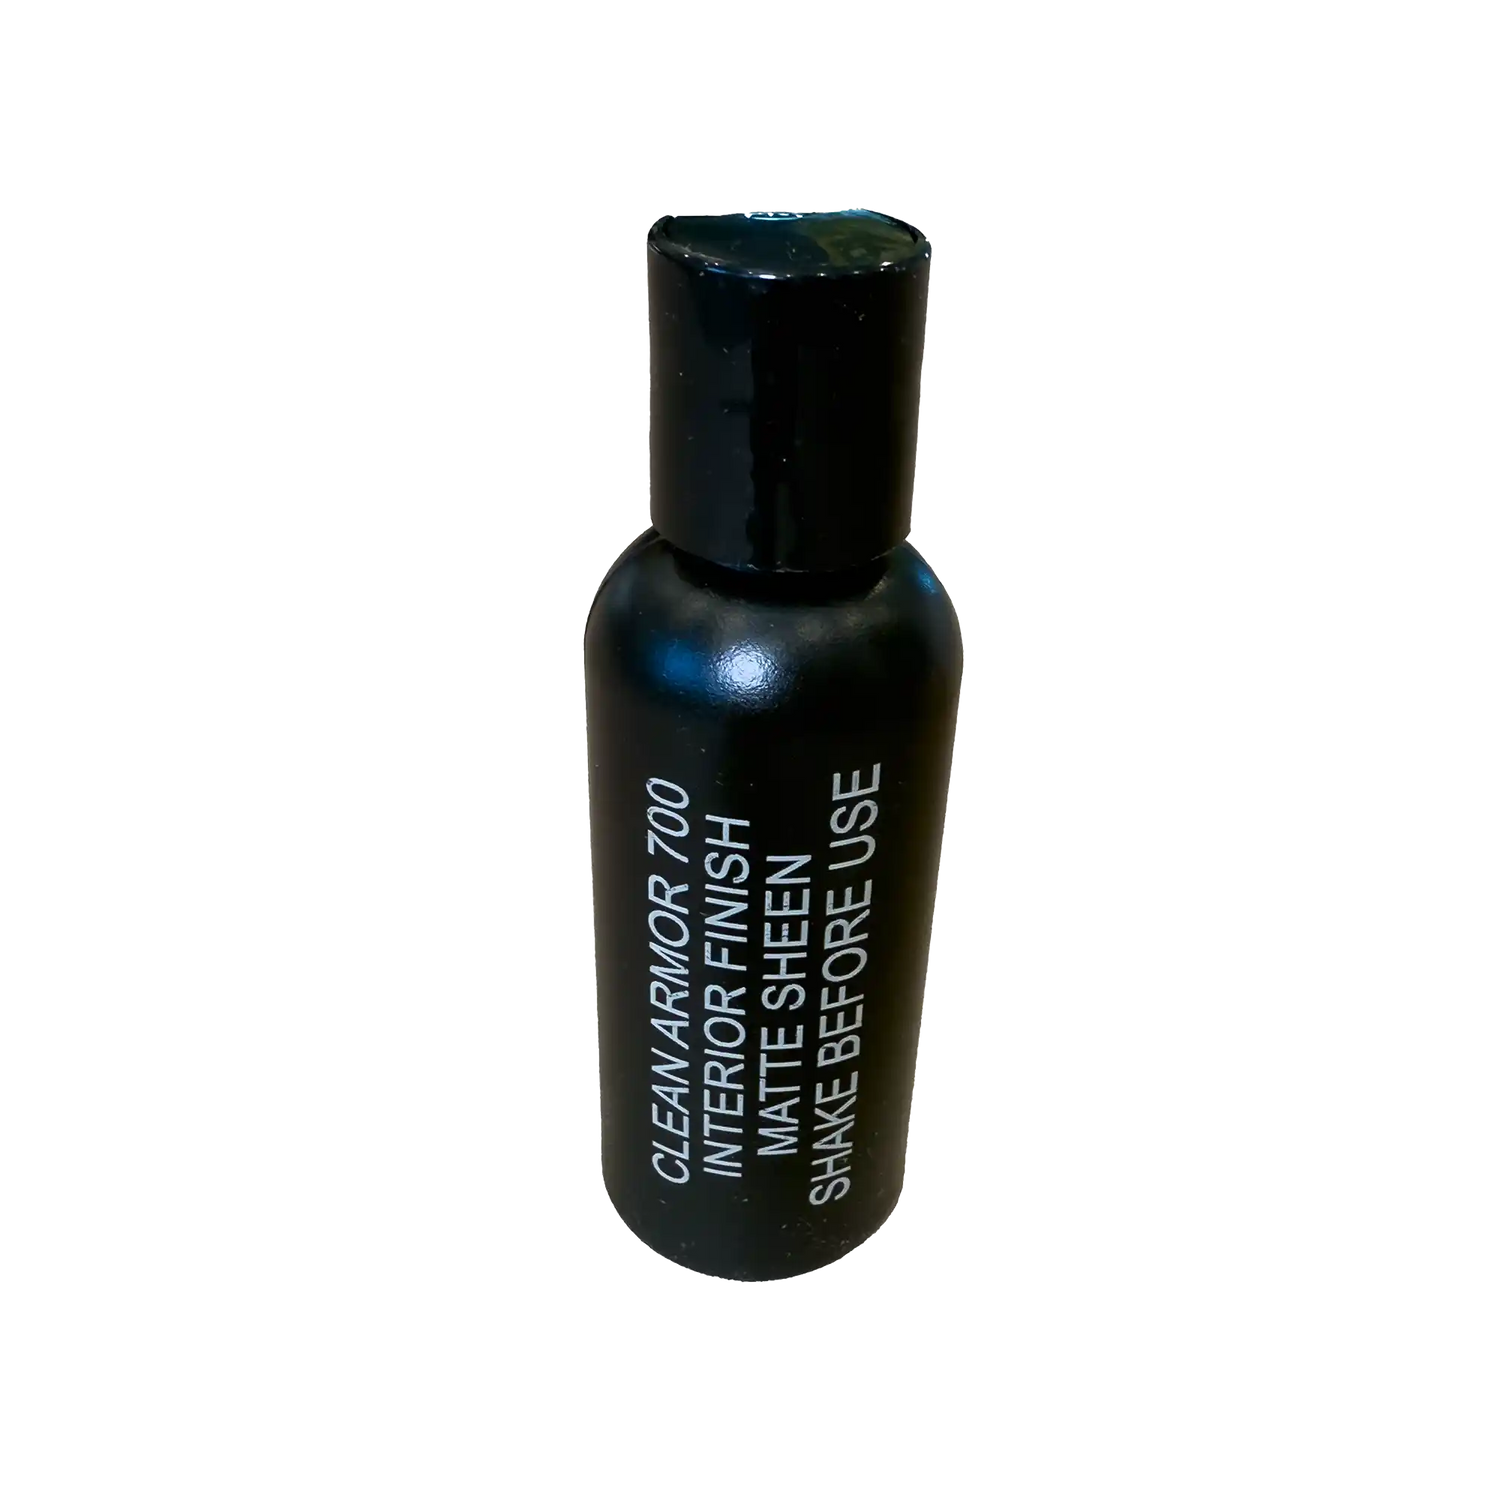
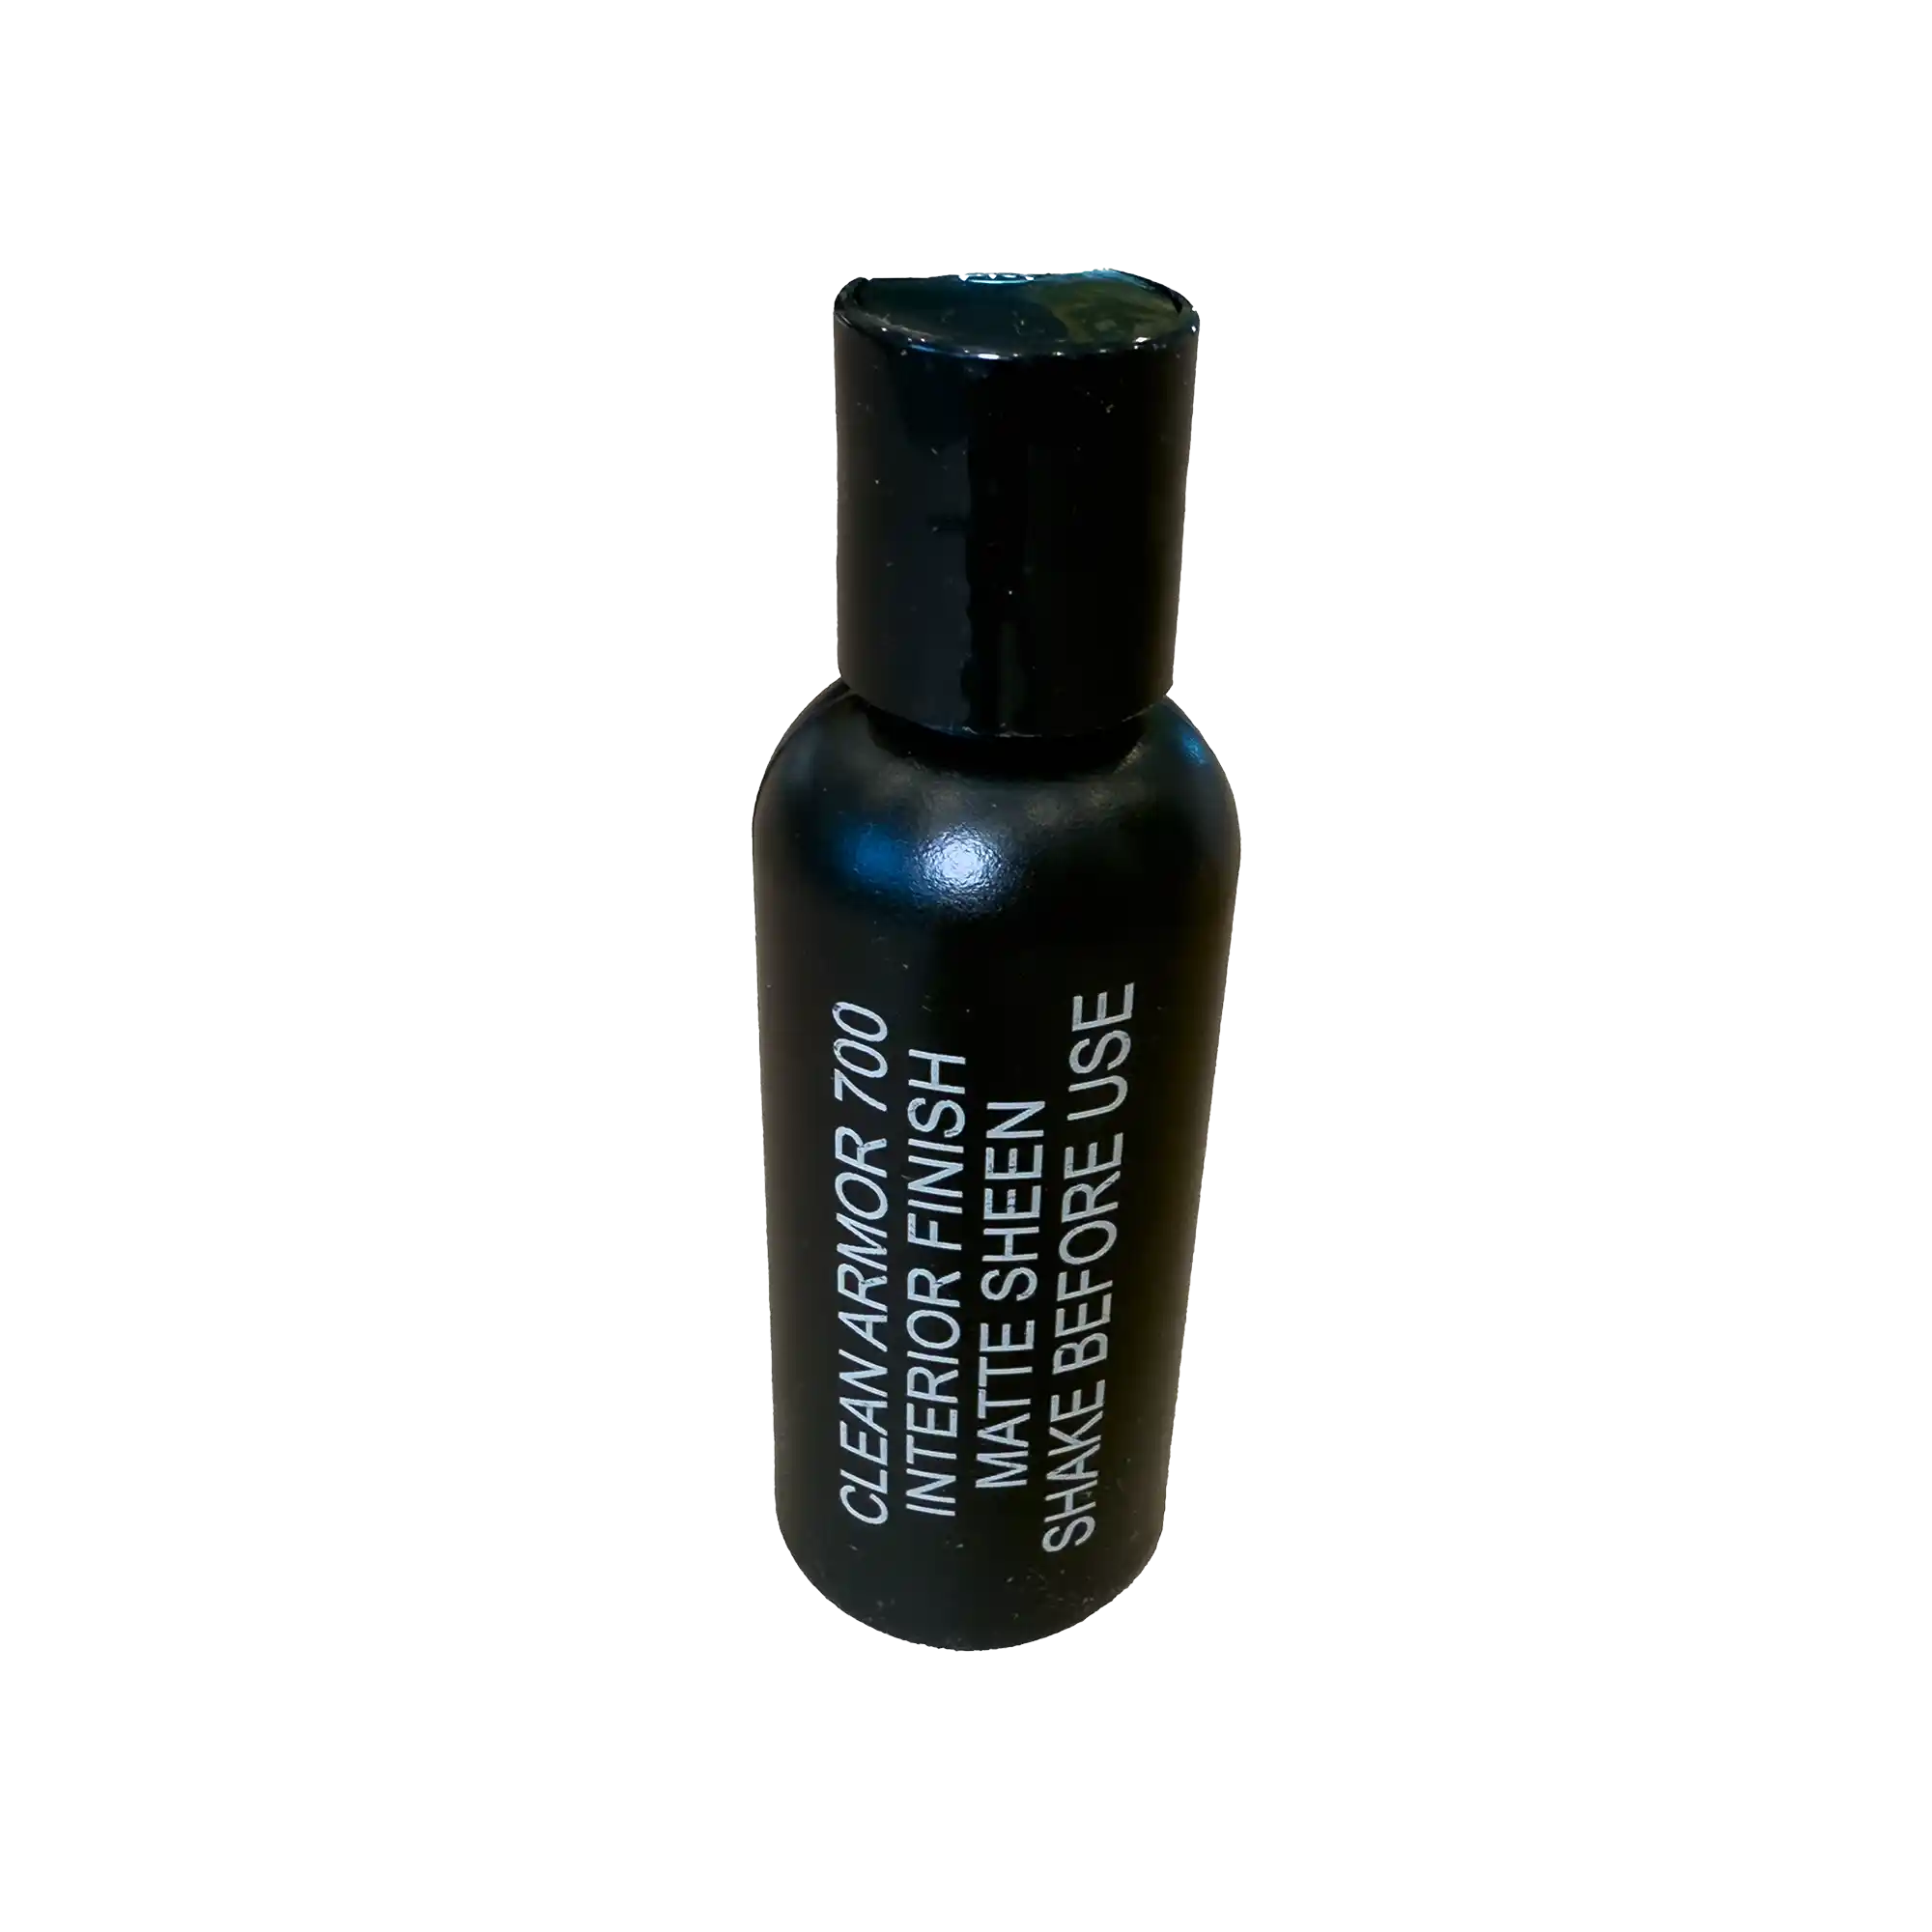
- 2oz of 700 in Matte
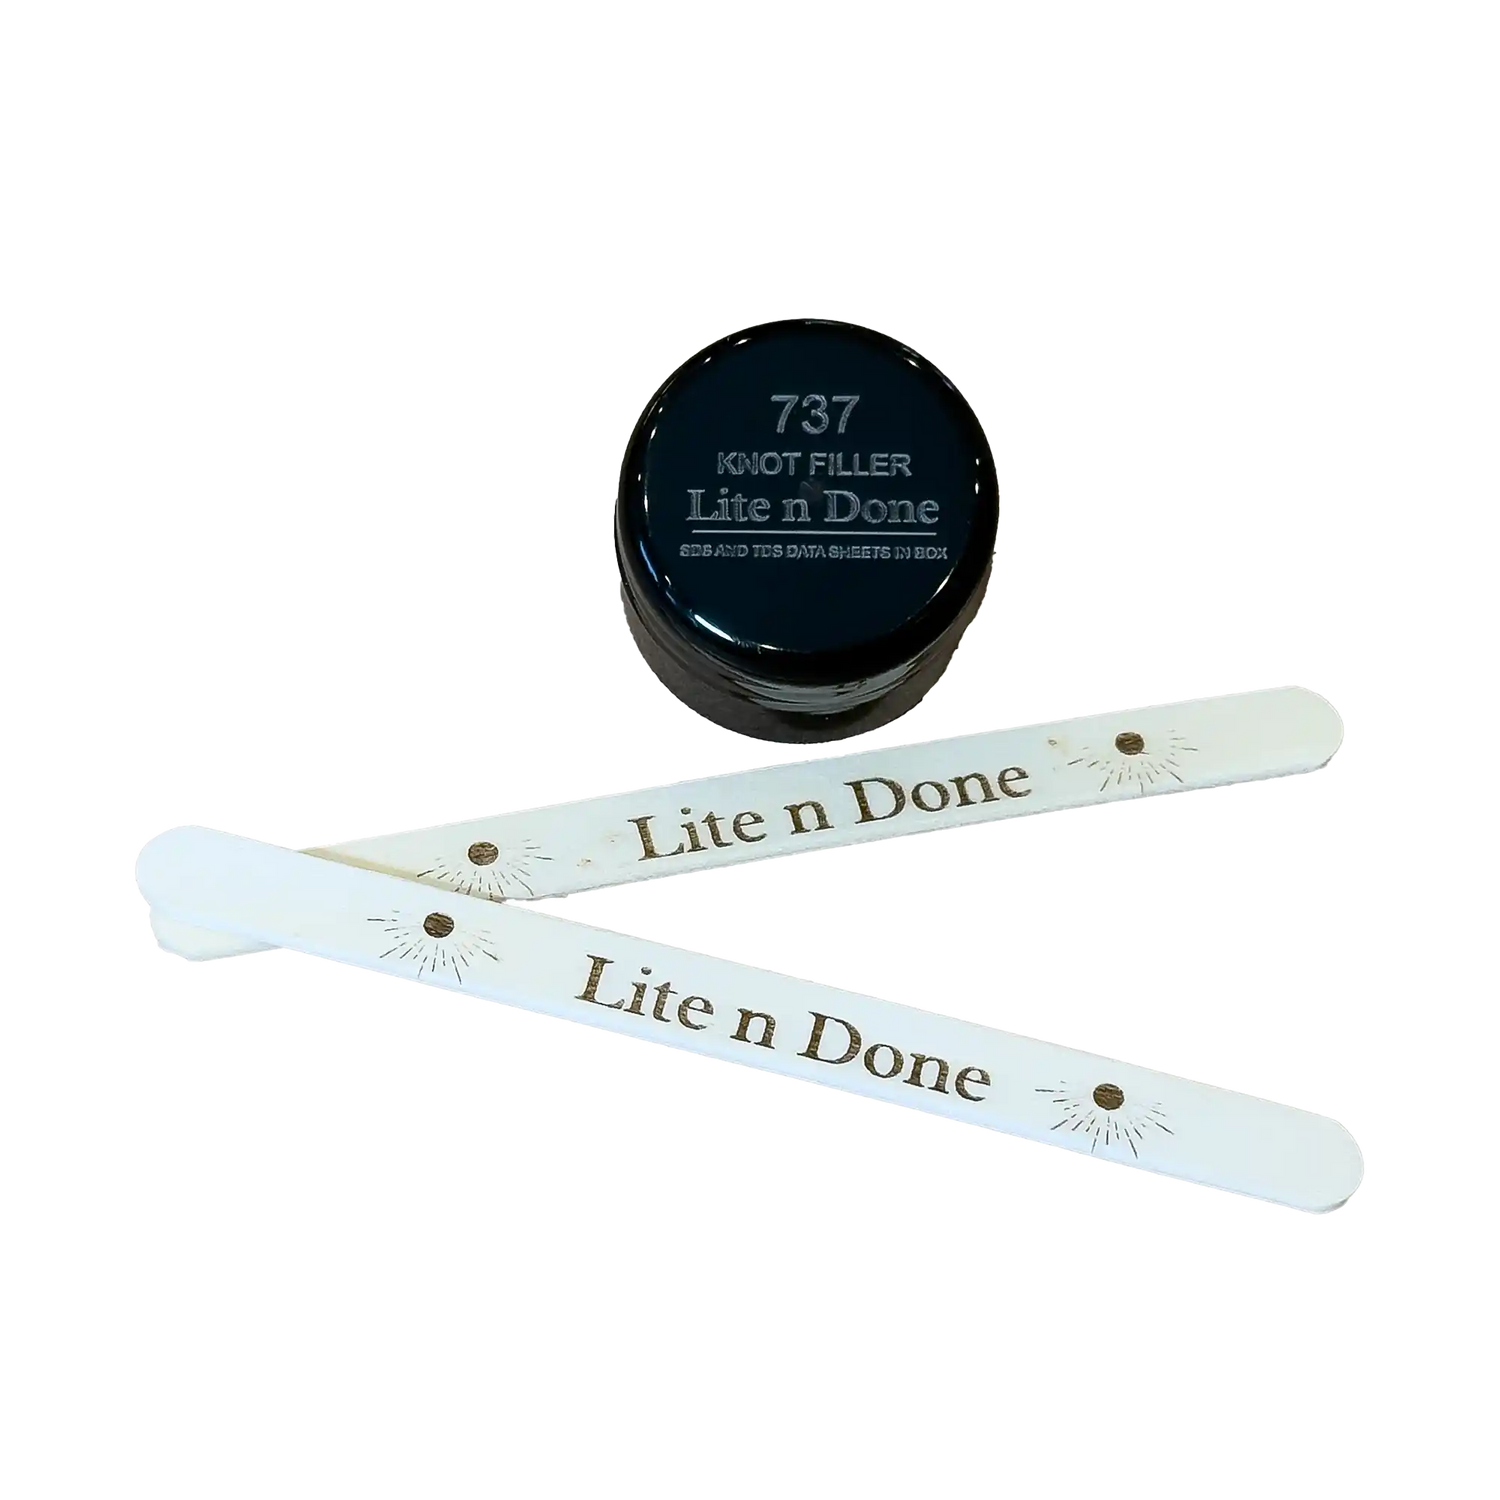
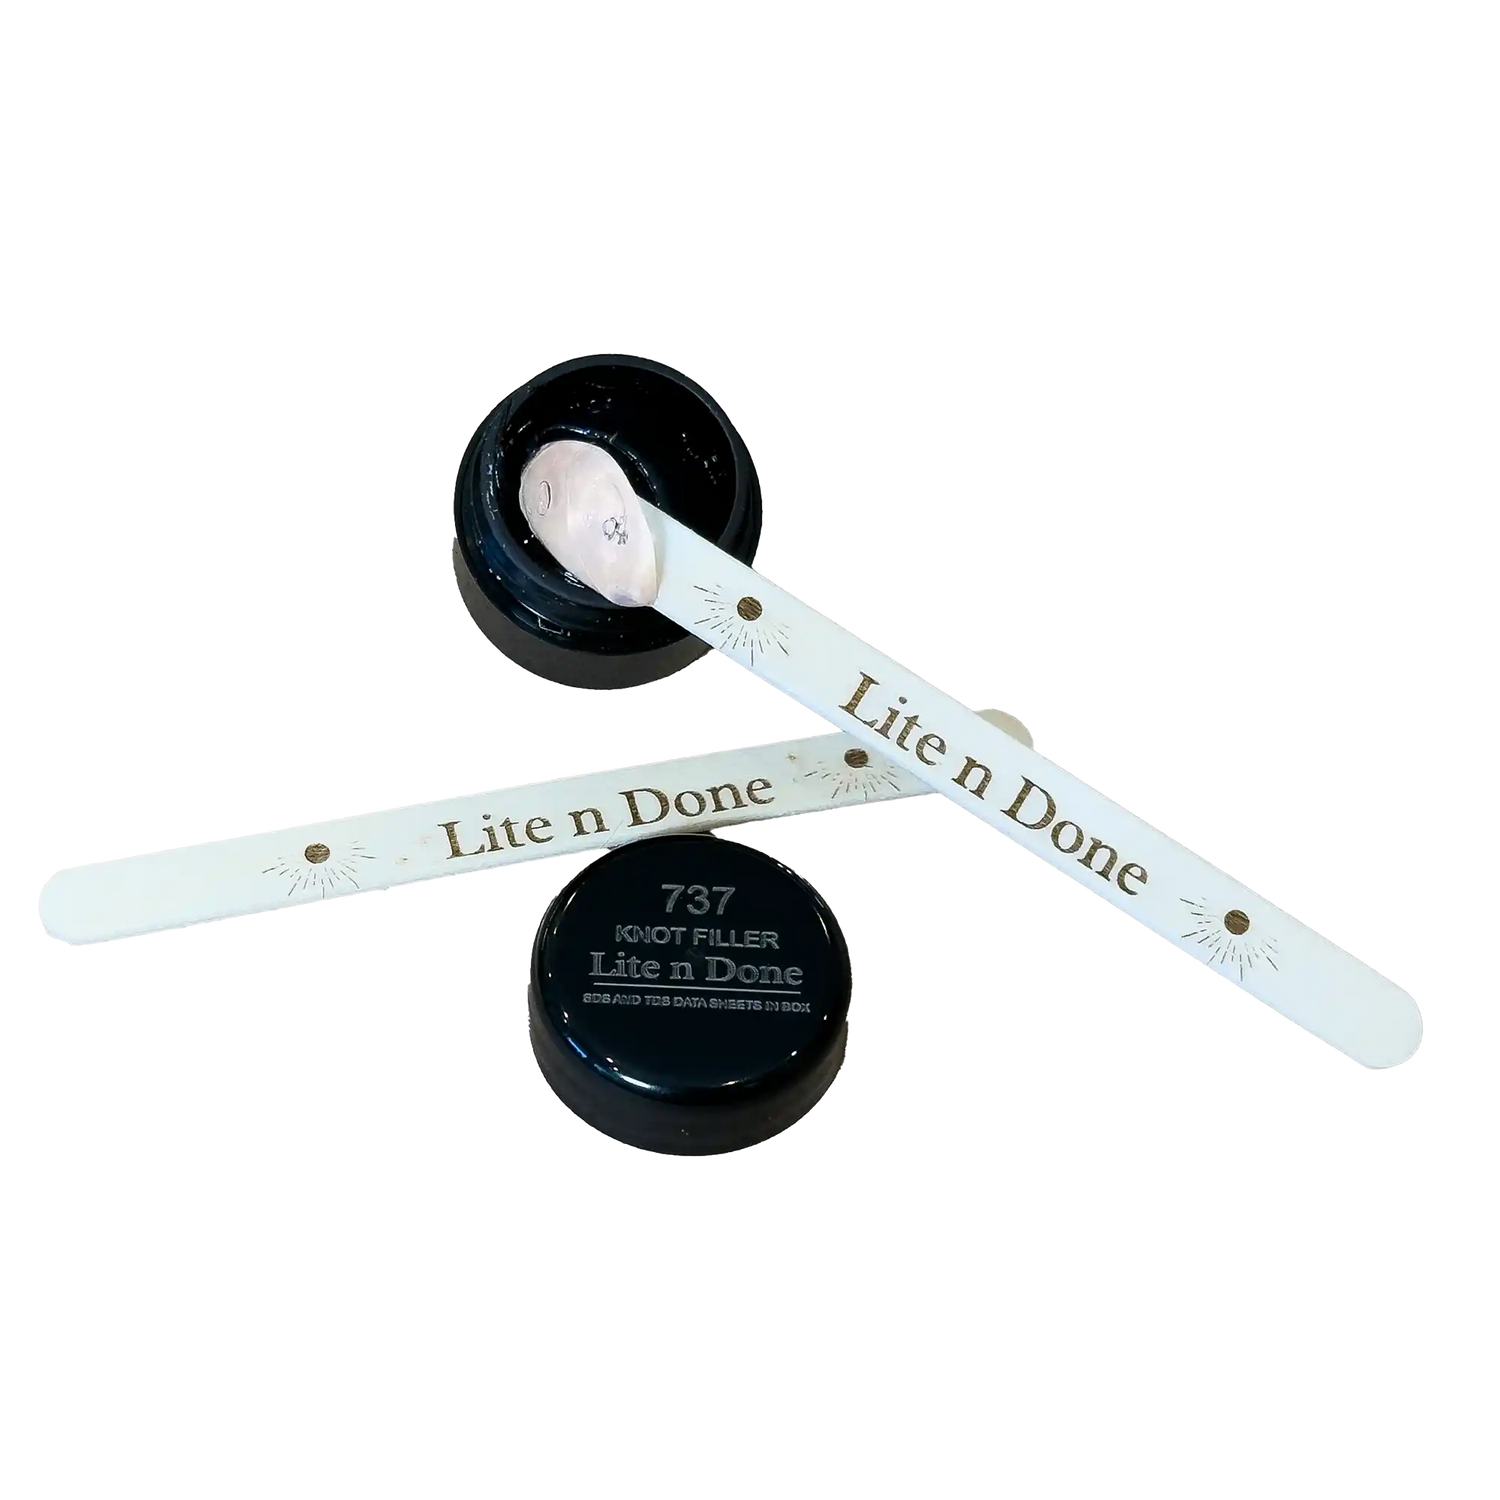
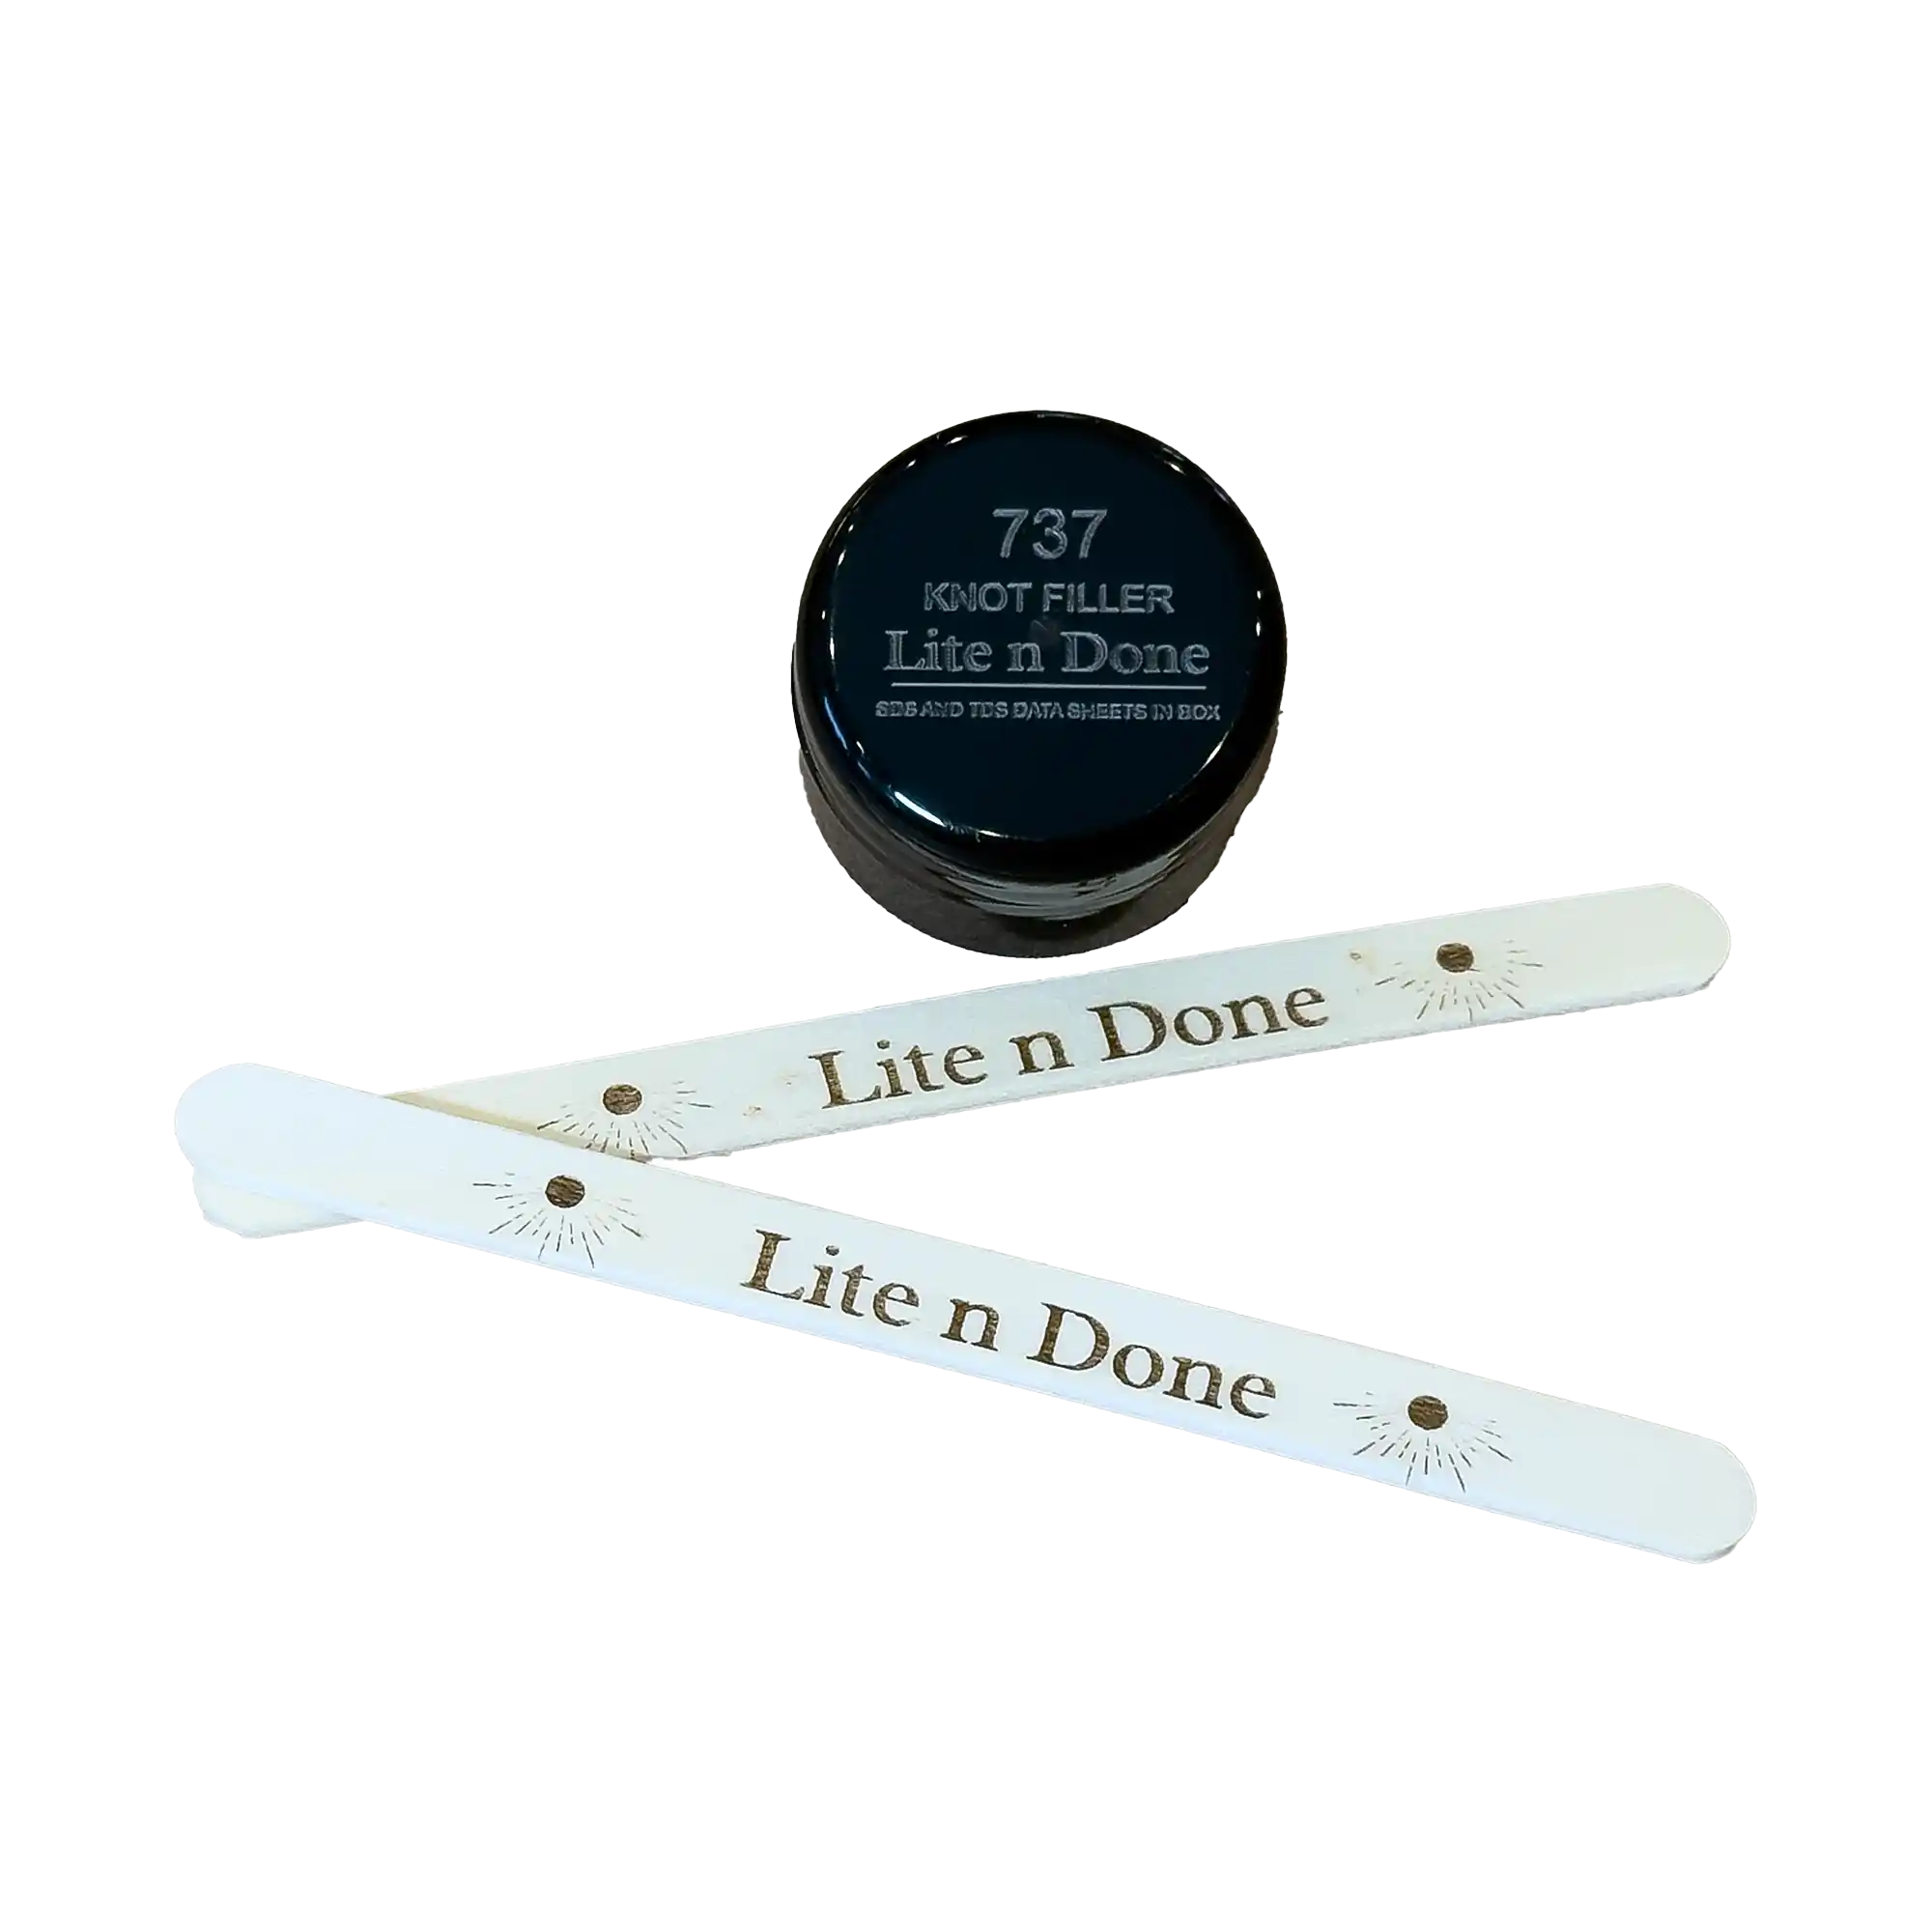
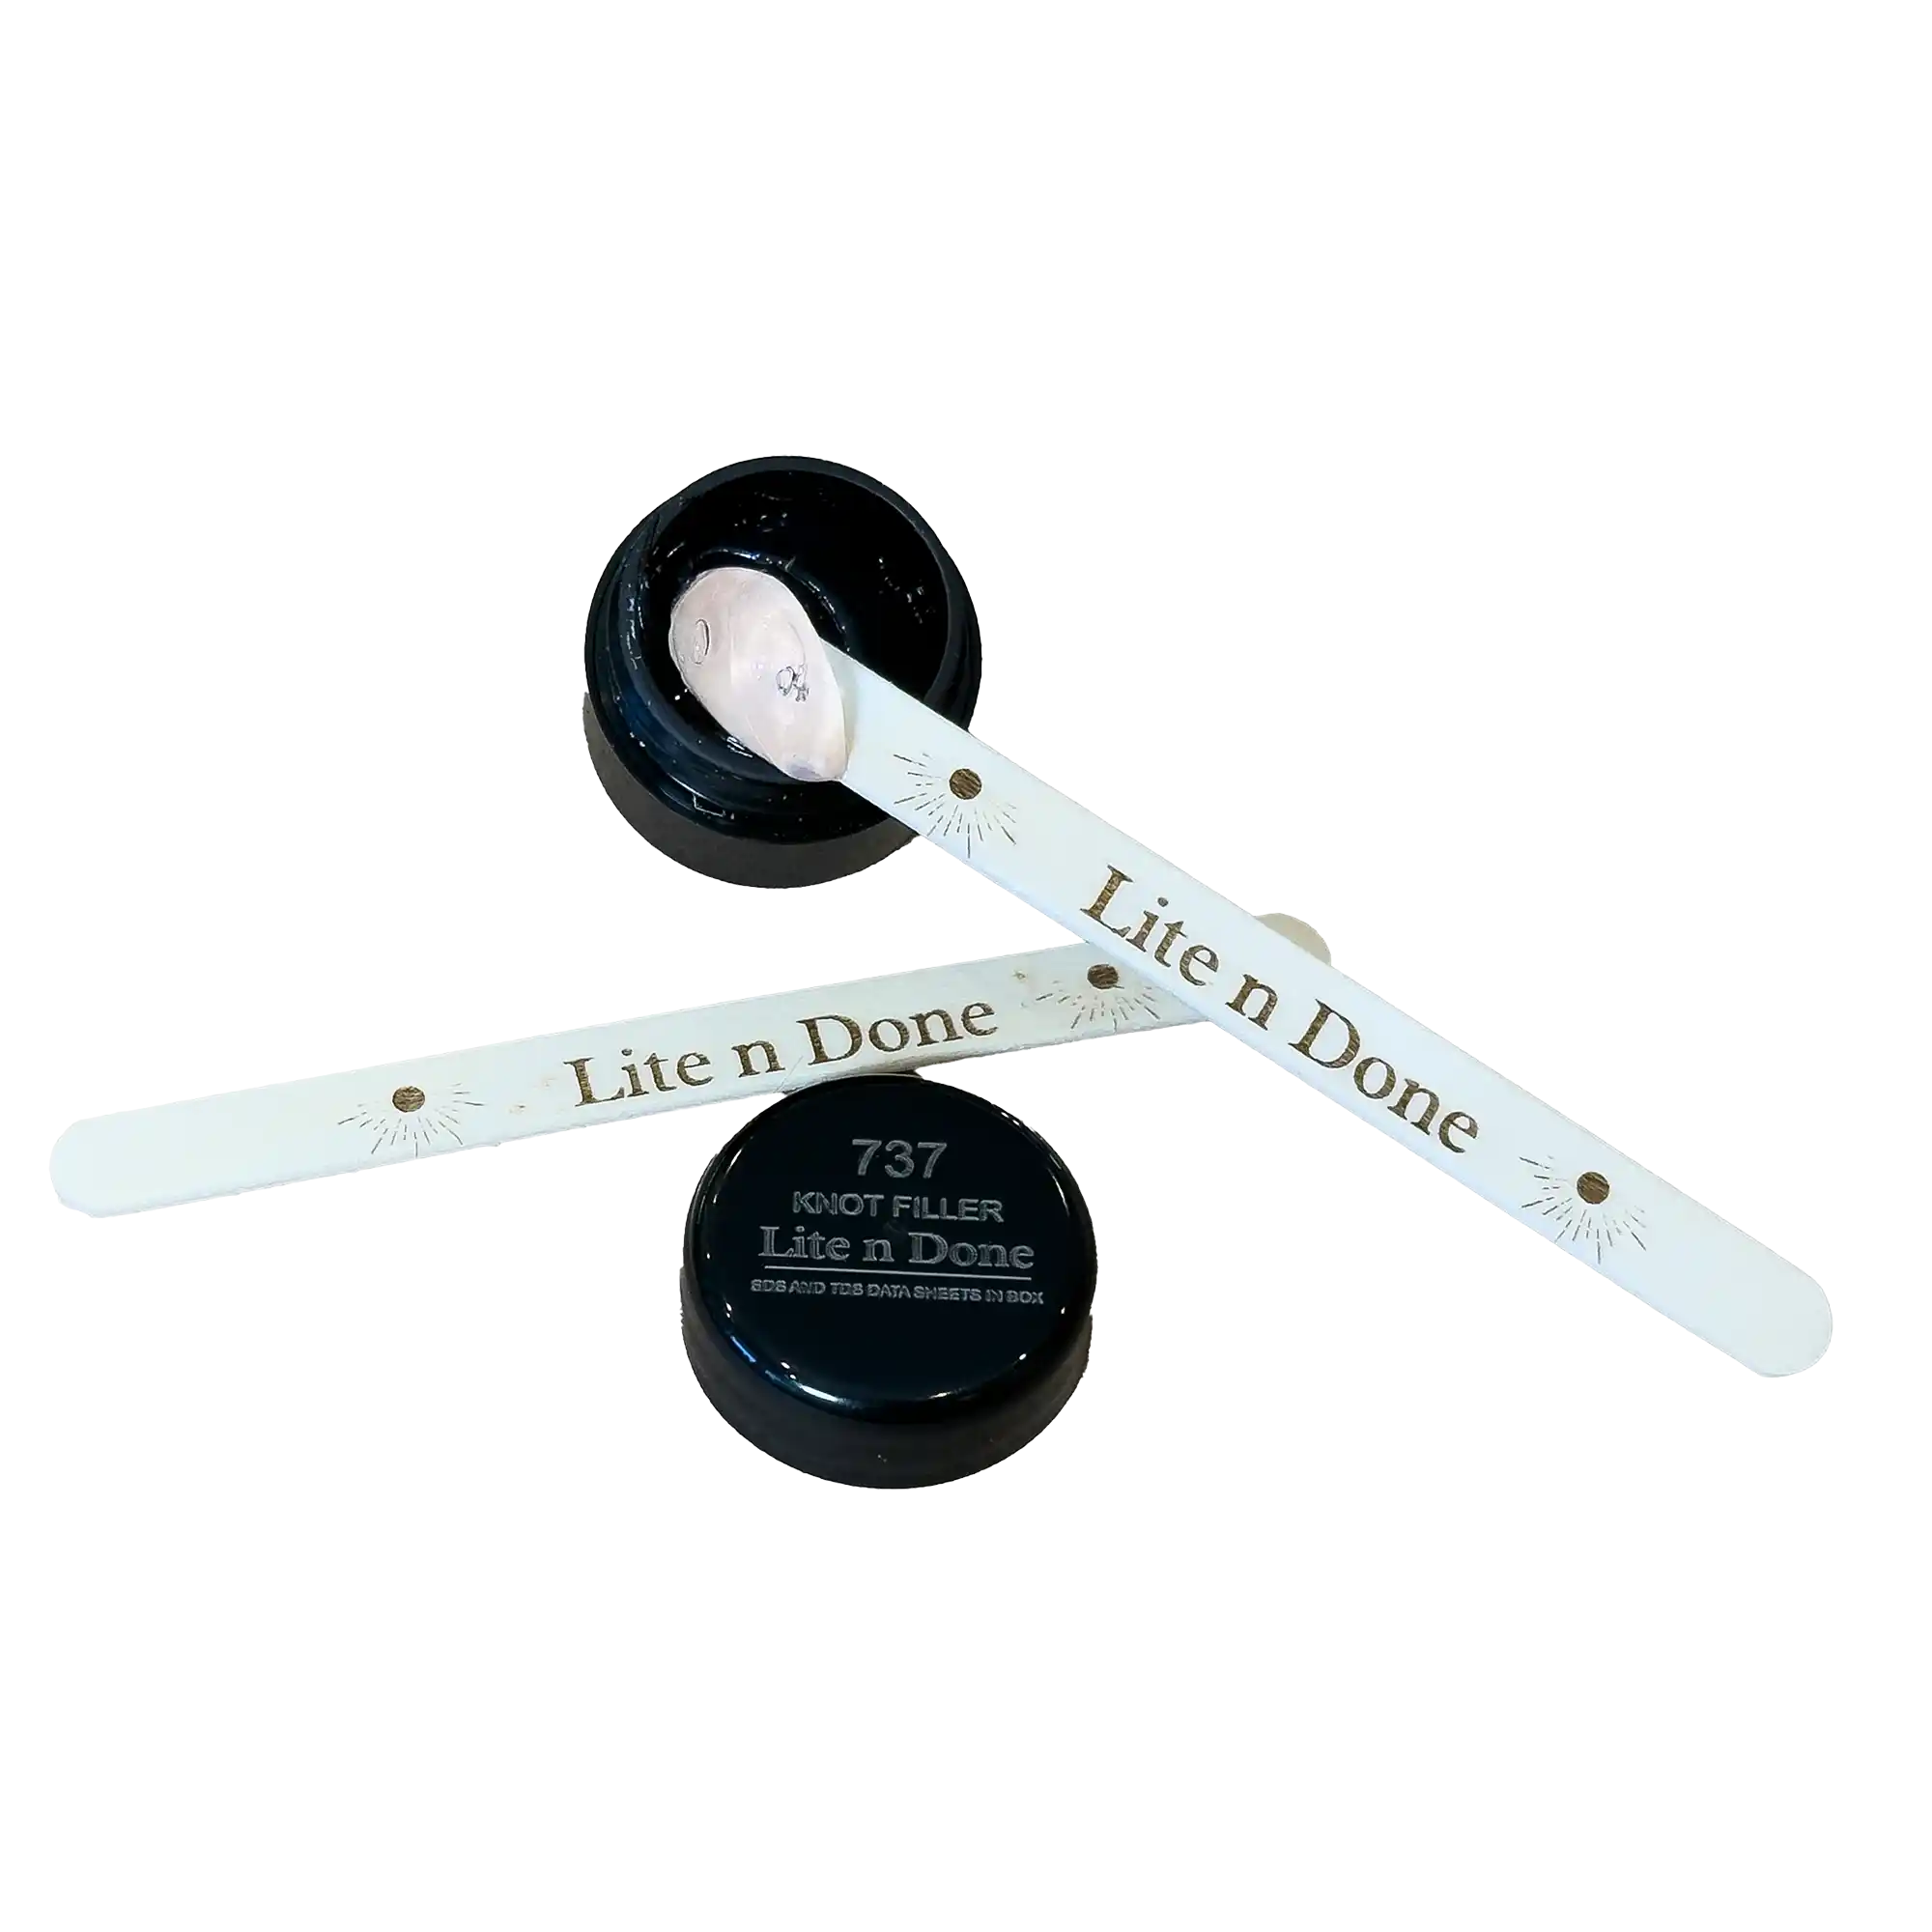
- 0.20 oz of 737 Knot filler
- All TDS Application Information
- All SDS Safety Data
Couldn't load pickup availability

Who Uses Clean Armor?
-

Artisans and Craftsman
Refinishing Furniture or Smaller Projects Like Arts & Crafts
-

Professional Makers
Dusty Space, No Problem! For Individuals Who Make Their Living With Wood And Don't Have A Dedicated Spray booth.
-

Custom Shops
Medium Sized Businesses That Are Scaling Up. Displays, Signage, Furniture and Everything Custom
-

Large Industrial Clients
Established Shops Wanting To Increase Throughput, Reduce Bottlenecks and Improve The Bottom Line
How To Apply
-

Hand Application
Simply wipe on Clean Armor with a rag and cure with the UV Light. Remember to leave enough material to cure.
-

Brush On
Brush on a very thin coat of Clean Armor, work it into the wood and cure with the UV Light.
-

Roll On
For larger areas, roll on a thin layer of Clean Armor, and cure with the UV Light.
-

Spray On
Spray a very thin layer of Clean Armor and cure with the UV light. This method increases the build layer substantially.
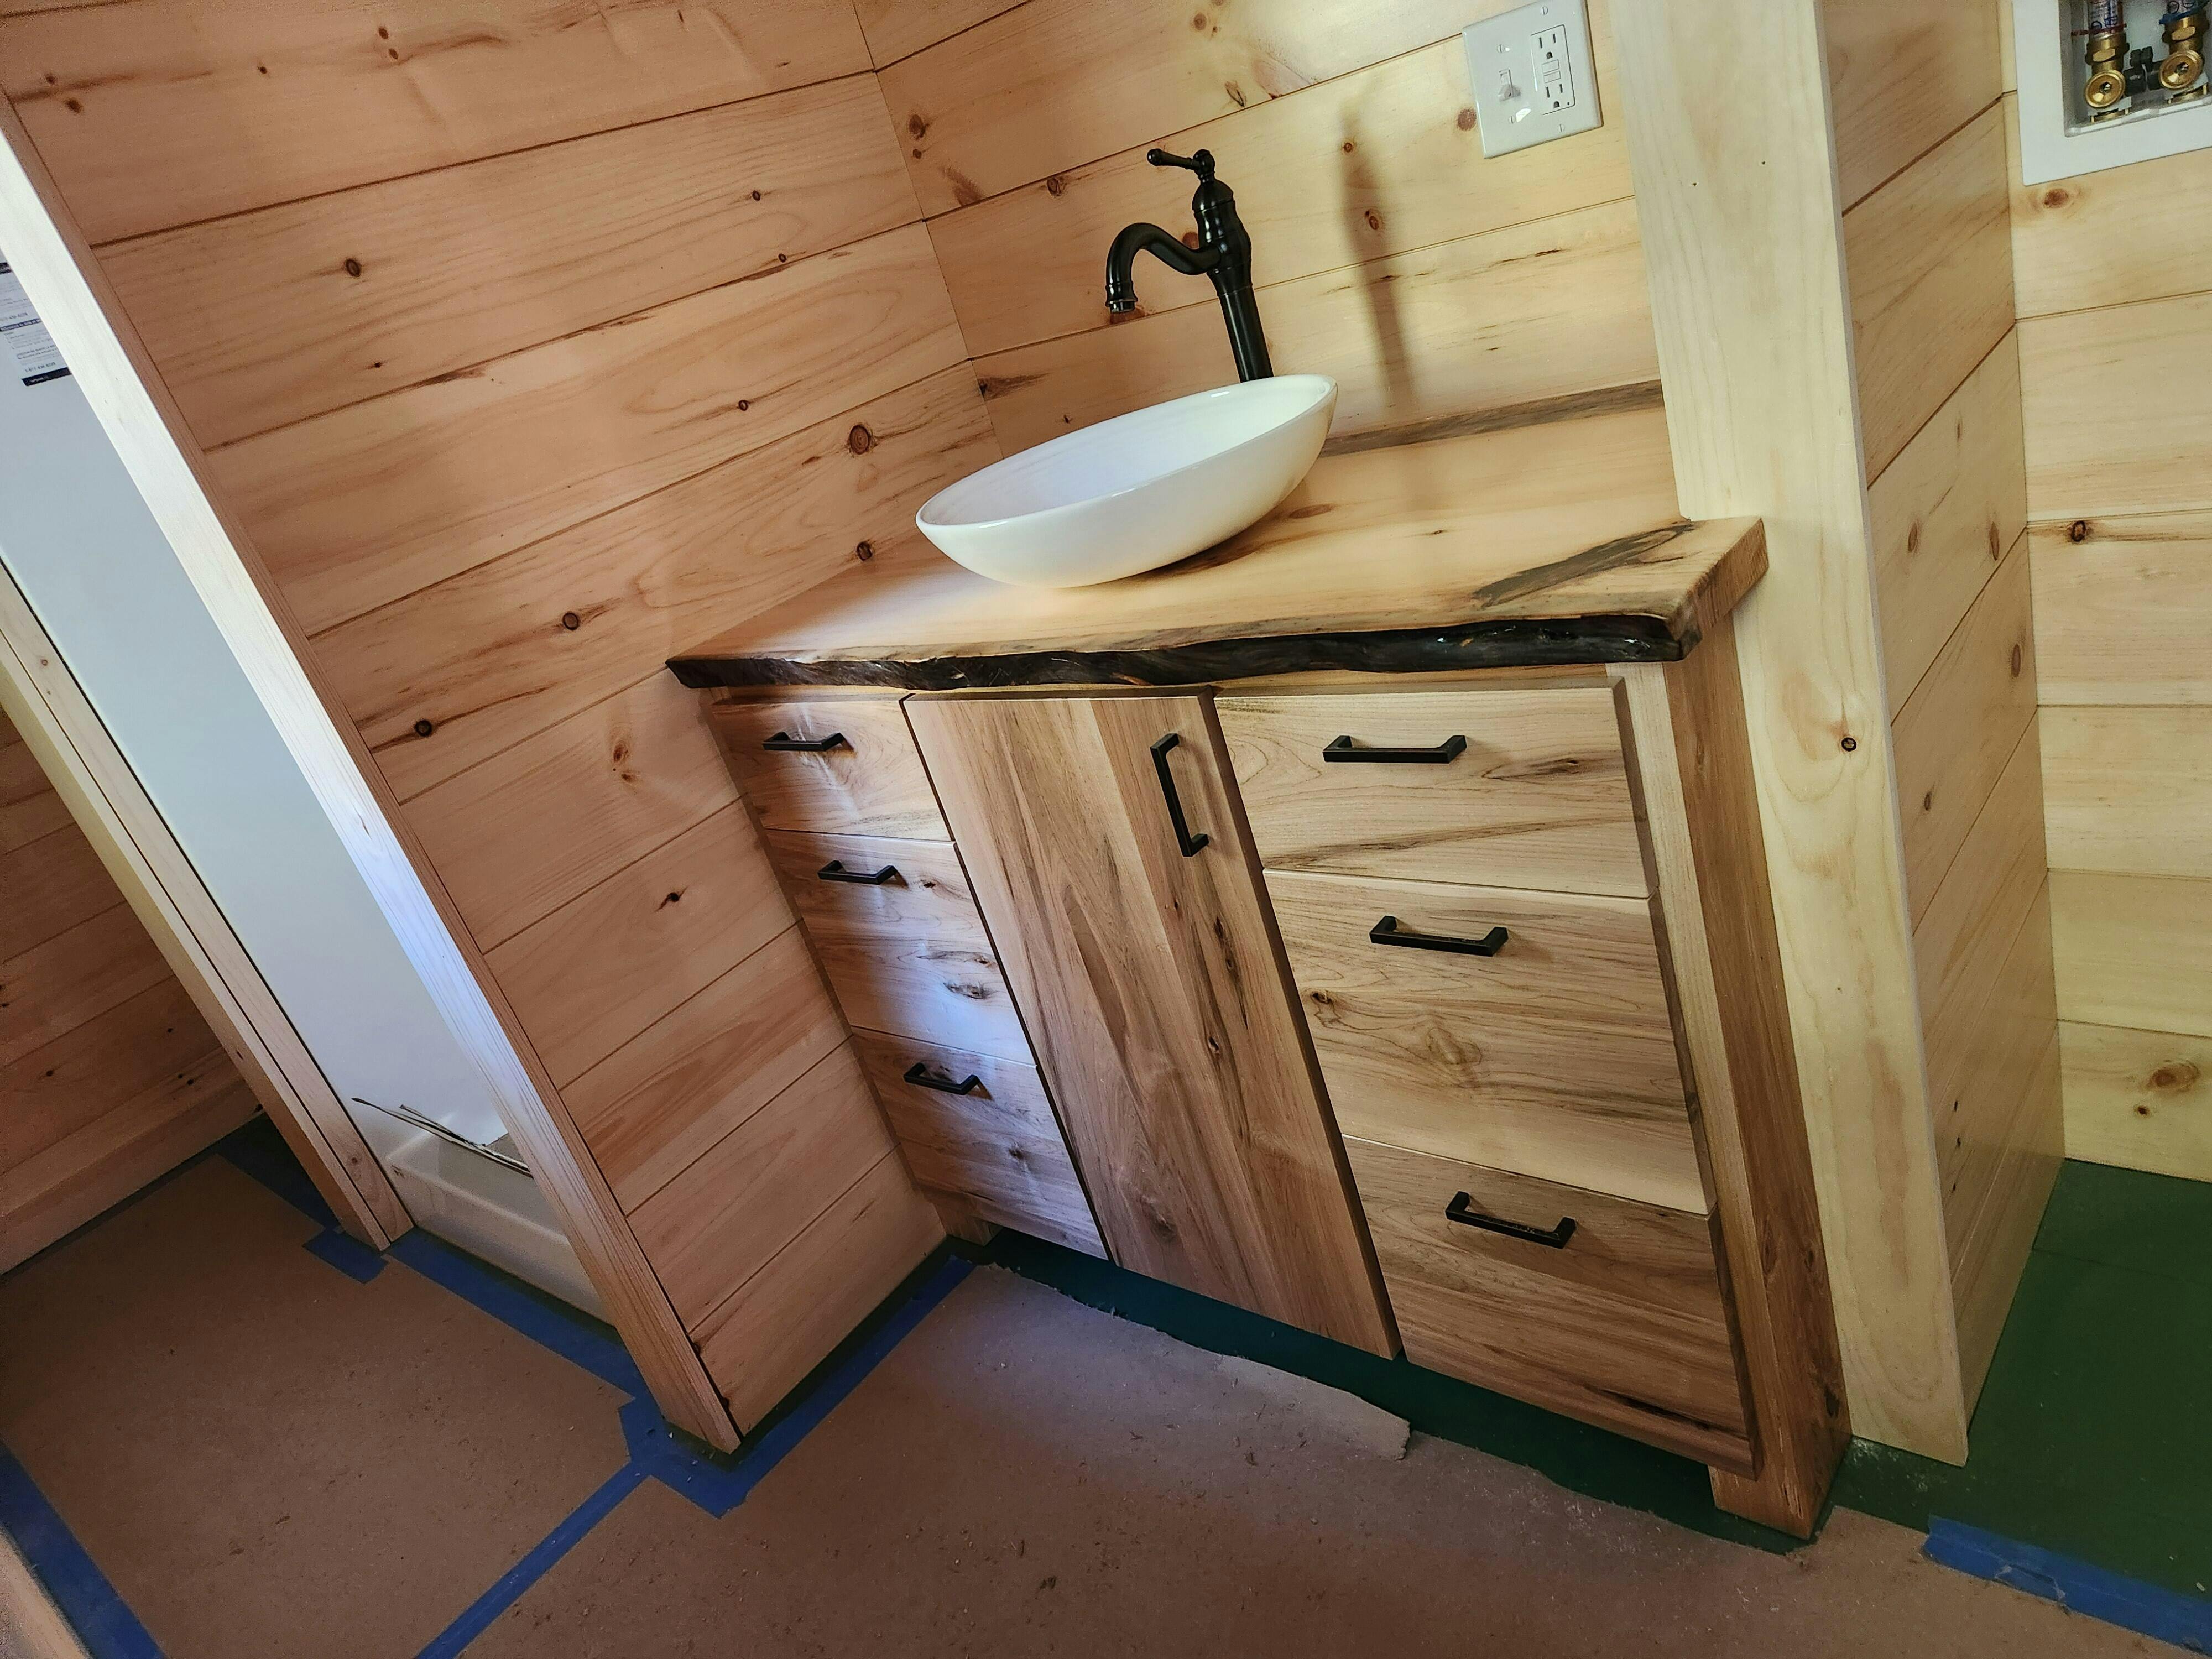
We Want To Hear It All!
Share your review with us including a picture of your project! We want to hear from you!
All your questions answered
Why is Clean Armor so Expensive?
Why is Clean Armor more expensive than traditional finishes?
While the initial cost of Clean Armor may seem higher, it's important to consider the long-term value and efficiency.
Superior Coverage: A single quart of Clean Armor covers a generous 400 square feet at 1 mil, translating to a cost-effective $0.37 per square foot.
100% Solids Technology: Unlike traditional solvent-based finishes that are only 30% solids (meaning 70% evaporates), Clean Armor is 100% solids. Every drop you apply stays on the surface, maximizing efficiency and minimizing waste.
Time is Money: Let's not forget the value of your time. With Clean Armor's rapid drying time, you can spend less time waiting around and more time enjoying your weekend.
Payment
We accept all major credit cards. For industrial customers, ACH and Wire options are available.
Shipping
Sample packs ship via UPS 2 Day Express to get the samples in your hands quickly!
All other orders are shipped via UPS Ground within 5 days of receiving payment. We ship Monday through Thursday only. You will be emailed a tracking number once your order has been picked up by UPS. We only ship within the USA
Cuvo Lights are shipped from a separate location and have an additional shipping charge of $17.99
Returns
Since this is a light sensitive finish, we cannot accept any returns. We offer starter kits that are sample sized so that you can try the product before you commit to a larger order. If you are interested in trying out the product, check out our Sample Kit
For Lights that are received and defective, please reach out to Orders@litendone.com for help.
Sample Packs are non-returnable. They are designed to only test the products before you purchase.
Cancelation of order
Orders can be canceled before shipping. A 25% restocking fee will be applied. If the order has shipped, we cannot accept the return.
Why wont my finish flatten out?
Most likely there are two causes. I would suggest adding 10-20% of a thinner to your finish such as 90-99% Isopropyl Alcohol. Denatured Alcohol will not work.
The other contributing factor is most likely due to the temperature. Make sure your finish and project are both above 70 degrees. These are the most common reasons Clean Armor is not laying flat after application.
Since Clean Armor has zero VOC's, you might want to consider sanding and doing all of the dusty work out in your shop or garage, and bring in your ready-to-finish piece to a nice warm room for finishing.
If moving the piece is not optional, another trick I have used is to place the bottle of Clean Armor in some hot water to get the finish to flow better.
How do I eliminate "fisheyes" from my finish?
It is imperative that when spraying Clean Armor, you use conditioned air from your compressor to your gun. This can be achieved with a water/ oil separator or an refrigerated air dryer for larger shops. The Fisheye in your finish is coming from contaminants in your gun or the air.
For the home shop or smaller manufacturer, after you have installed a water collector on your line, you can flush out your existing hoses with 99% isopropyl alcohol to remove any traces of moisture from the lines.
What is the difference between the 700 and 757 finishes?
When in doubt, order the 700. The 757 is quite a bit thicker and is meant to be applied in an industrial setting with dedicated application equipment. When ordering Clean Armor for the first time, I made the same mistake of ordering the 757 thinking it was more durable because it had the word Commercial in the name. You will have greater success with getting your finish to lay down properly when you order the 700. It is every bit as durable as the 757 with easier application.
Tips for Application
- MOST IMPORTANT TIP: "When you see what you like... shine the light". Do not cure the product until you see the look you want, curing will lock it in place!
- APPLICATION: All sealers and clear topcoats can be brushed, rolled, wiped or sprayed on.
- SPRAYING: It is recommended that you use between a 0.8-1.3 tip and a pressure setting of 16-35 psi. These finishes need to be finely atomized, due to having 100% solids. Fine atomization spray equipment is recommended. Follow the manufacturer’s recommendations for use.
- WIPING: It is recommended to use a stain pad or a lint free cloth when applying by hand. A lint free fine nap roller can be used, but we don’t recommend foam rollers or foam brushes (as they can inject air bubbles into the finish). If you see air bubbles appear, continue to hand wipe (and/or self level) until you achieve a clear appearance.
- THINNING: Can be thinned with IPA (isopropyl alcohol 91-99) up to 20%. Do not use denatured alcohol.
- TEMPERATURE: For best results, Clean Armor finishes should be used at a temperature between 70°-110°F.
- AGITATION: Satin and matte sheens should be shaken weekly to avoid settling.
- SANDING: Between coats, start with a 320 grit or finer. Course, low grit sandpaper doesn’t work well on these finishes.
- SELF LEVELING: These finishes are self leveling. They will stay “open” for as long as you’d like, until you cure them with sunlight or the appropriate LED light (CUVO is recommended).
- CURING: These finishes will not dry on their own. The recommended method of curing is to use a CUVO light indoors. Clean Armor finishes will cure in 2 minutes with the proper wavelength (365-405 nanometers). CUVO lighting operates at this wavelength and was designed to cure these products. CUVO offers handheld lights and hangable 4’ bar lights; both types having a 110 plug. Indirect and direct sunlight will also cure these finishes. It is important that the entire applied surface sees the light at the same time to ensure proper curing. It is not recommended to cure in sections.
- CURING LIGHT DISTANCE: Adjust the distance of your curing lights to achive a tack-free through-cure at 2 minutues exposure. If you are curing in under 1 minute the lights are too close and can cause accellerated curing of the material which can lead to micro-bubbles or can disturb the look of the applied film. The look or profile of the wet film should be subtantially the same after curing at the recommended rate.
- COVERAGE: 1 quart of these finishes will cover 402 sq ft when applied at 1 mil thickness, and 1 gallon will cover 1608 sq ft when applied at 1 mil thickness.
- TESTING: We recommend that you test the application and curing of all Clean Armor products on test pieces, before applying them on a real project piece. Become familiar with how they work, first.
- LONGEVITY: Clean Armor finishes will last up to 1 ½ years in the bottle, with no light exposure. Keep the lid on while you are working! Keep open materials away from indirect sunlight (such as windows and open doors).
- LIGHTING TEST: To test the existing lighting in your workspace, place 1 inch of coating in a clear, plastic cup and sit it in the middle of your workspace. Check it every 10-20 minutes to see if the coating has cured. This will tell you if your current lighting will prematurely cure these finishes as you are working on a project.
- PPE: Wear the same PPE as you currently wear when using a solvent system. Always wear nitrile gloves.
How much does Clean Armor wood finish cost?
Clean Armor Wood Finish Costs $130 per Quart for most products.
Is Clean Armor wood finish food safe?
No, Clean Armor has not been evaluated for food contact.
What is Clean Armor finish?
Clean Armor finish is a clear coating for wood that cures wtih UV light.
What is the difference between Clean Armor 700 and 757?
Clean Armor 700 is easier to apply for most wood workers. 757 was designed for industrial use including machine application such as roll coating and automatic spray finish lines.
What is the shelf life of Clean Armor?
The shelf life of Clean Armor is 12 months.
Where to buy Clean Armor Wood Finish?
The distributor Lite n Done is your best resource for buying Clean Armor.
Clean Armor Wood Finish on Amazon?
Right now, we are only in the planning phase of offering Clean Armor on Amazon. For now you can purchase it on the Lite n Done website.