

Designed By Woodworkers For Woodworkers
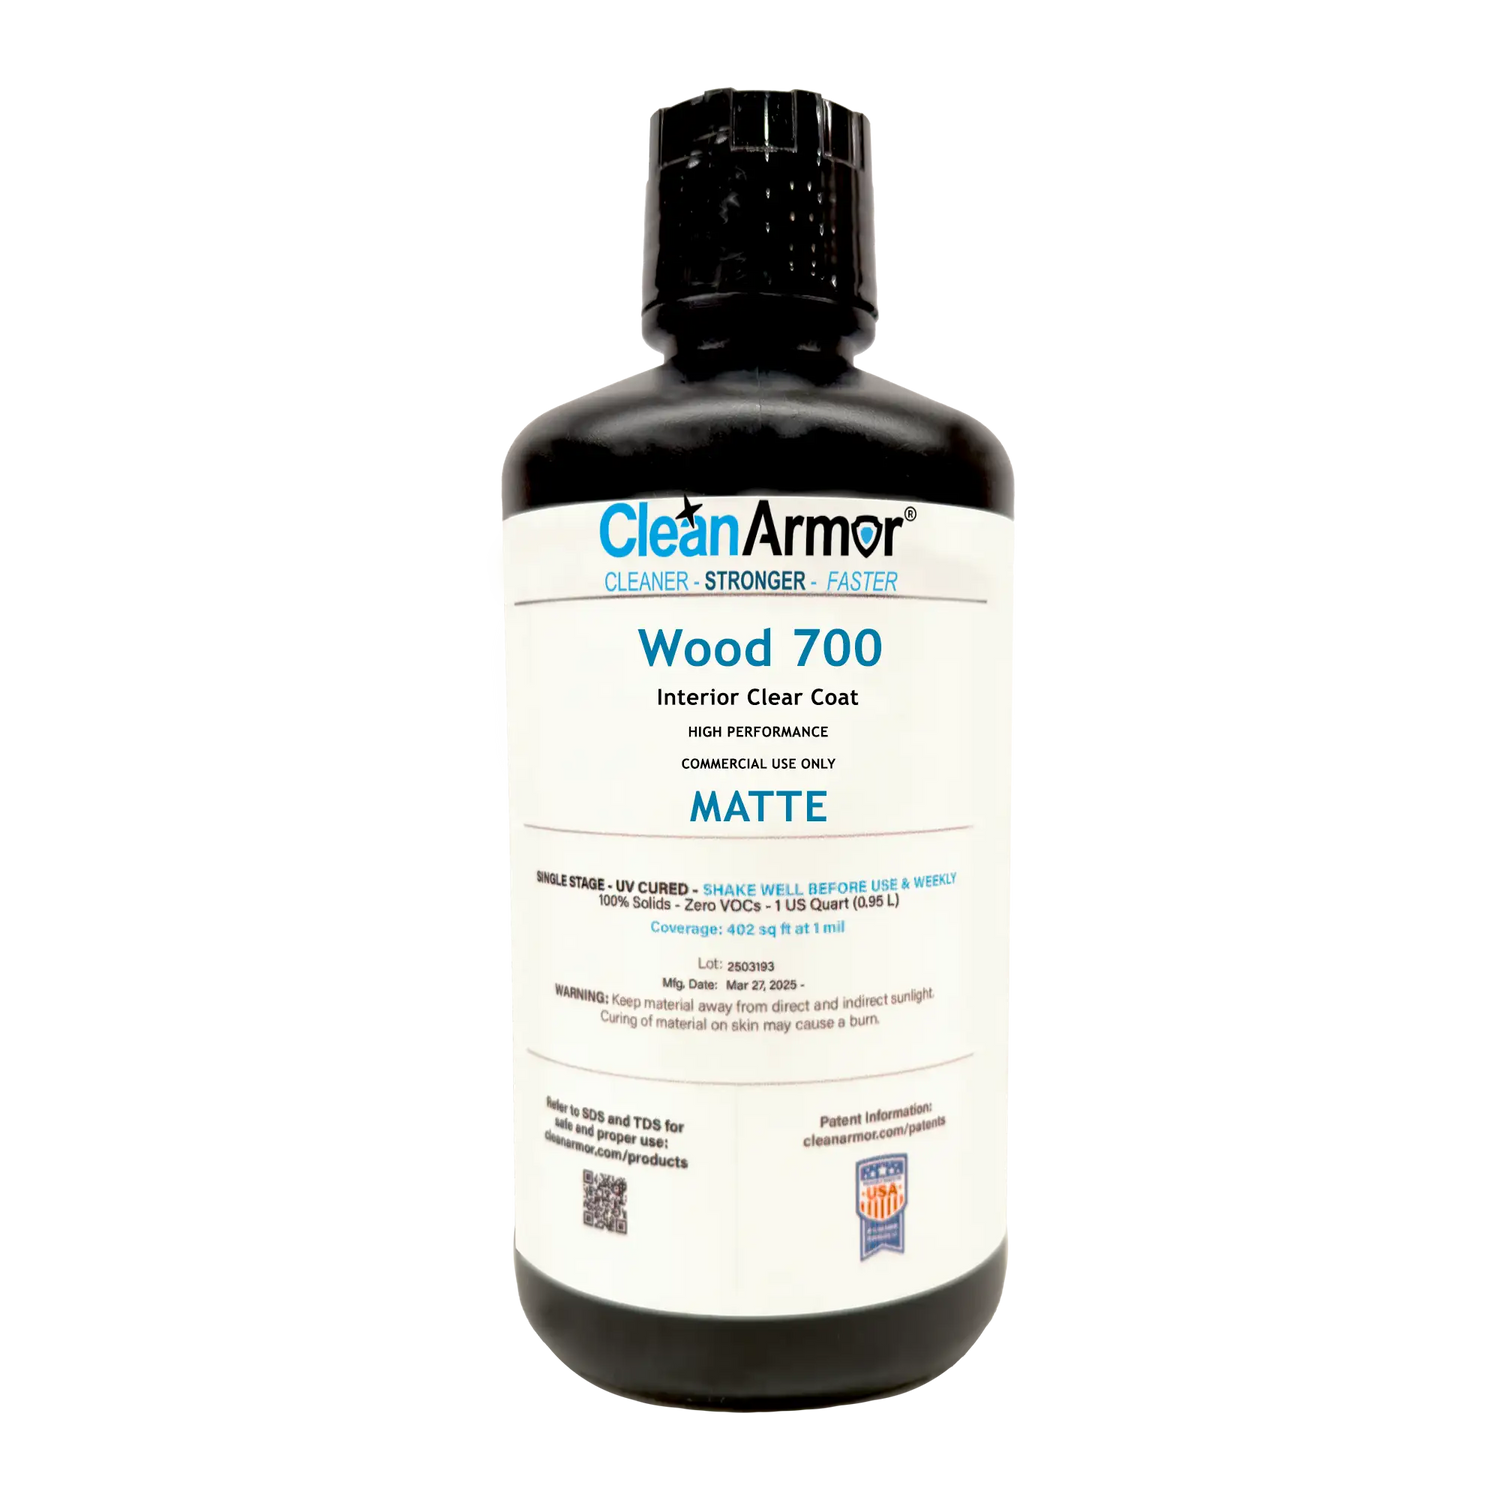
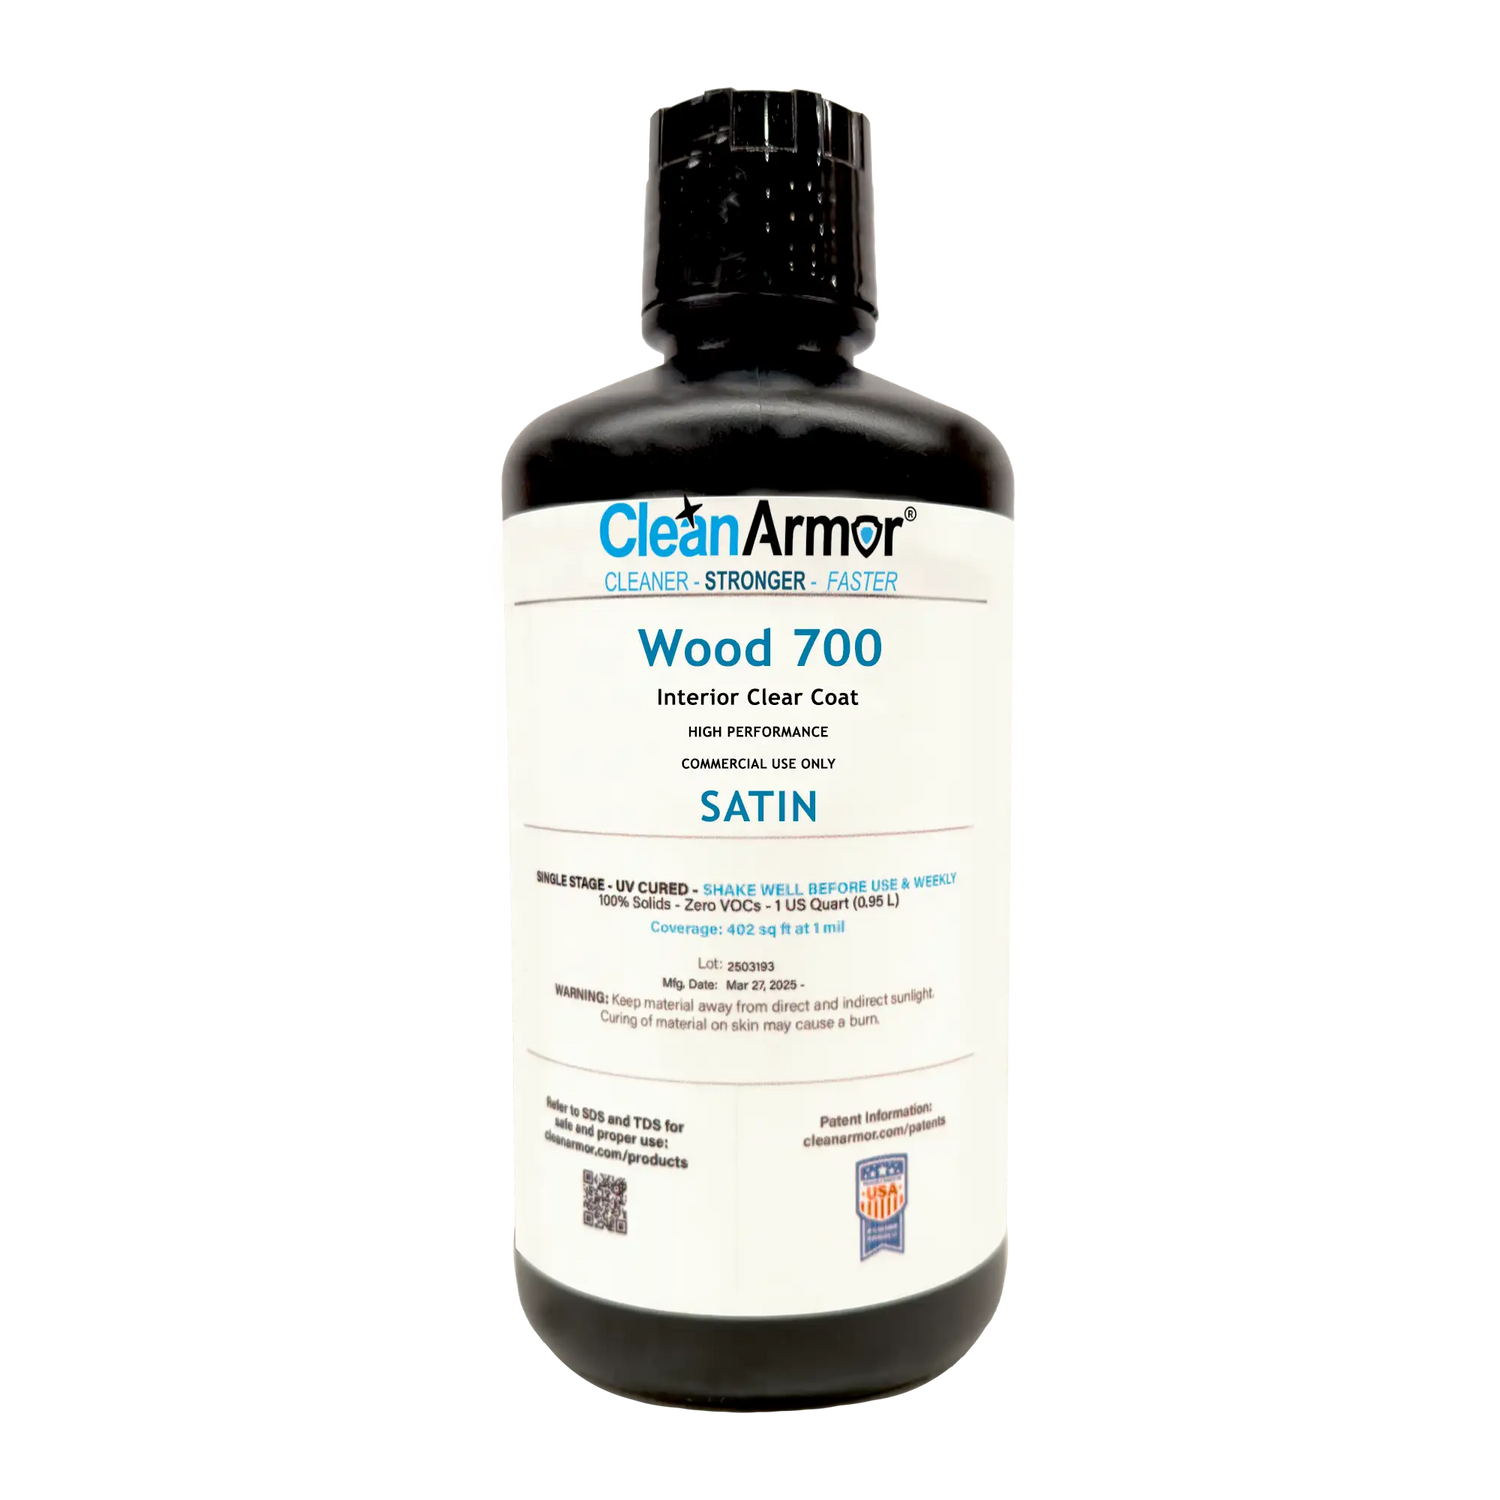
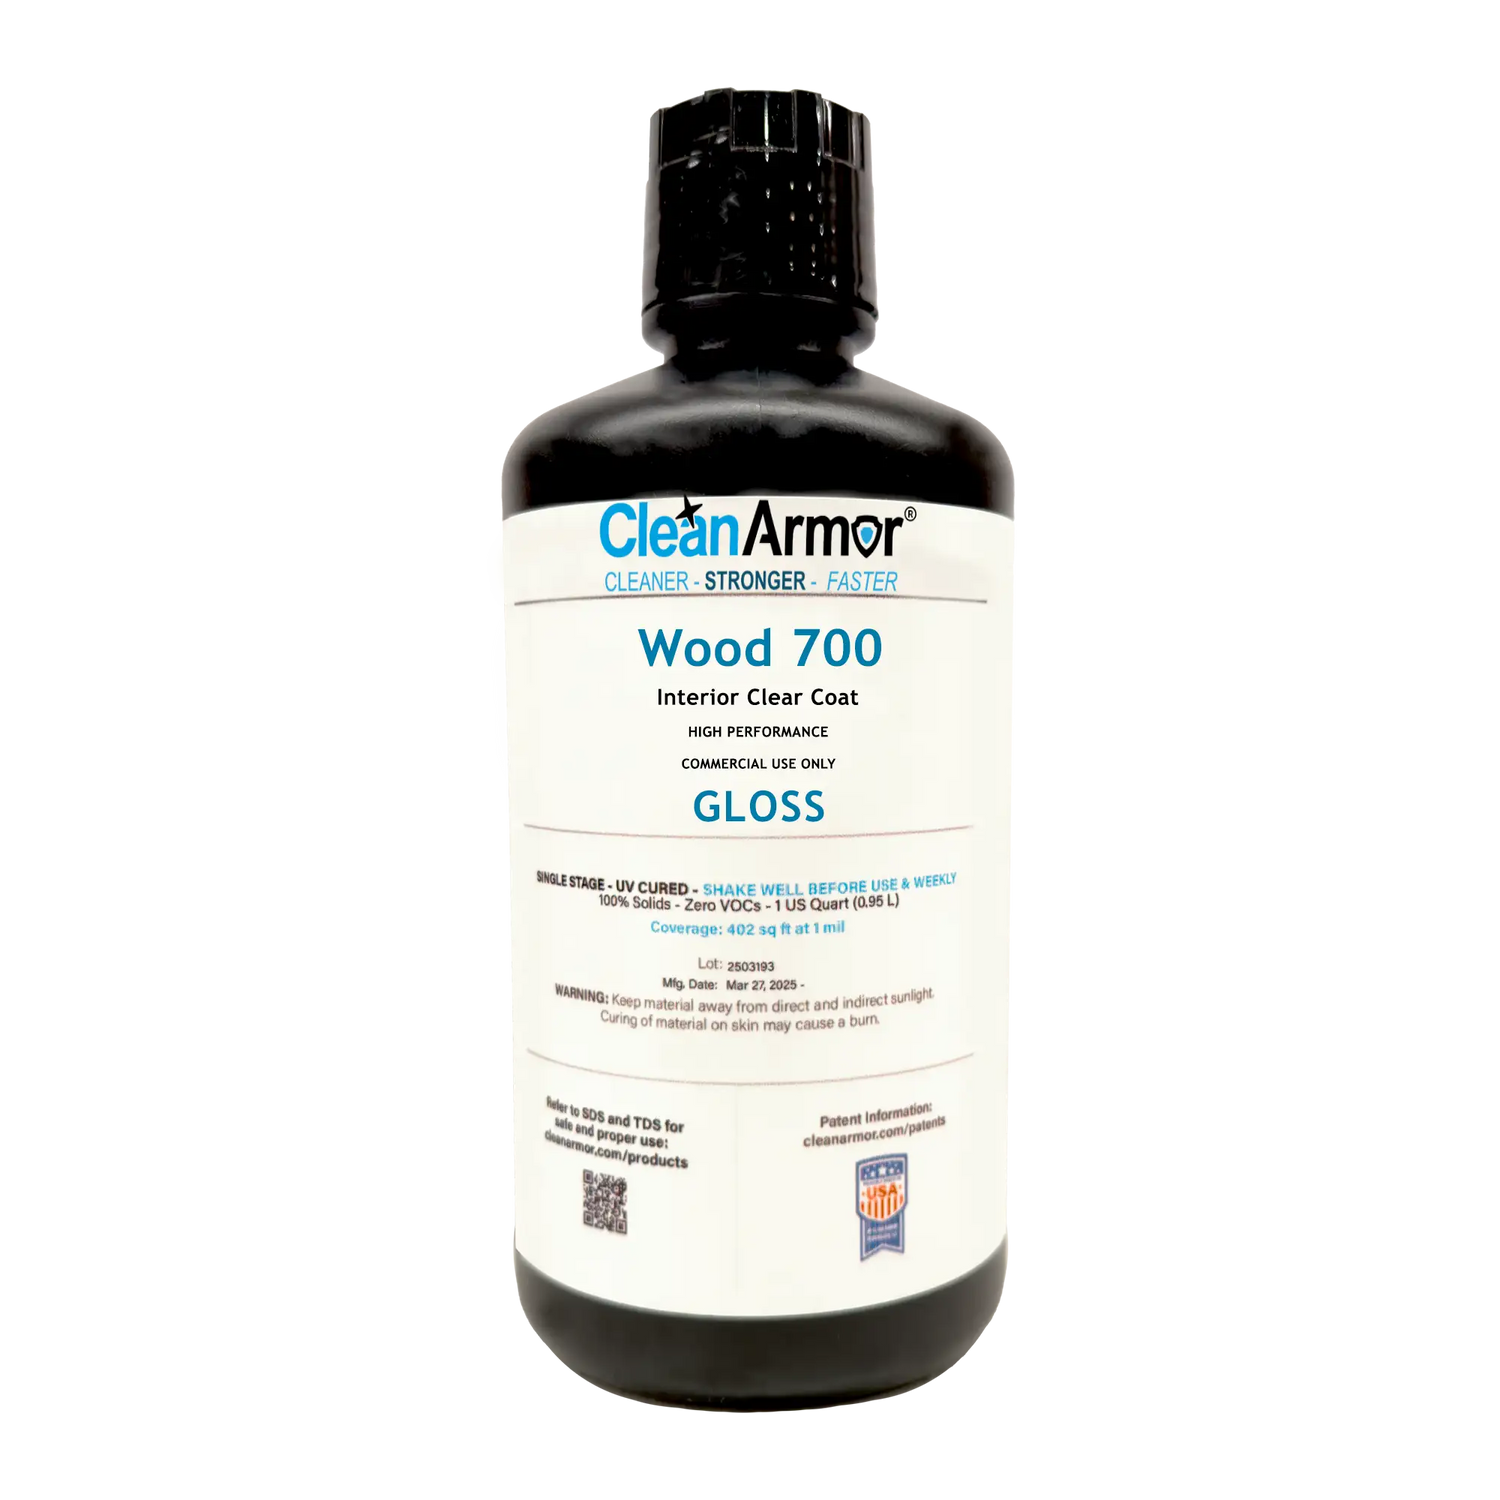
Clean Armor 700 Wood Finish- Interior Clear Coat
- Regular price
-
$128.99 - Regular price
-
- Sale price
-
$128.99
Cured with a handheld UV light in seconds, this interior clear coat for wood is applied by spray, roll, or brush. Can be applied over existing fully cured finishes.
- High build.
- Good production use.
- Chemical, heat, abrasion, mar, scratch, and impact resistant.
- Excellent flow and level.
- Excellent adhesion.
- Optically clear.
- Non-yellowing.
- Excellent inter-coat adhesion without sanding.
- For minimal sanding during application.
- No restrictions on mil build applications.
- Thin or high build applications.
- Can be applied over a fully cured existing coating that can receive a new finish.
Example Applications
- DIY Refinishing
- Tabletops and counters
- Cabinetry
- Doors and trim
- Handrails
- Furniture
- Wood products
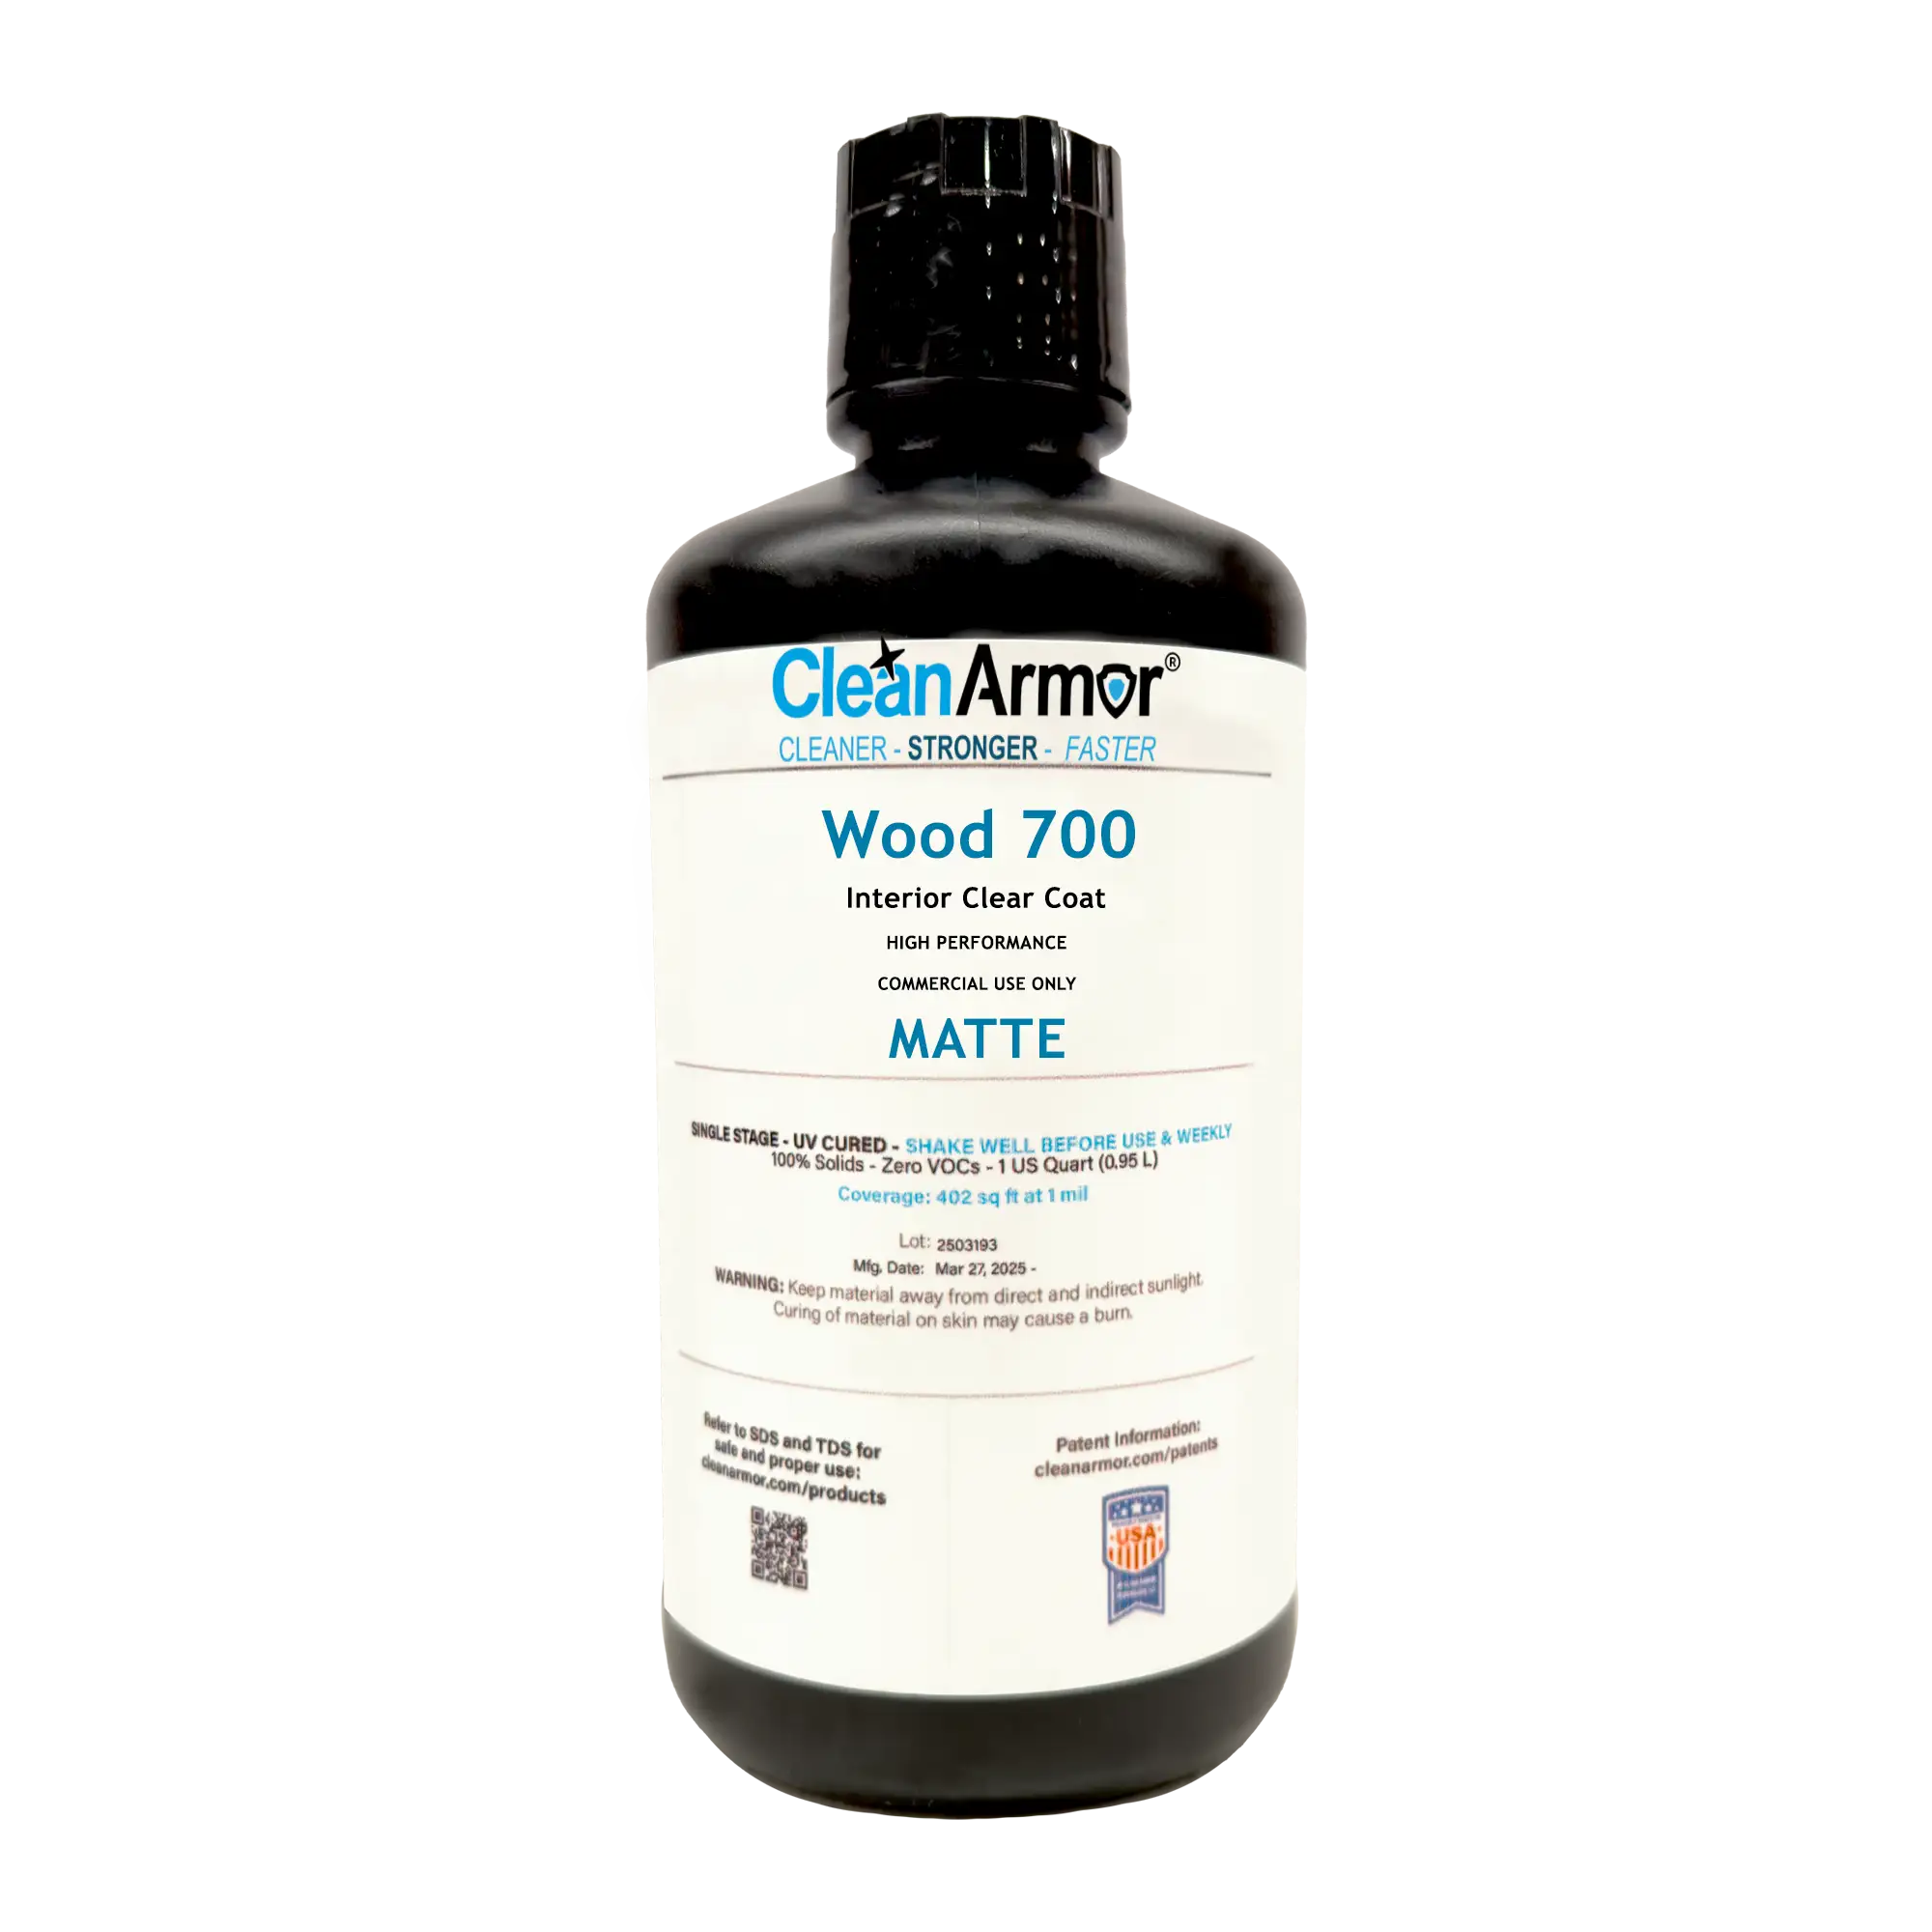
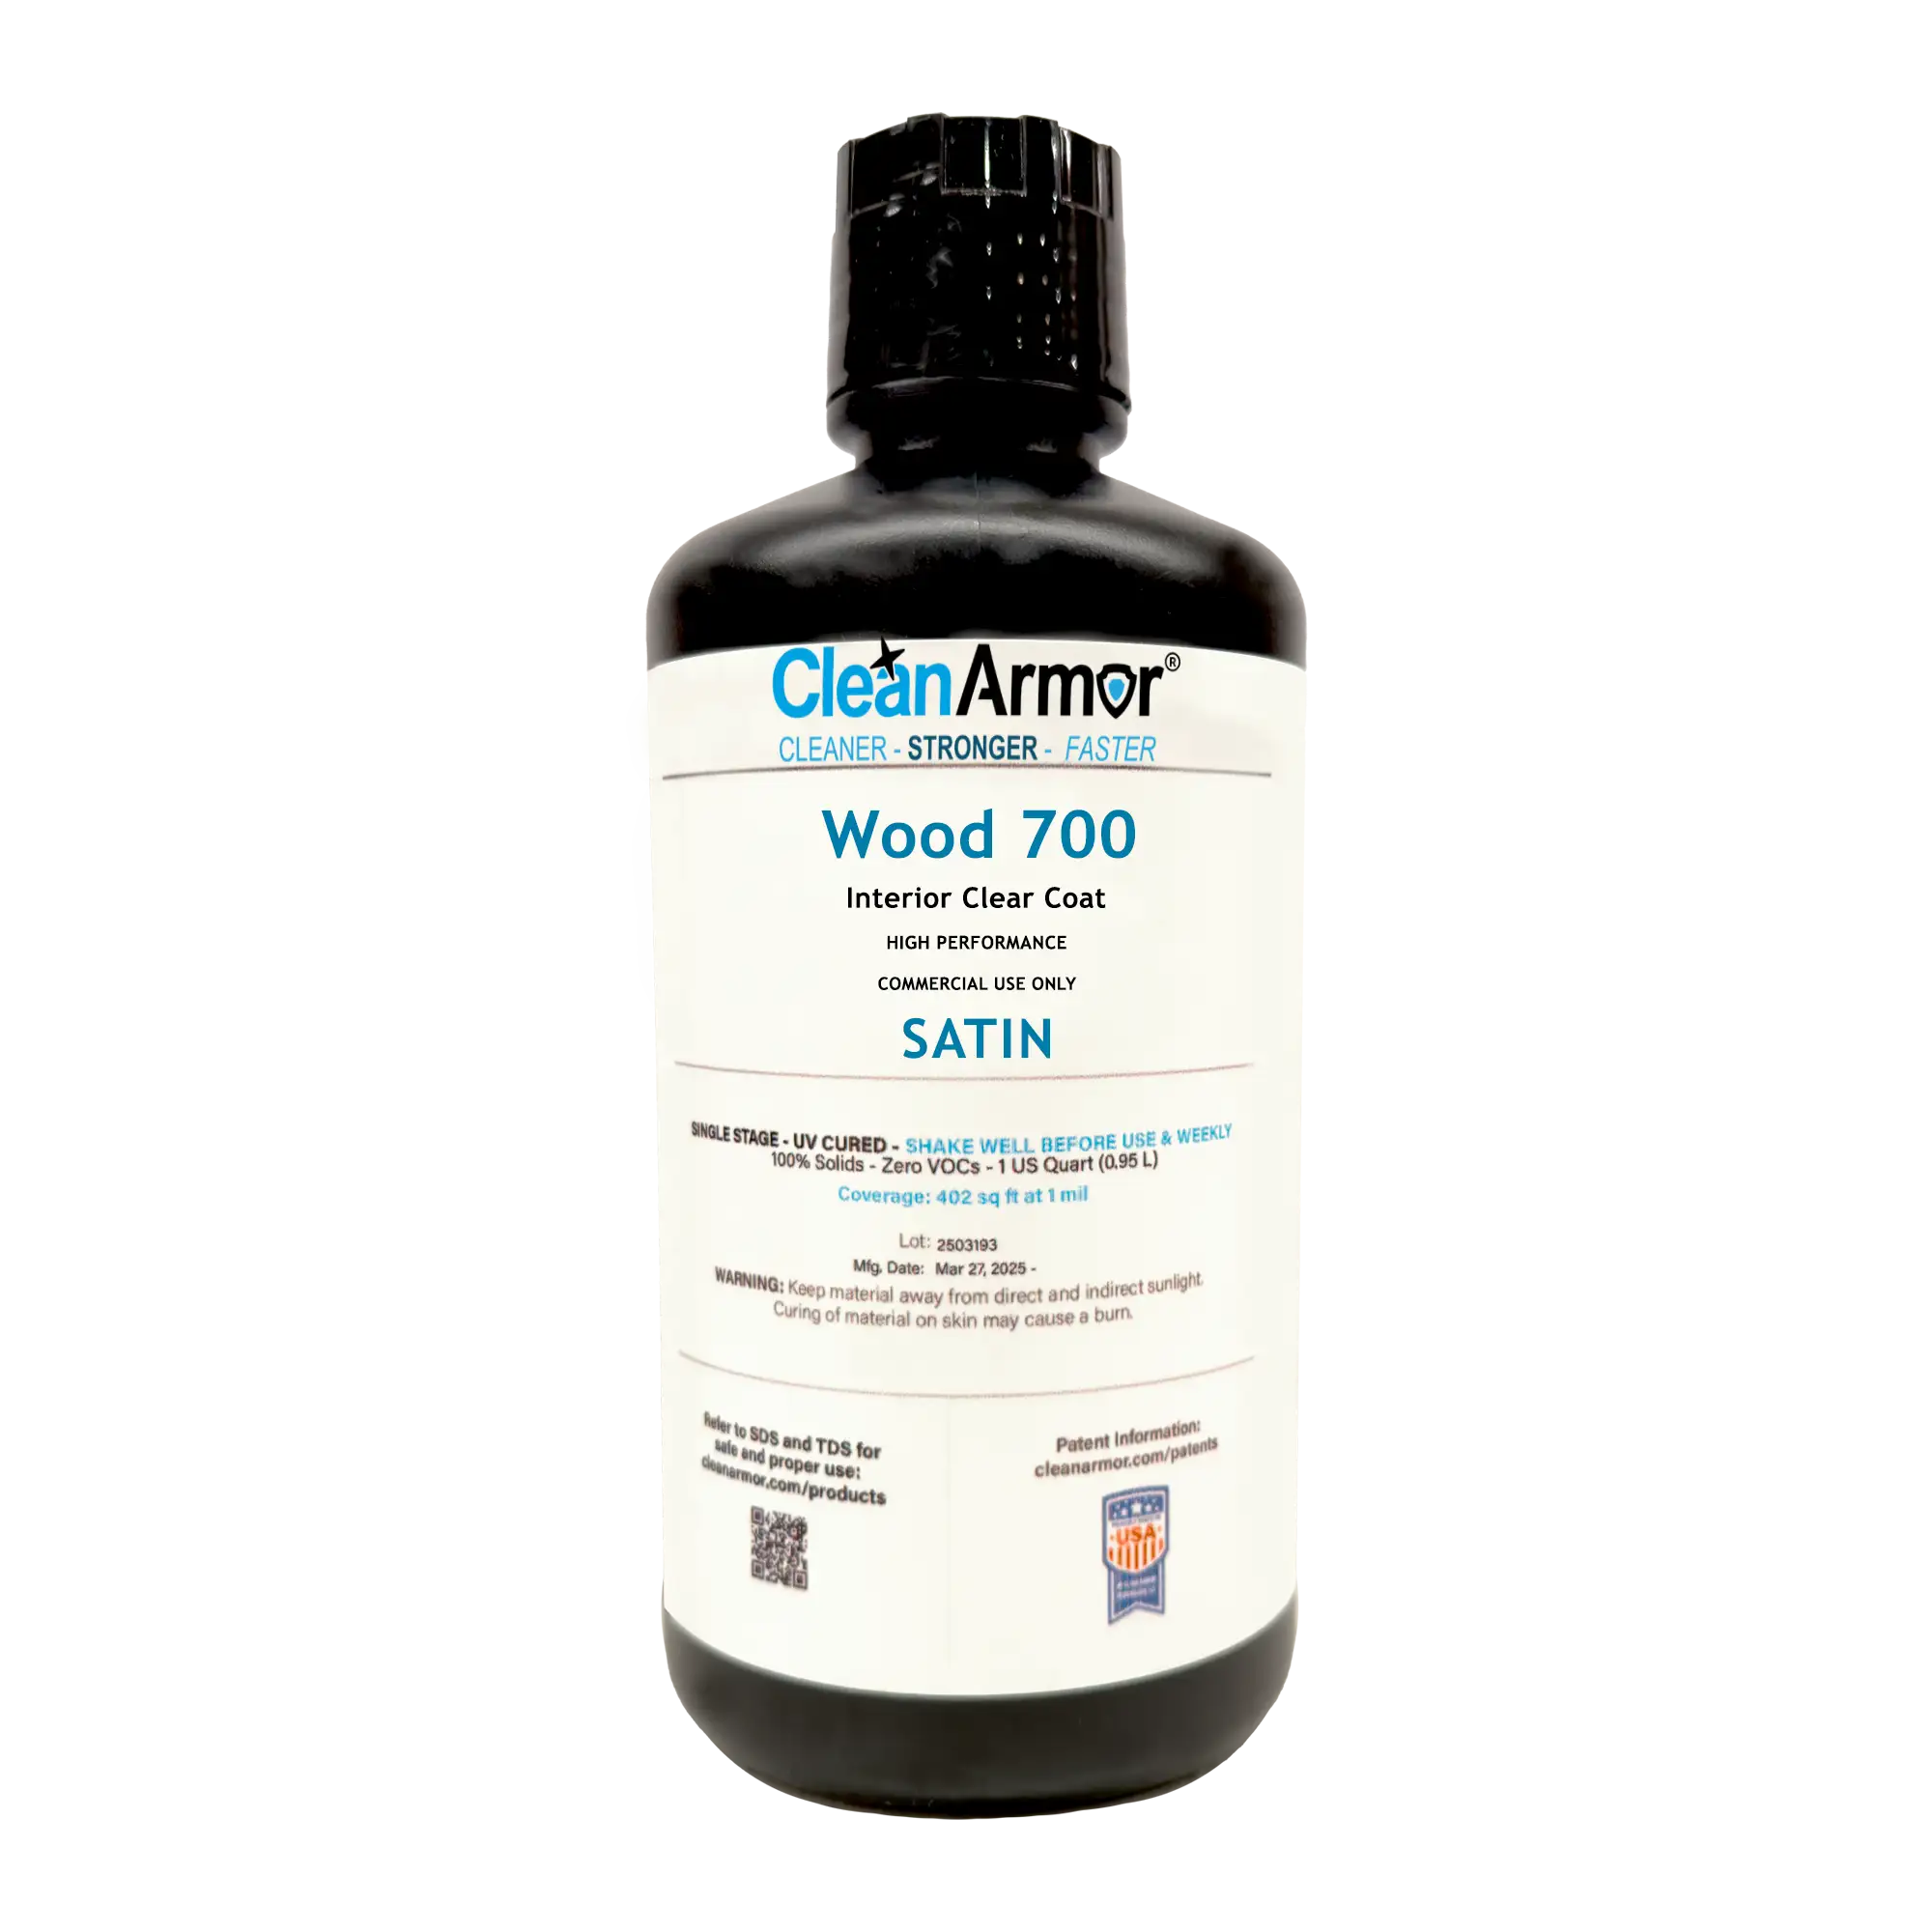
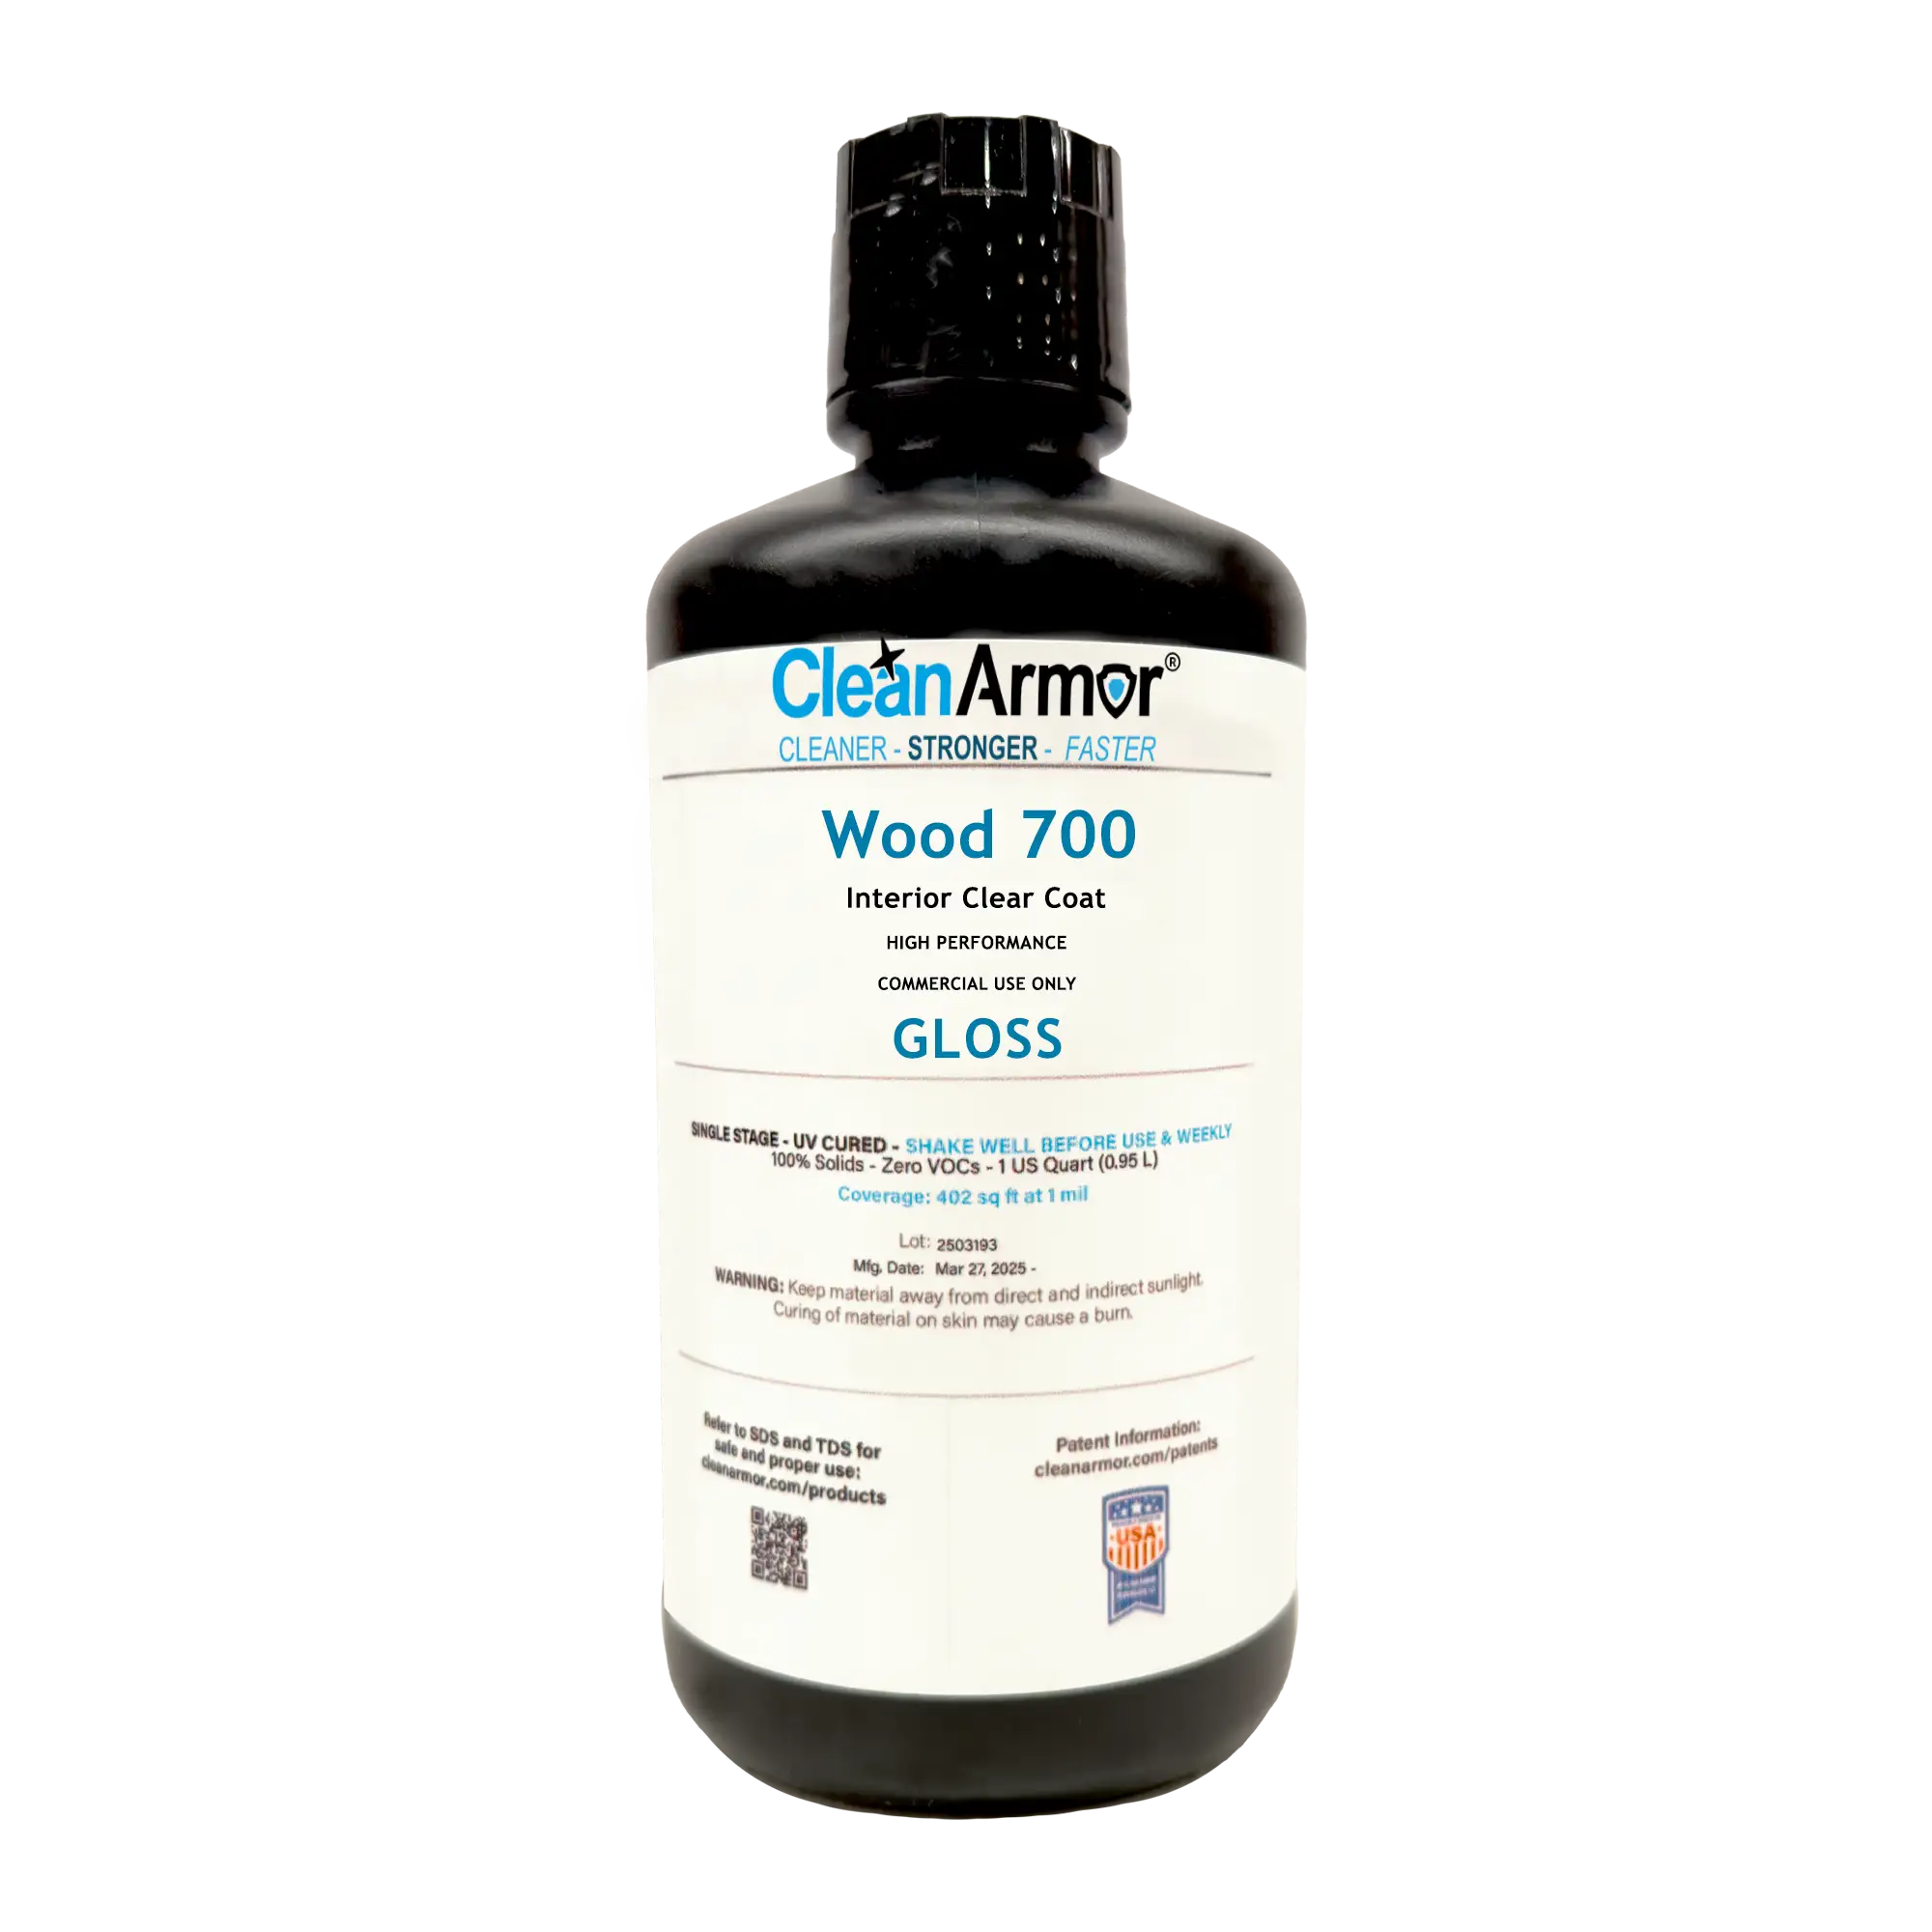
Available Sheen Levels: Matte 5-15 deg gloss, Satin 20-40 deg gloss, High Gloss.
*Sheen levels were measured using a spray application.
Note: Sheen levels may vary if using hand application.
Full PDF Documentation for download
- Technical Data Sheet- Best practices on how to apply this specific product.
- Safety Data Sheet- Detailed document about the properties, hazards, and safety precautions related this specific product.
Couldn't load pickup availability

Who Uses Clean Armor?
-

Artisans and Craftsman
Refinishing Furniture or Smaller Projects Like Arts & Crafts
-

Professional Makers
Dusty Space, No Problem! For Individuals Who Make Their Living With Wood And Don't Have A Dedicated Spray booth.
-

Custom Shops
Medium Sized Businesses That Are Scaling Up. Displays, Signage, Furniture and Everything Custom
-

Large Industrial Clients
Established Shops Wanting To Increase Throughput, Reduce Bottlenecks and Improve The Bottom Line


How To Apply
-

Hand Application
Simply wipe on Clean Armor with a rag and cure with the UV Light. Remember to leave enough material to cure.
-

Brush On
Brush on a very thin coat of Clean Armor, work it into the wood and cure with the UV Light.
-

Roll On
For larger areas, roll on a thin layer of Clean Armor, and cure with the UV Light.
-

Spray On
Spray a very thin layer of Clean Armor and cure with the UV light. This method increases the build layer substantially.


We Want To Hear It All!
Share your review with us including a picture of your project! We want to hear from you!
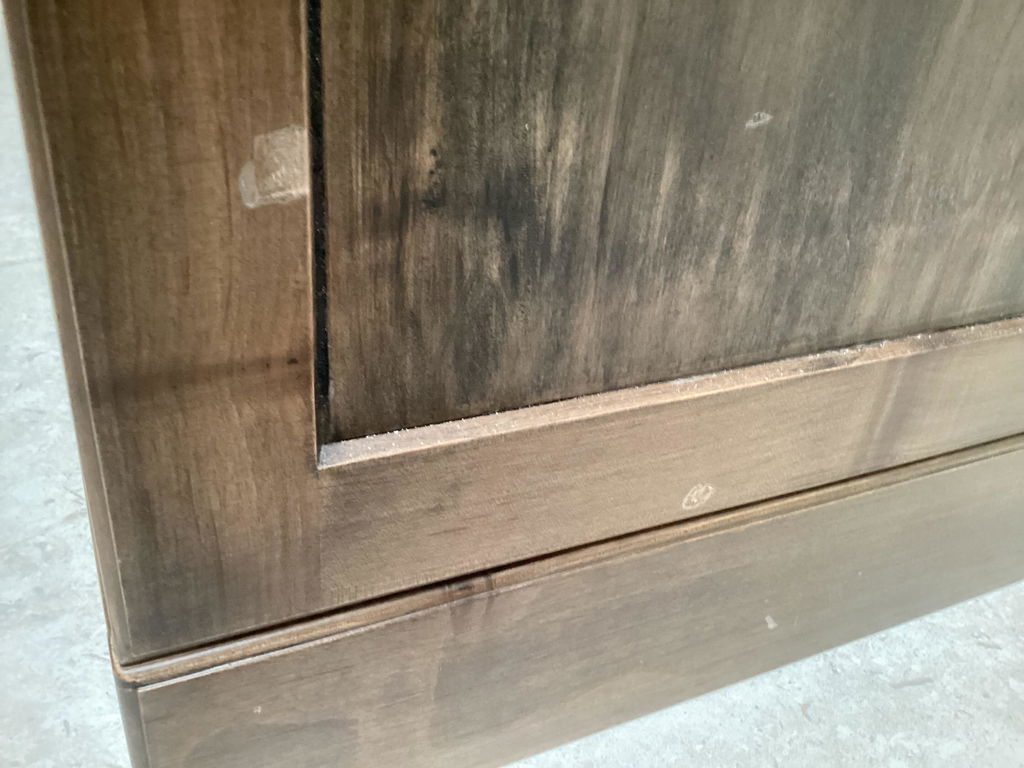
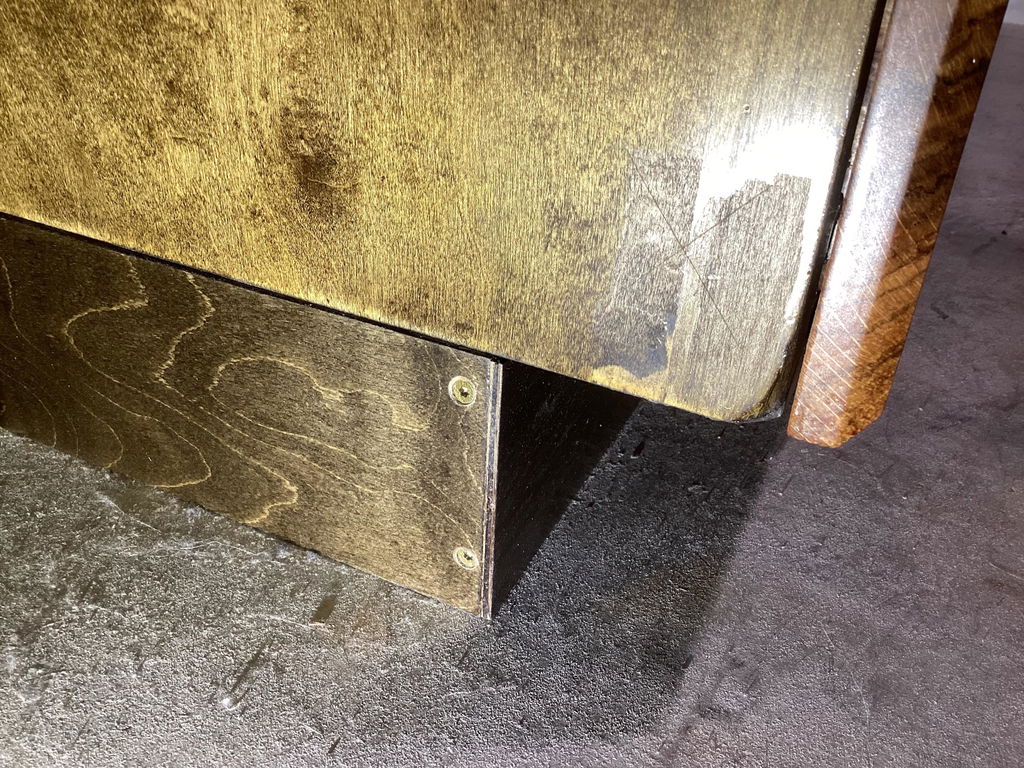
I started using clean armor products last year and was thrilled with the speed of finishing with them. I tried all the sheens in the 700 line and have found uses for all of them. Based on my tests I started using matte 700 on my stained maple kitchen cabinets I am building for our retirement home. When I was installing the drawer hardware I used some blue painters tape to help with seeing the drill locations. When I pulled the tape off, the finish came with it! I started inspecting the rest of the cabinet and there are multiple places where the finish is failing. Some of them are at bumps and dings, but that is what happens to kitchen cabinets, they have to take some wear and tear. I contacted Lite n done and had a good conversation with the owner. He said i possibly had some bad shellac. I was sealing the maple with diluted shellac, staining with minwax oil stain, applying 710 sealer on that, then top coating with 700 matte. I did multiple tests with and without shellac, with and without stain, and with and without an alcohol dye. I used some armorseal poly for comparison. In every case where the clean armor was applied over anything but bare wood, it would pull off with tape. I used Tyvek tape, very sticky stuff. The armorseal did not pull off once. The clean armor pulled off of anything other than bare wood.
I then tested an out of sight place on a piece i completed last fall. In this case there was no shellac used in the process. I used a minwax wood conditioner to help even out the stain color on the maple and plywood. The clean armor satin finish pulled off. It did not pull off the bare wood drawers finished at the same time.
I am seeing similar finish failures where I have used the knot filler product also. It does not stay in place.
Today I went to use my mostly full bottle of 700 matte clean armor purchased in Jan this year. I am making the next set of drawers for the kitchen and was going to use clean armor on the bare wood. I have not been perfect about shaking it every week as it says to do, but it has been shaken periodically. Today, it would not shake, and when I tried to pour some out, it had turned to gel. The 710 sealer purchased around the same time is fine, just the matte finish gelled.
I am forced to stop buying and using clean armor products. They have not lived up to my expectations, nor are they comparable in adherence and durability to regular old polyurethane on the stained wood projects I have completed with the clean armor products.
I am very disappointed as I was all in on this system for a while. Now I have an expensive UV light and remaining product that I am stuck with. I will say the Owner of Lite n Done has been good to work with. He isn’t making the product, just distributing it. No knock on him, this is all about the clean armor products.
Hopefully my experience can help others using this line of uv curing products. I have pictures of some of the failed finish, but don’t see where to post them with my review.
I’ve been using this product for over a year and will continue to use it in applicable situations. It definitely has a learning curve, but it is simple and a very durable and desirable finish in certain applications.
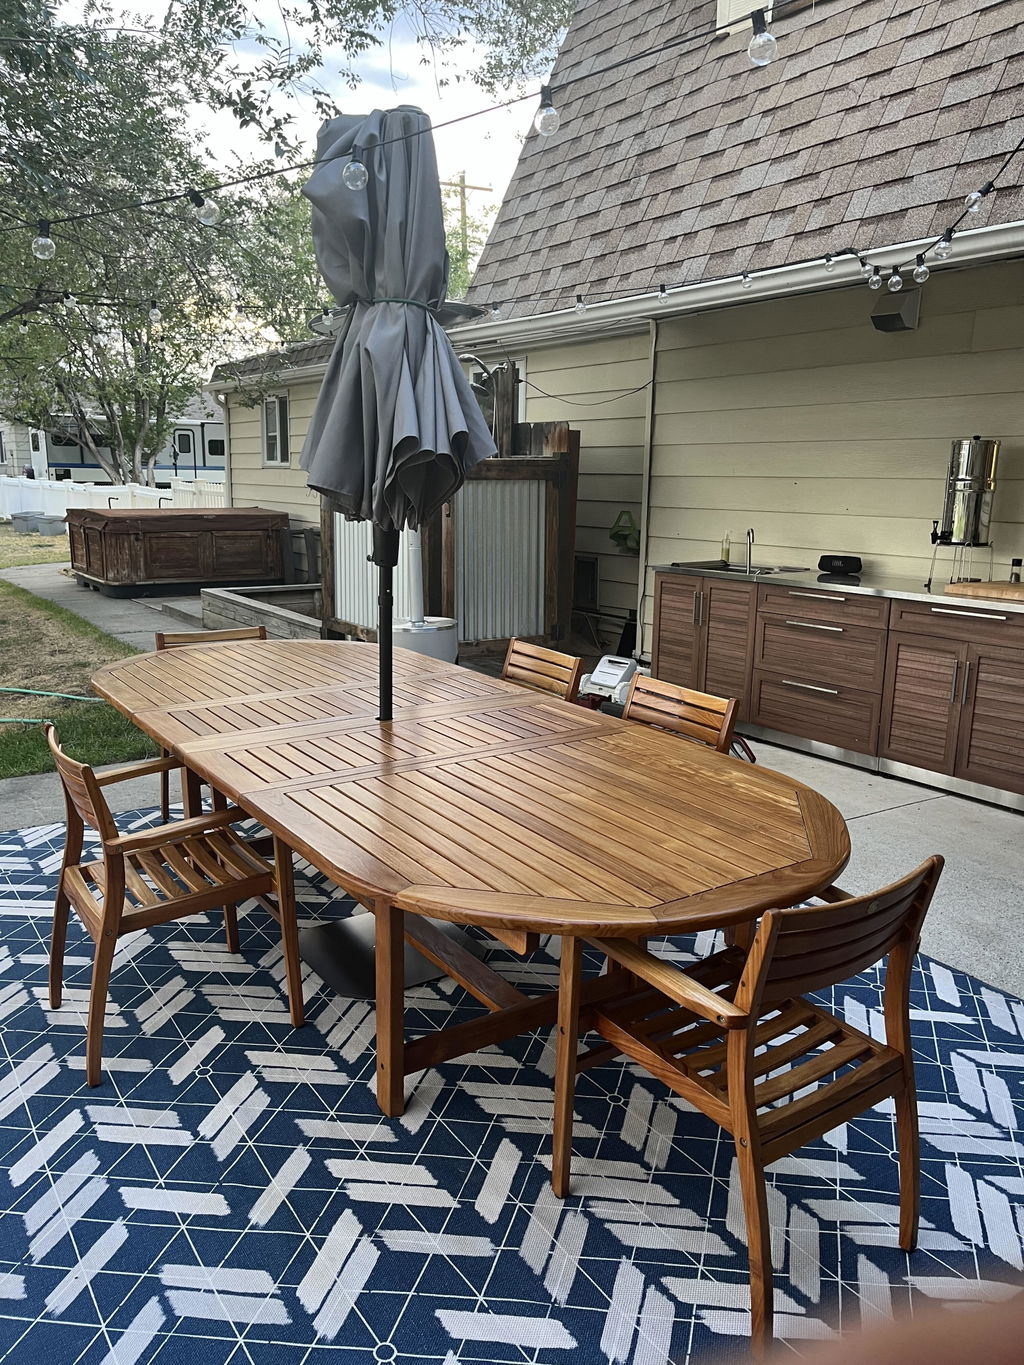
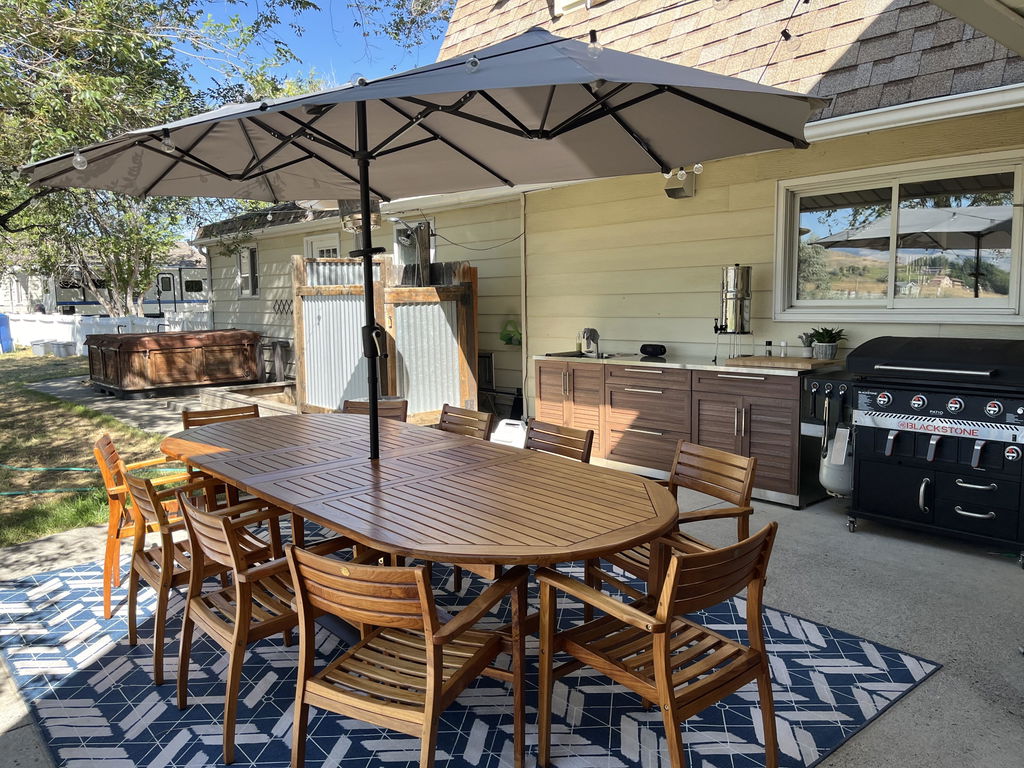
Fast Shipping - Fantastic product - No smell and sets instantly with UV light. The finish that you see before the product is exposed to UV Light is the finish that you get. This is my first experience with Clean Armor, and so far I am impressed!
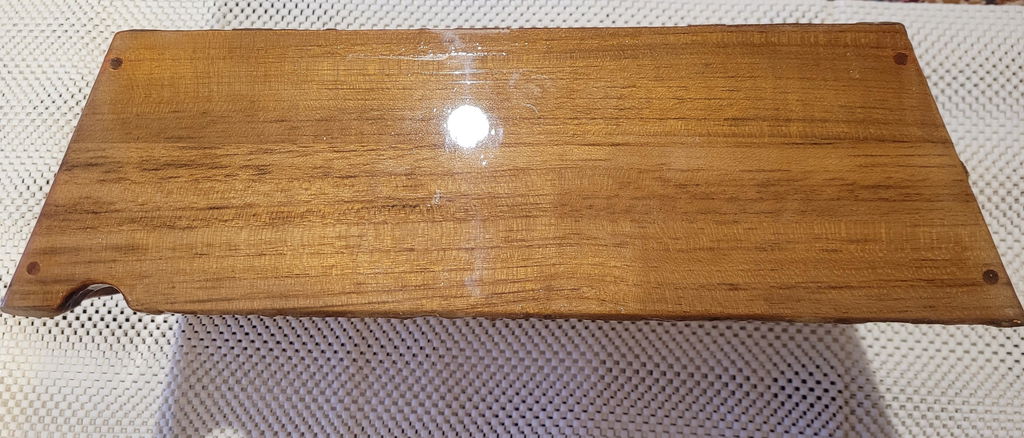
I’ve followed the application tips found on two websites; Lite & Done, and MyWoodCutters; and am unable to obtain a self leveling surface that results in no “brush marks” or ridges from the cloth, nylons to cover an applicator. The self leveling of the product isn’t happening. The best product has been the grain filler but a lot of sanding is required to remove the application ridges.
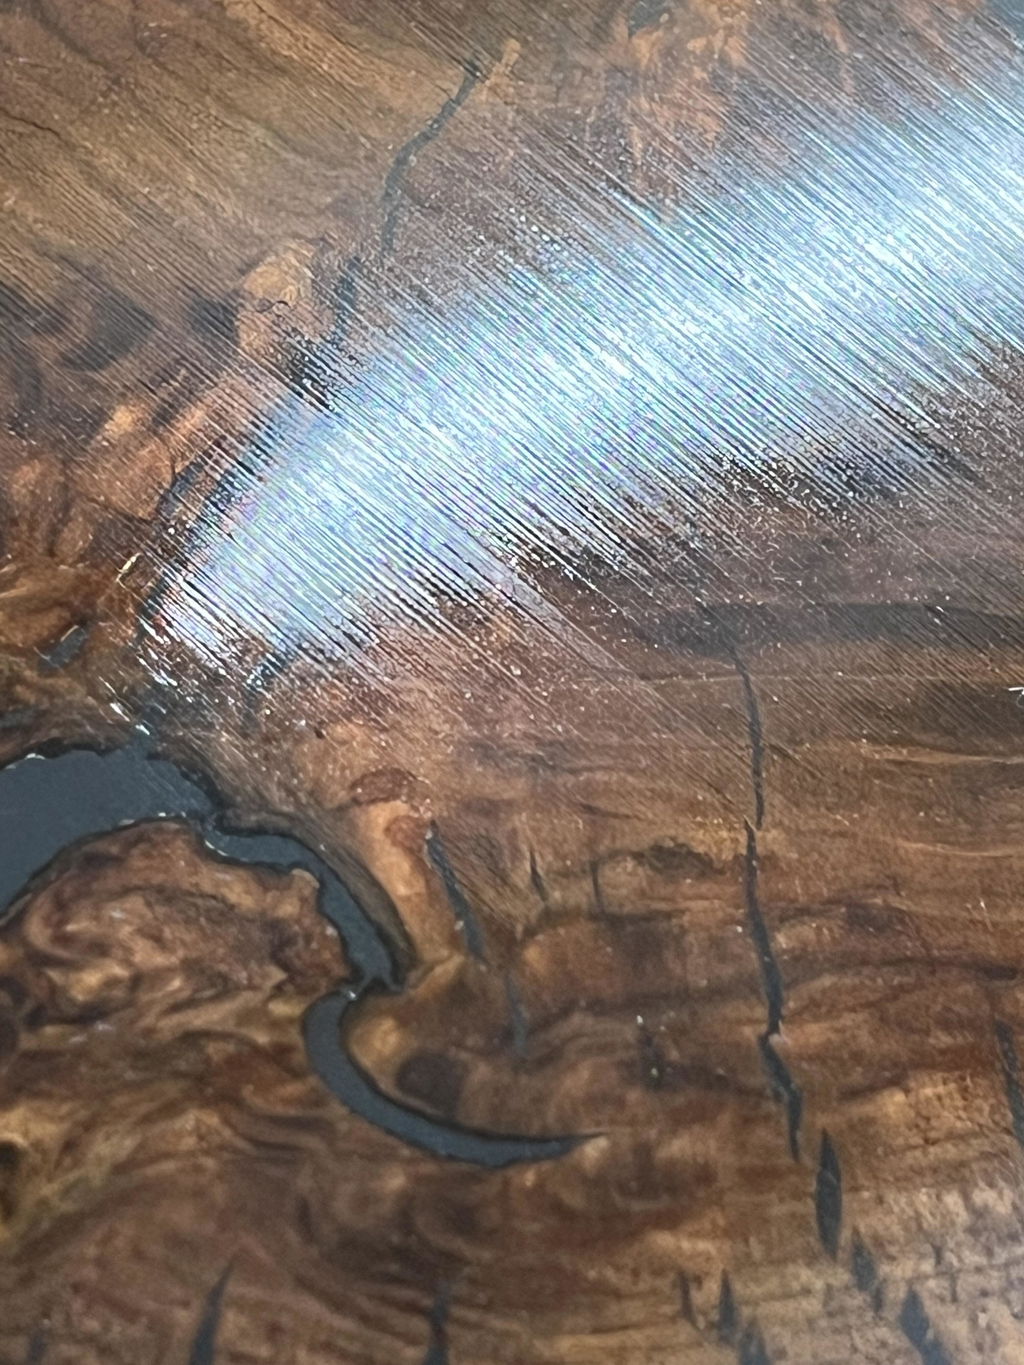
I have not had time to use this yet but so everthing my son and I have tried works really good
Thank you
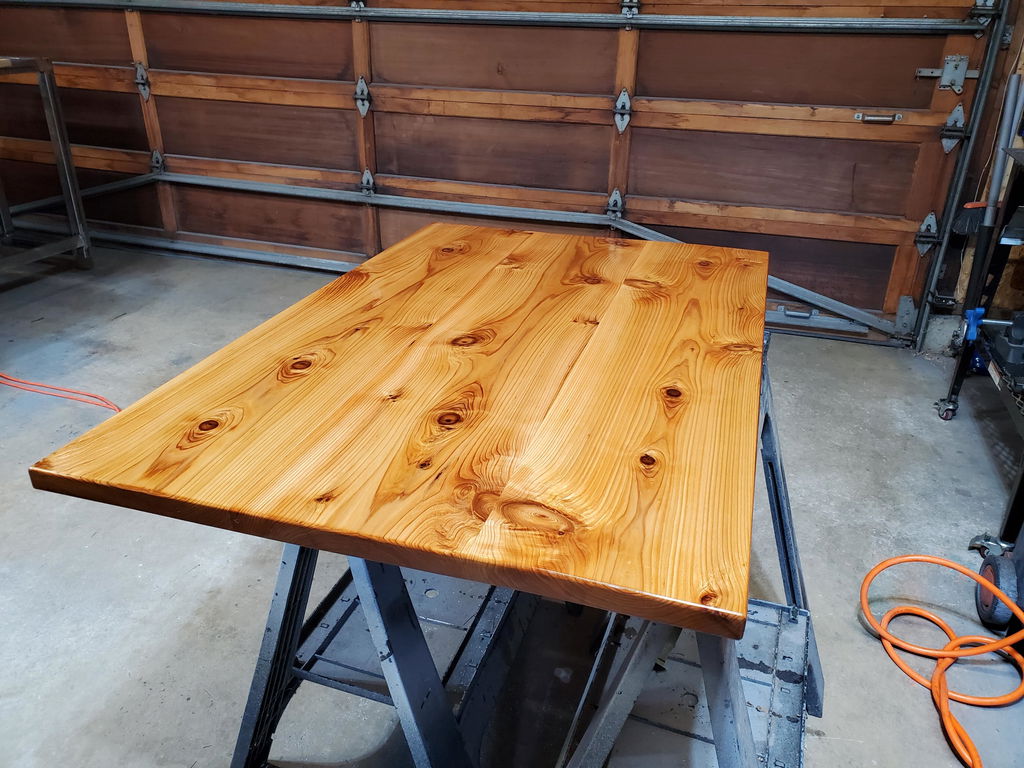
Terrible finish, would not buy again! 716 does not look like hand rubbed finish - very inconsistent sheen. It is an epoxy finish and looks like it! The biggest issue was very inconsistent curing despite the Cuvo light even with extended light times and small lamp distances. In fact, was so disappointed with the look of the finish and inconsistent curing I sanded all the cured finish off (no easy task), once I got back to bare wood there was uncured finish that oozed from the seams and open pores for days!
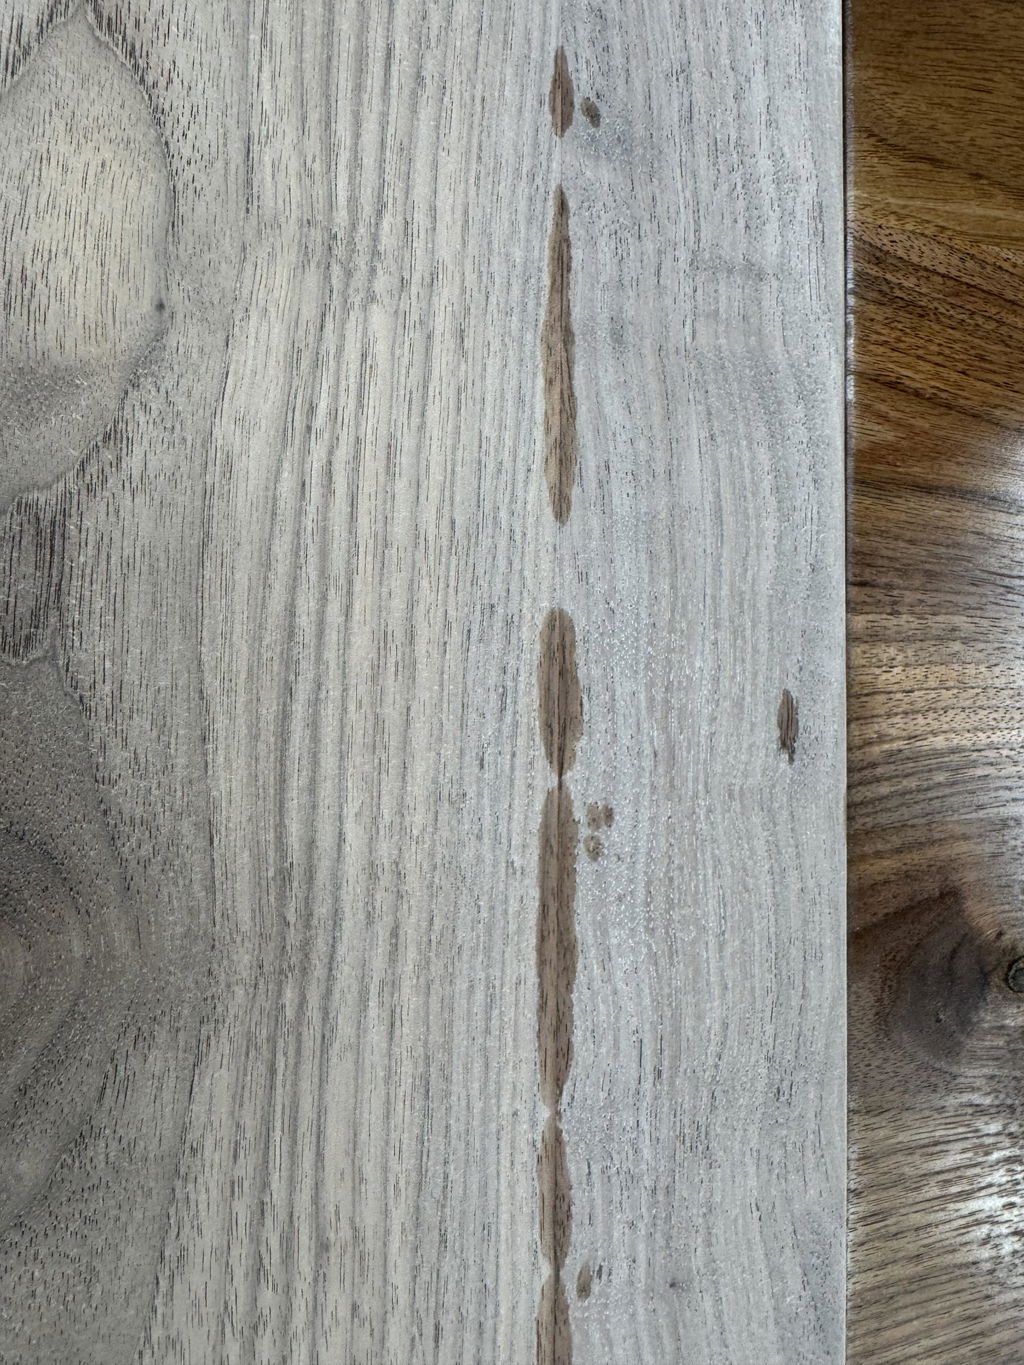
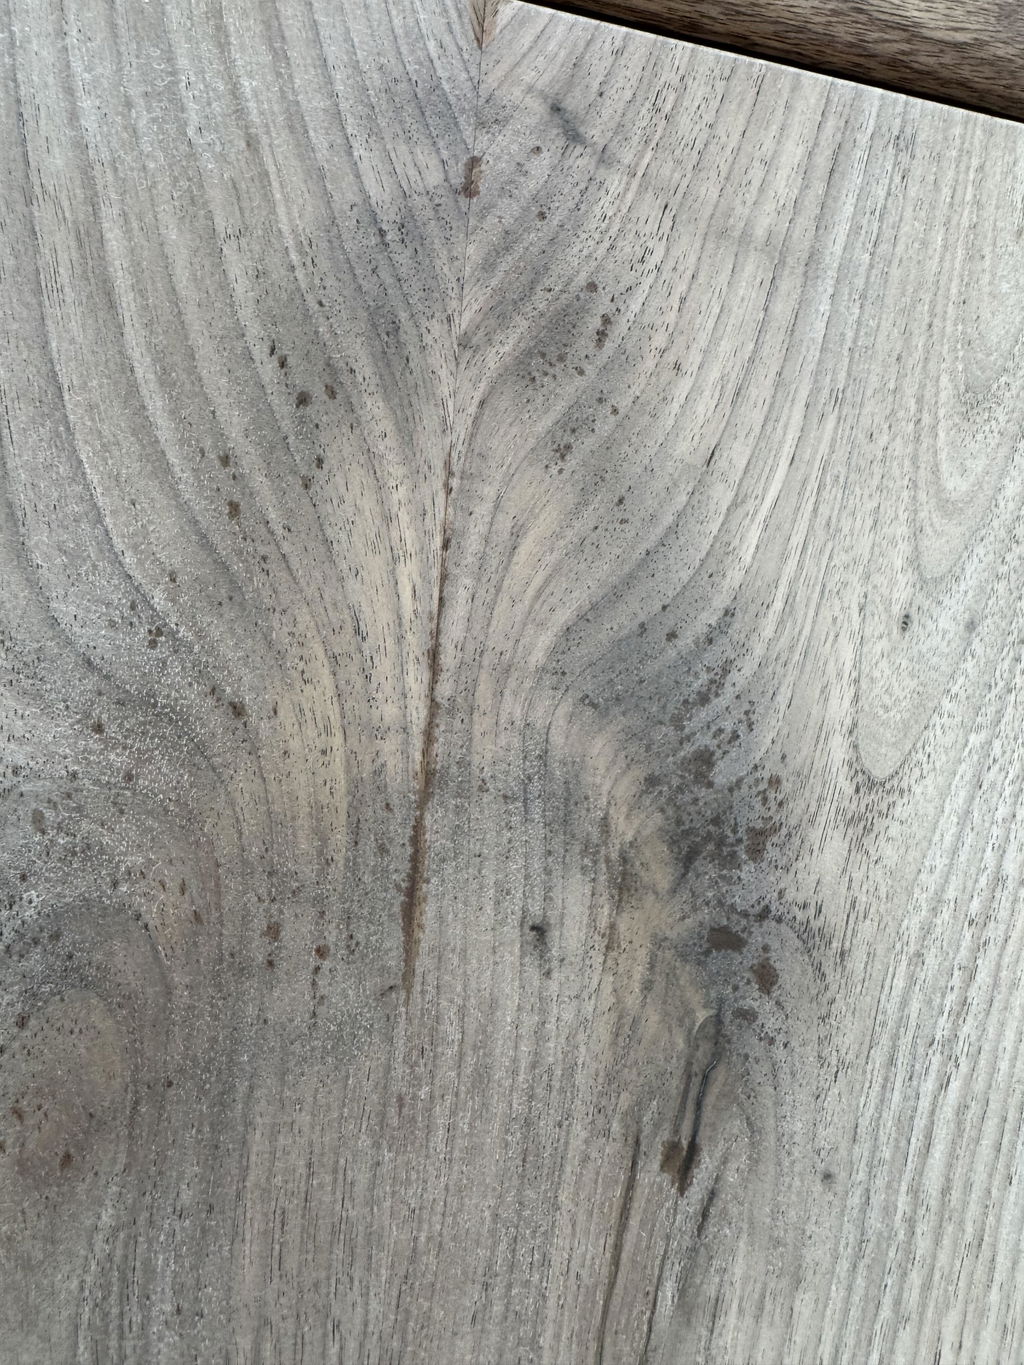
Jmcgraw,
I am so sorry you had a poor experience with this product. Generally we find that application errors for first time users are the problem and am happy to walk you through this product. As you can see from 99% of my reviews for the 716 Wiping Varnish, almost everyone is satisfied with its look and performance. Please reach out so we can help with your application problems...
Here to assist,
Pierce
Great product. I just used it this weekend and got great results on the first try.
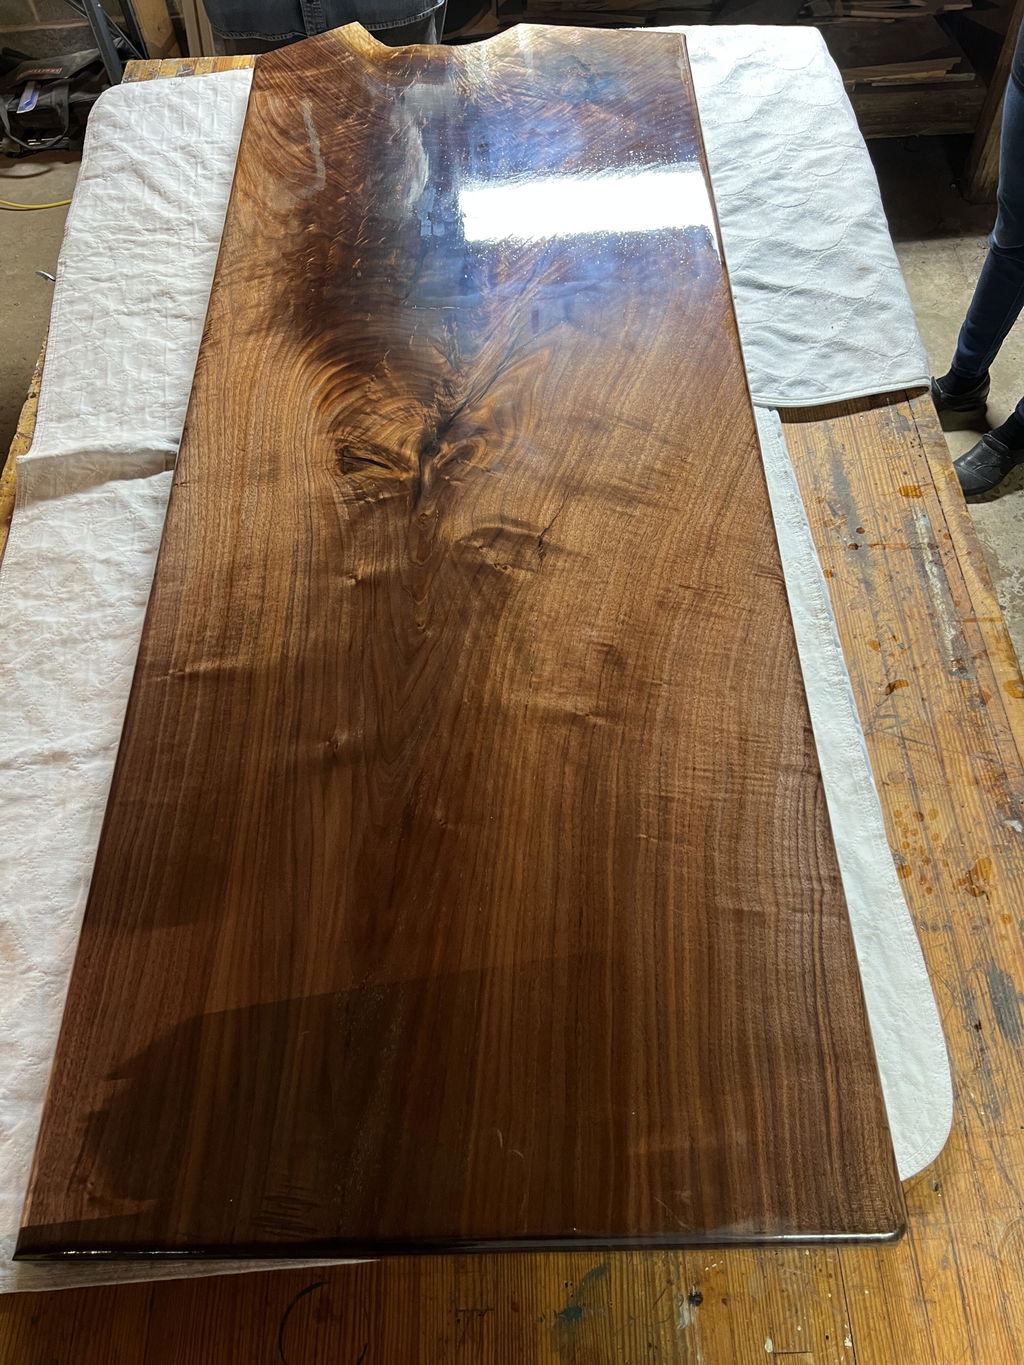
Novice wood worker! I built a walnut table top and used 716 for the first time. It went extremely well. I used one saturating coat followed by a 400 grit lite sand and two extremely thin coats. I learned that I need to hang the lights over the top for easier cure. I used 2 min per section. Probably took 10 min for each coat. Love the results
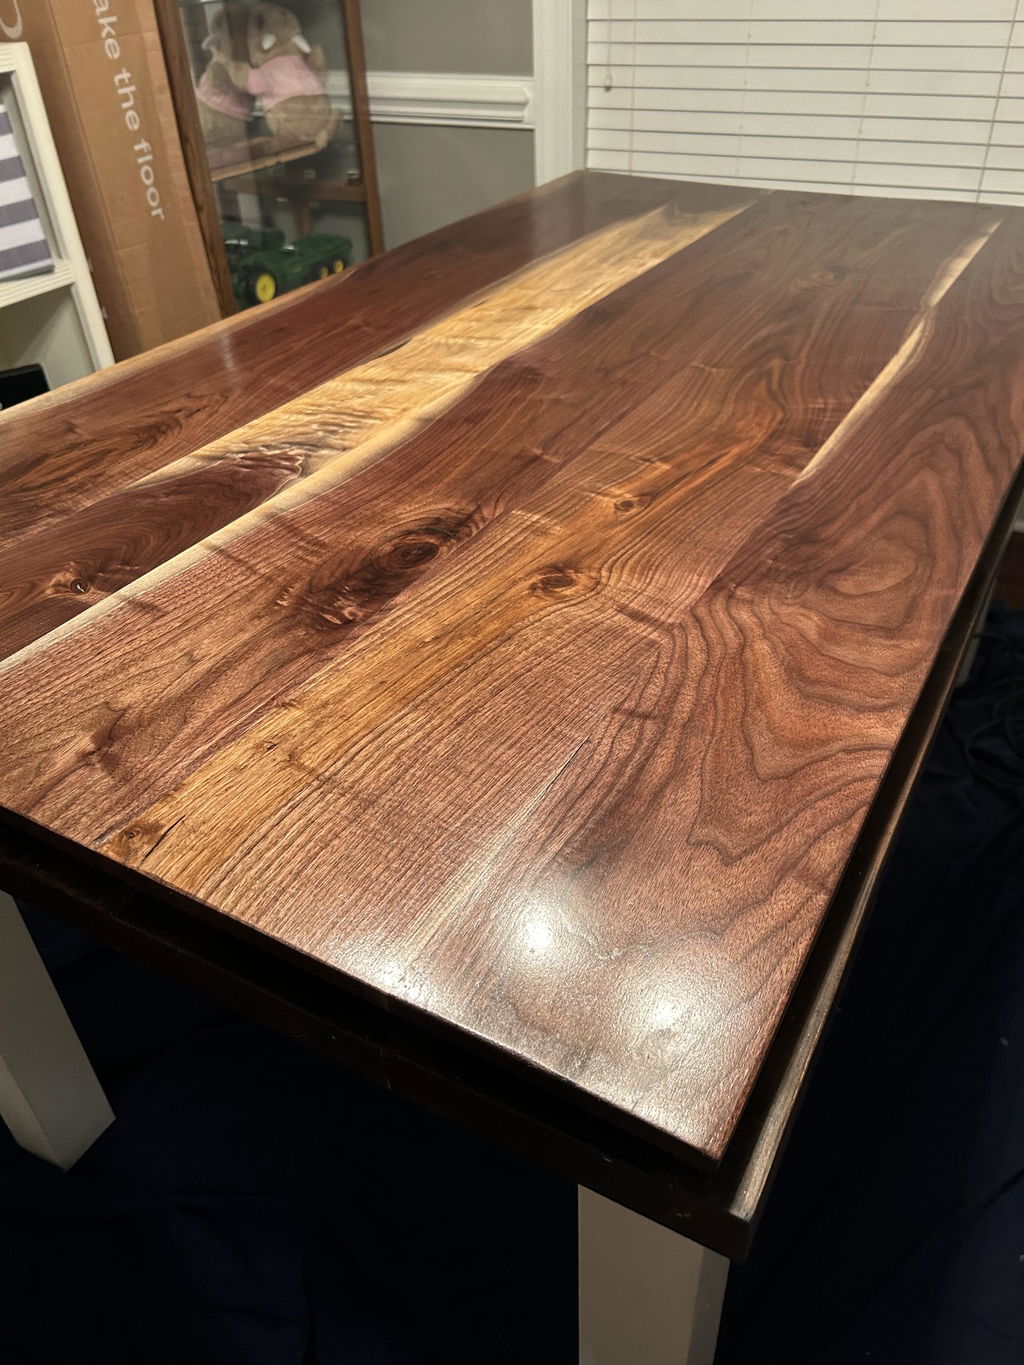
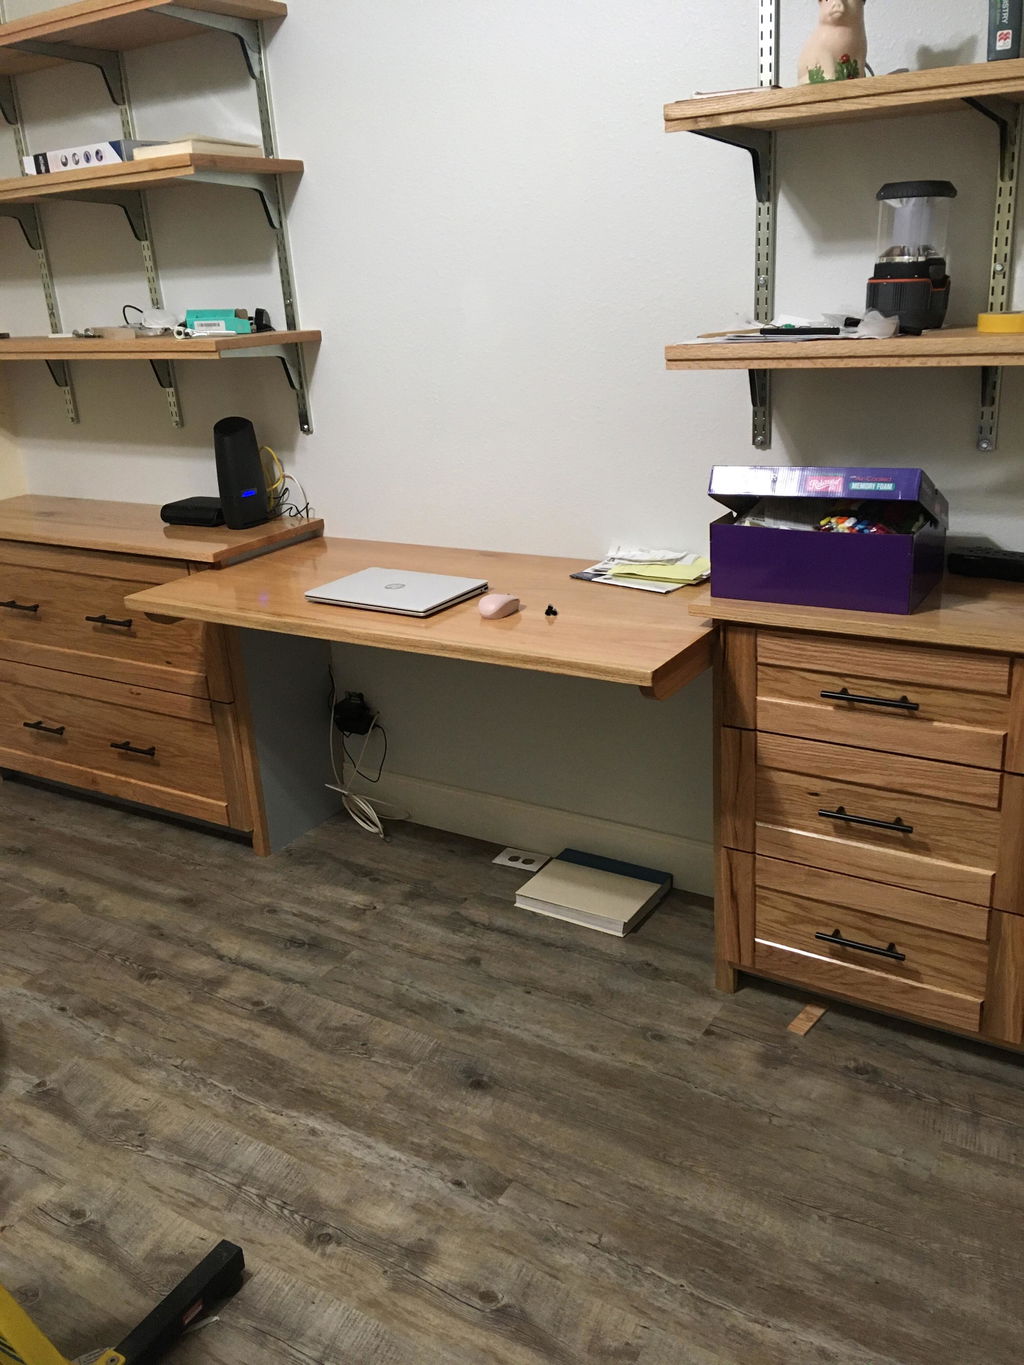
I originally called Pierce months ago for advice on using Clean Armor finish for a desk I was building for my wife. I originally saw CA at IWF in Atlanta and bought the grain filler and semigloss top coat. I visited another distributors web site and while helpful the video's were much too long. I find Pierce's video's more helpful and to the point with good relevant info. When I reached out to him he returned my e-mails quickly with good useful info. I recently purchased another quart of the grain filler and I wanted to try the new wipe on finish as it will apparently cure with a light application. I have not used the wipe on to extensively but am using the grain filler with great results. The first coat over red oak goes on thick and I try to remove as much excess as possible. I sand down using 120. The 2nd and 3rd coats go on much thinner with less product. I sand each with 120 or 180. After the final coat I work it down to 600 using a HF pneumatic 6 inch orbital and am very happy with the satin very flat finish with visible depth. I am currently building a walk in closet with about 200 BF of Red Oak (buy direct from Amish at less than $1 BF ) and am using the grain filler for the wear surface. It has been working well and is very tough. I still spend about 90min per shelf but is still much quicker than poly. I dont have a drum sander and am left with planer marks but these are not visible with the grain filler build up sanded to 600. All in all I am very happy with Lite & Done. The video's and e-mail response and I do believe he even called me personally have been very helpful. The shipping turn around was fast. I also intend to build a light stand for my 18" Curvo instead of buying the ceiling mount UV. I want to experiment using magnets to attach to the stand so that I can remove quickly for hand held use. Thank You Pierce. I will be a repeat customer. Phil Richter TN.
Phil,
So happy you found my videos helpful. I spend a lot of time and enegry getting them just right. I am always here to help if you need it!
Pierce
Good product, we used it on some wood counters and a few other kitchen related parts. Was a time saver on the knotty drawer fronts, it looked as good as the epoxy method we were using but much quicker...
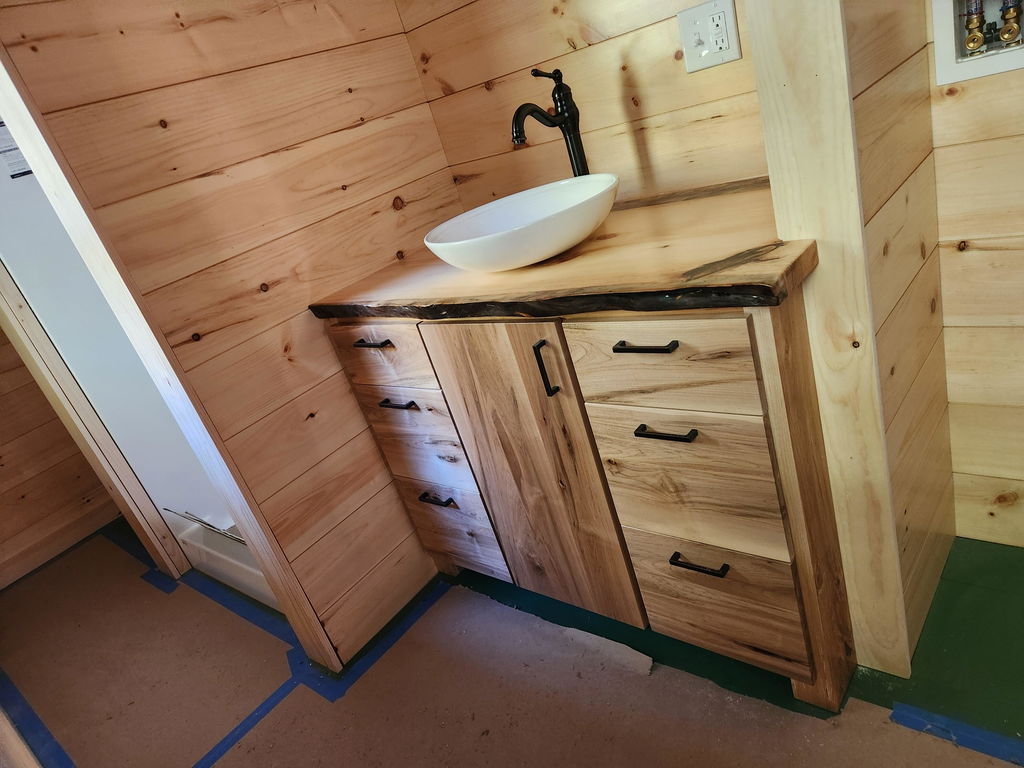
After using the starter kit I have ordered and received the CUVO 18' light and a quart of 750. I have a quart of matte finish and knot filler on order. I craft and sell Cribbage boards and other items on Etsy and at local venues. I have been using lacquer as my finish of choice for some time. I liked the finish, but it takes a couple of days to apply multiple coats and I have to deal with the solvent smell. The Clean Armor results in a nicer finish, no solvent small and fast turn around. I am sold.
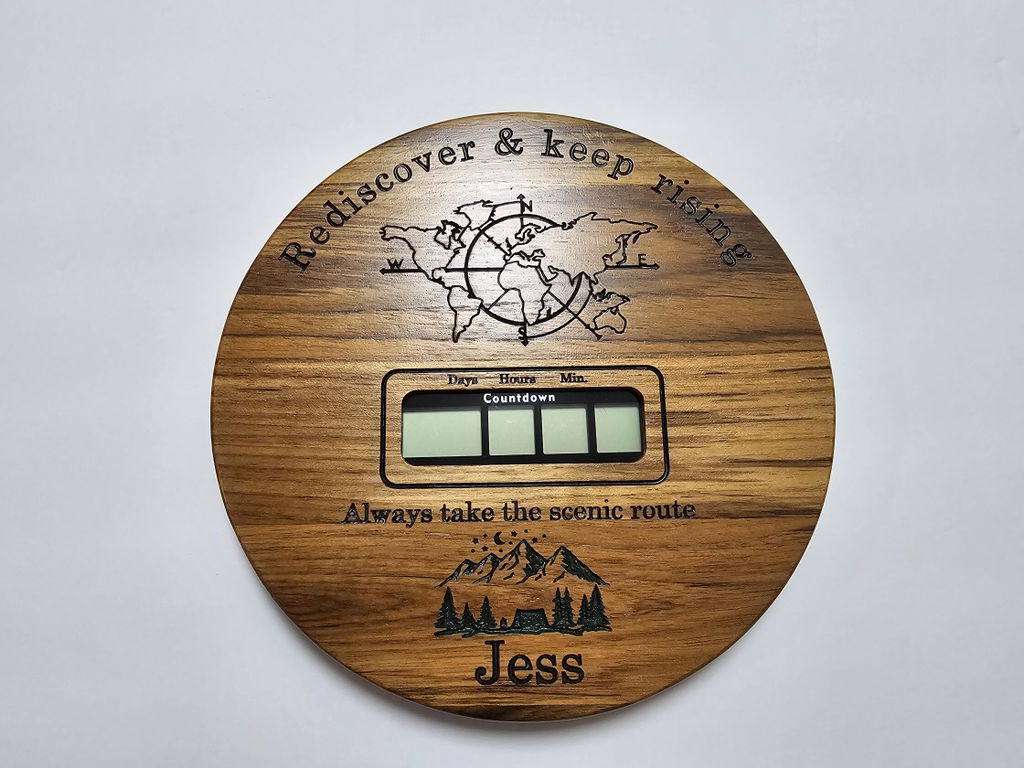
Product makes the wood just beautiful. Just had a problem with one corner.
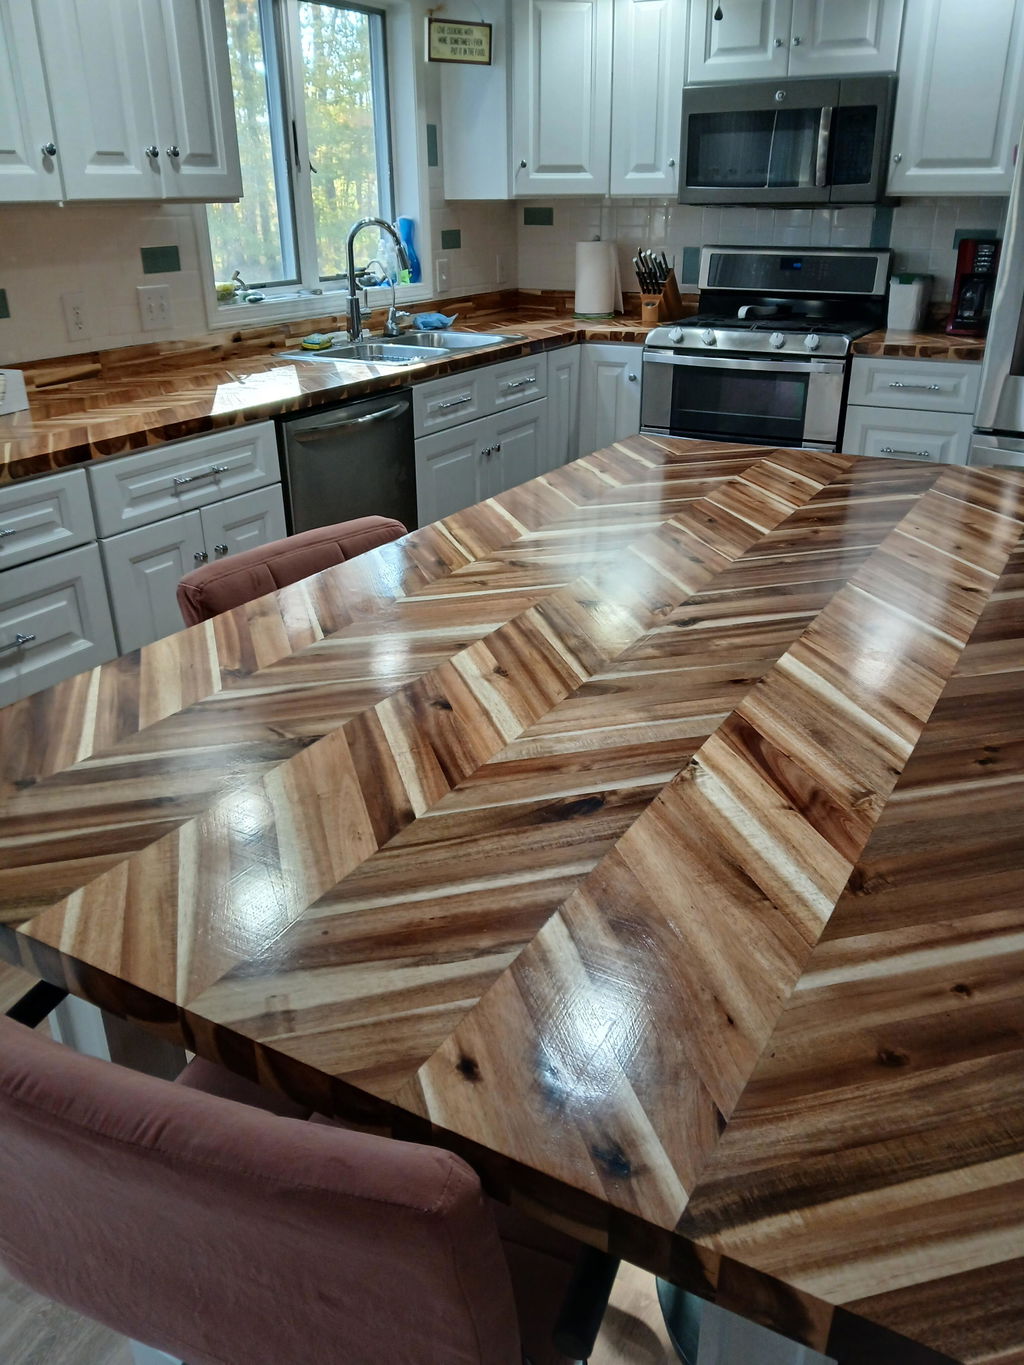
I used 700 matte to finish my cherry kitchen cabinet build, and was pretty thrilled with the achieved finish. It did take some trouble shooting, but I was quickly able to get really great consistent results. I didn't have any fancy UV light, and just used sunlight to cure it. My advice is to apply each coat VERY THIN, and do 3-4 coats. Be mindful of where the sun is, and rotate your projects if there are edges in shadow. Best to do it near midday so this isn't an issue (cloud cover didn't seem to hinder curing). Also I shaked the hell out of the bottle before EACH coat, as the matte agent settles and if you don't do this it definitely will achieve glossier results. At first I thought the finish was much closer to satin or even semi-glass than matte, but after time I do think it wears to satin-y matte. It's beautiful. The last thing I'll add is that based on the info on the clean armour site, I thought I would have to also buy the pre conditioner if I went with the matte finish. I emailed Lite n Done's customer service to double check this, and he said it wasn't necessary which ended up being right. The pre conditioner was not needed. Make sure to screw the lid on tight and store in a dark drawer or something. Highly recommend this product! I was working in a very tight garage space, and to be able to finish cabinets quickly was essential. Amazing product!
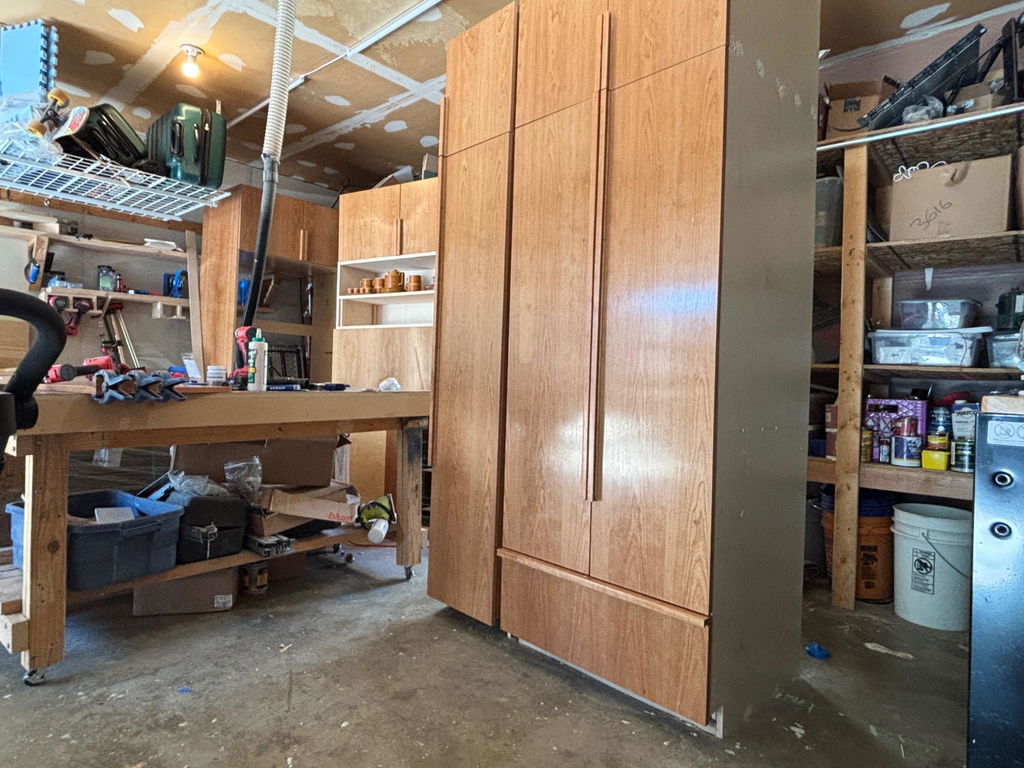
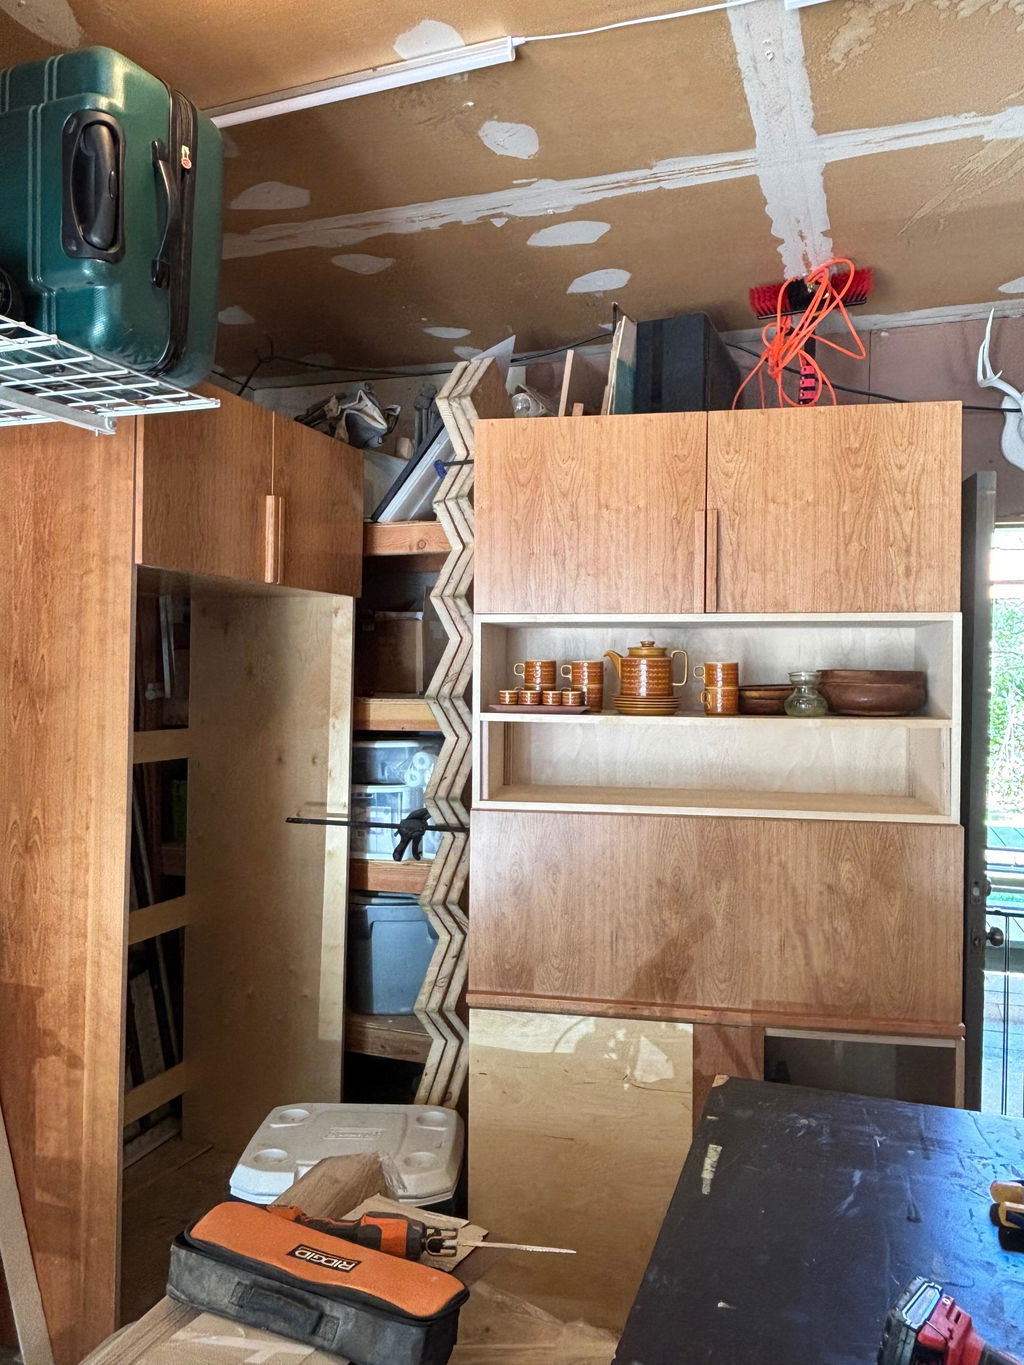
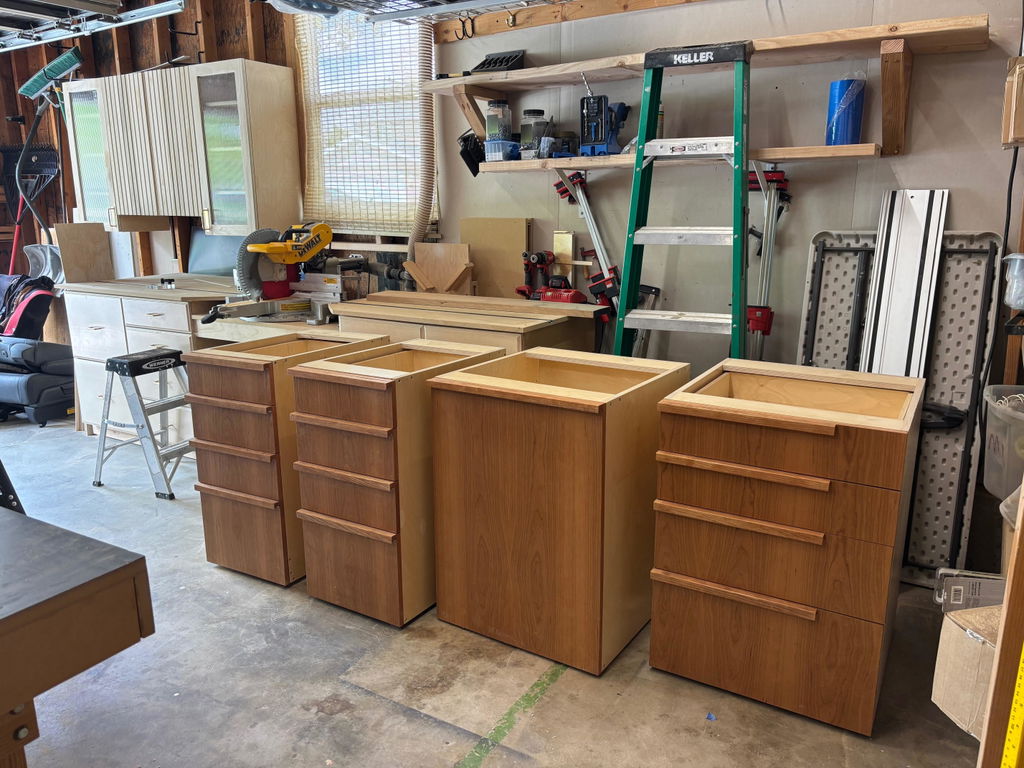
Outstanding Product
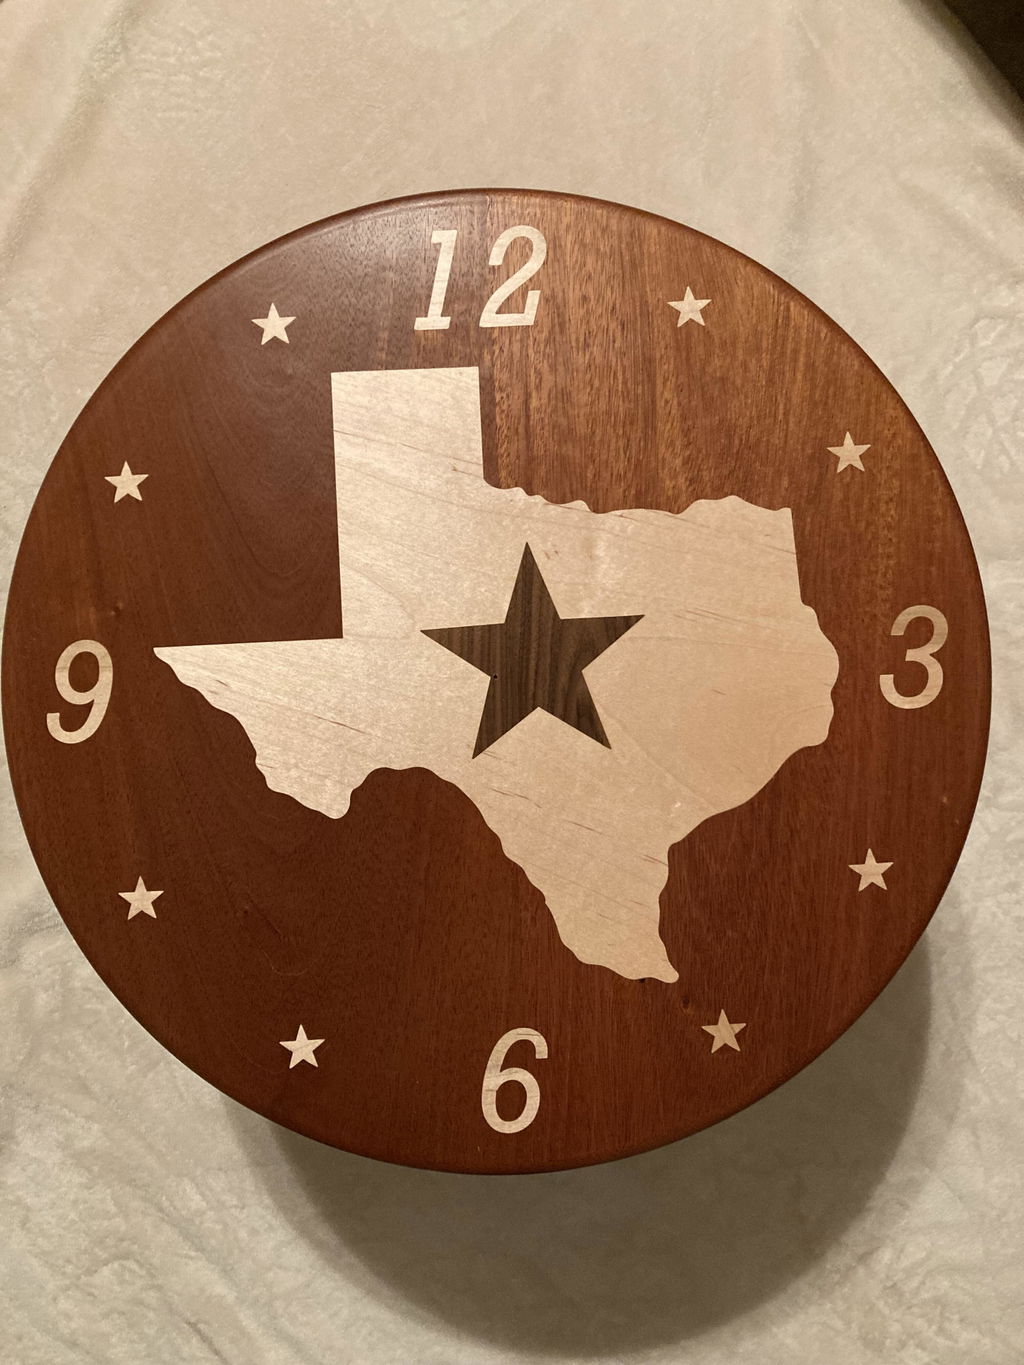
So far it seems to work great. I have not done a very large piece yet. But onsome samples that I have done it works great. I am getting ready to do something a bit larger to see how it works.
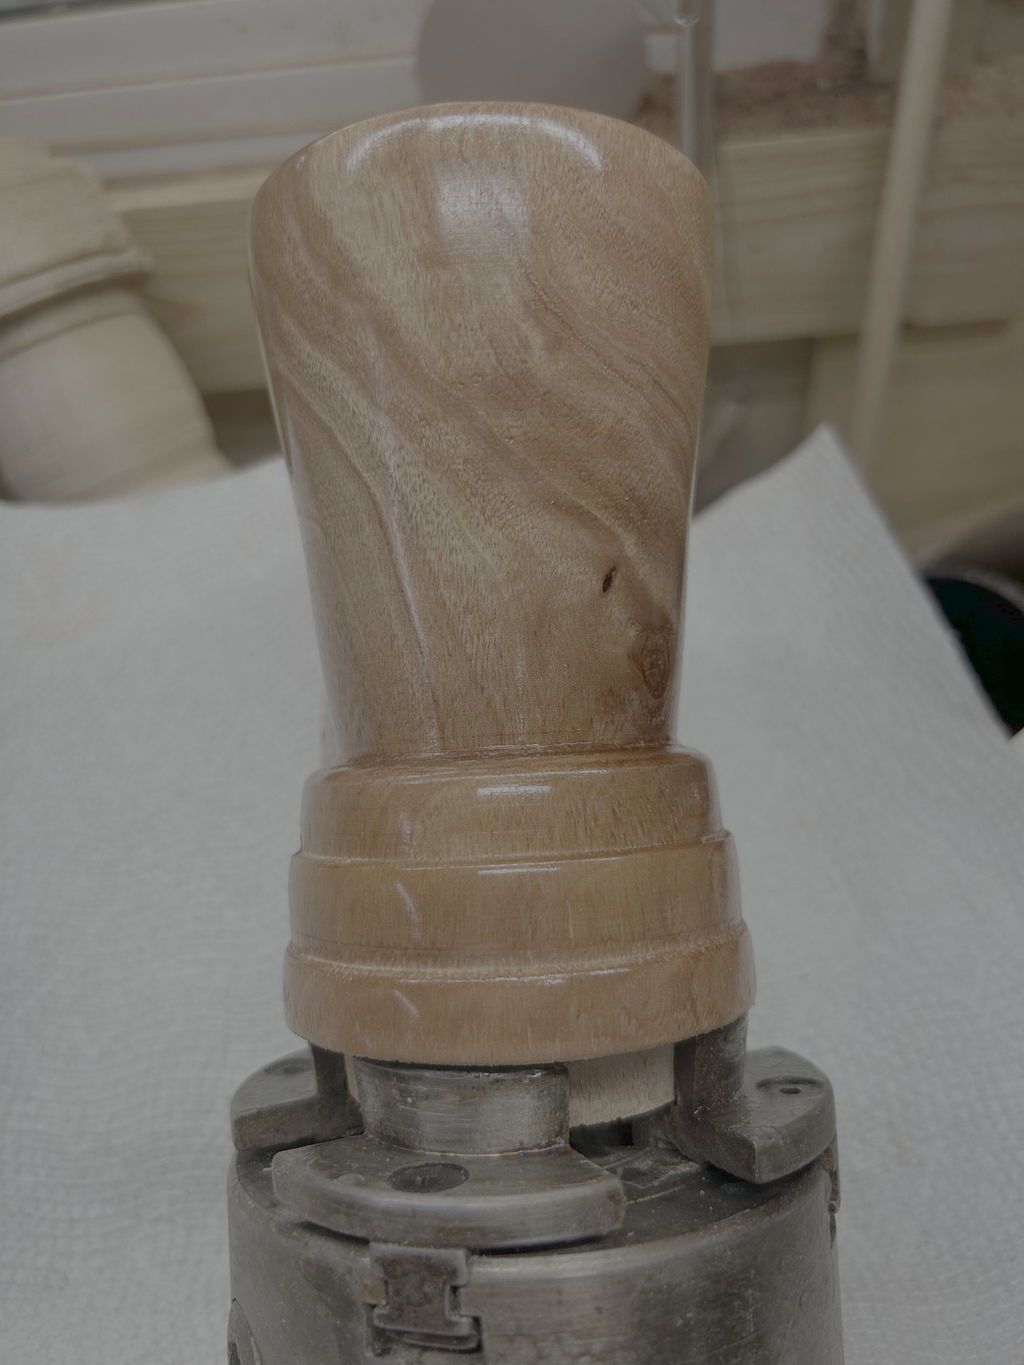
I am very excited by the prospect of a quick cure and ultra durable coating. However, I’ve tried two UC lights so far and am not impressed with the curing.
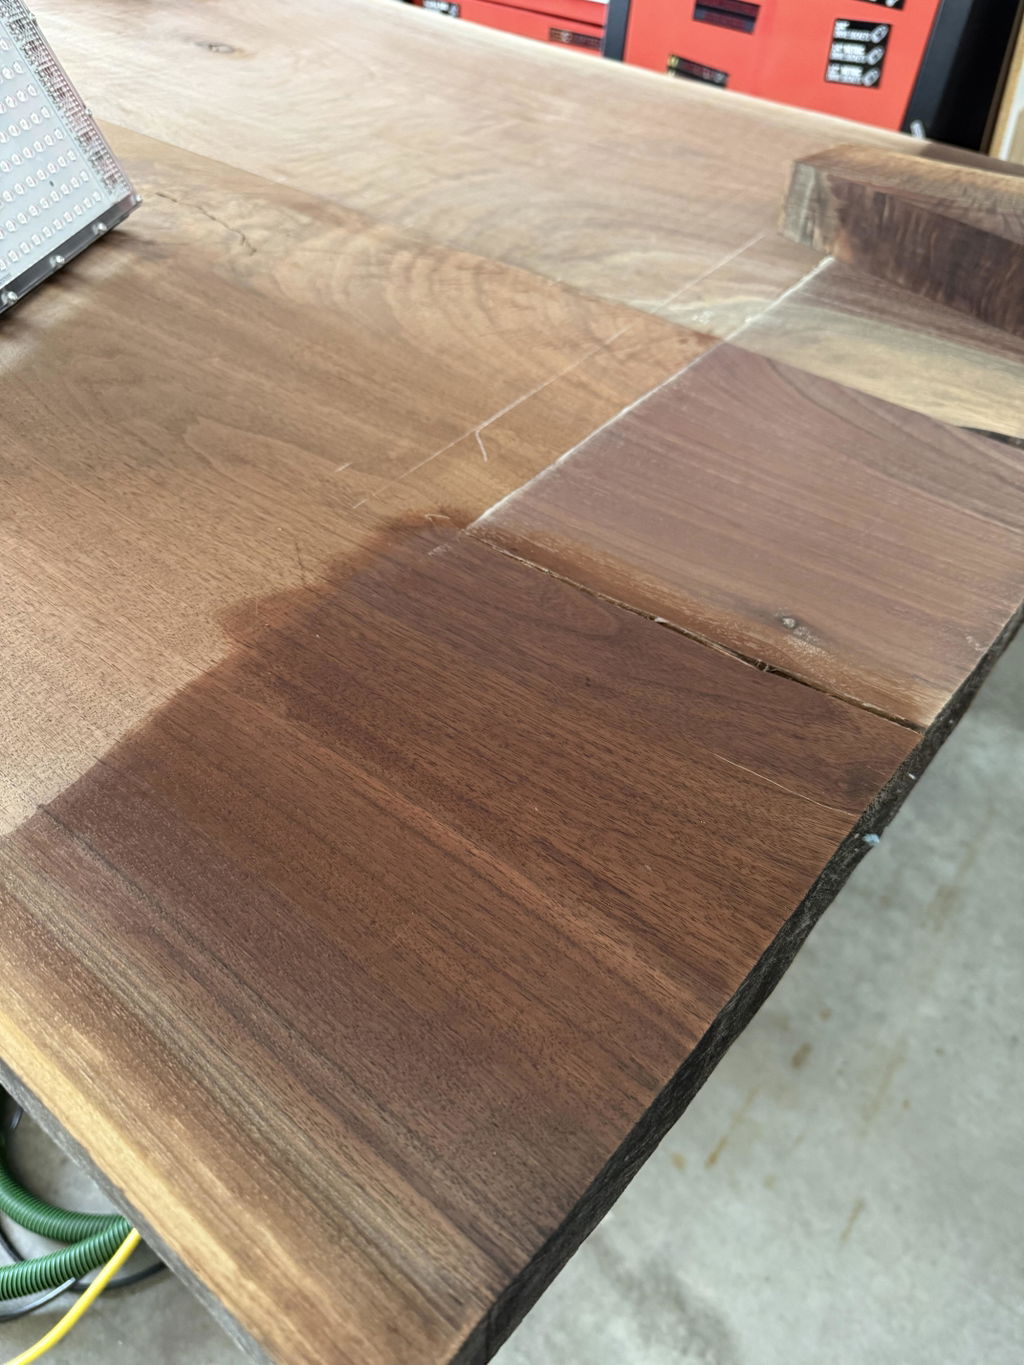
Loved the product. 716 gloss. Easy diy. The only problem is I dont have a darkroom. So I was up really late puting on three layers with a sanding inbetween. I did 3 applications and it was an enjoyable process. I couldn't wait for the resluts which only took 10 min or so. My countertop looks remarkable for a newbie. Im looking forward to enjoying my flashy new countertop. I'd give it 4 1/2 stars but there wasn't a section.for that. Downside is the spendy light. But Ive already got people intrested in it. So I'll have a few more projects and use out of the lights. In the end it was a good investment. Great product. Thanks for guiding me through the procces
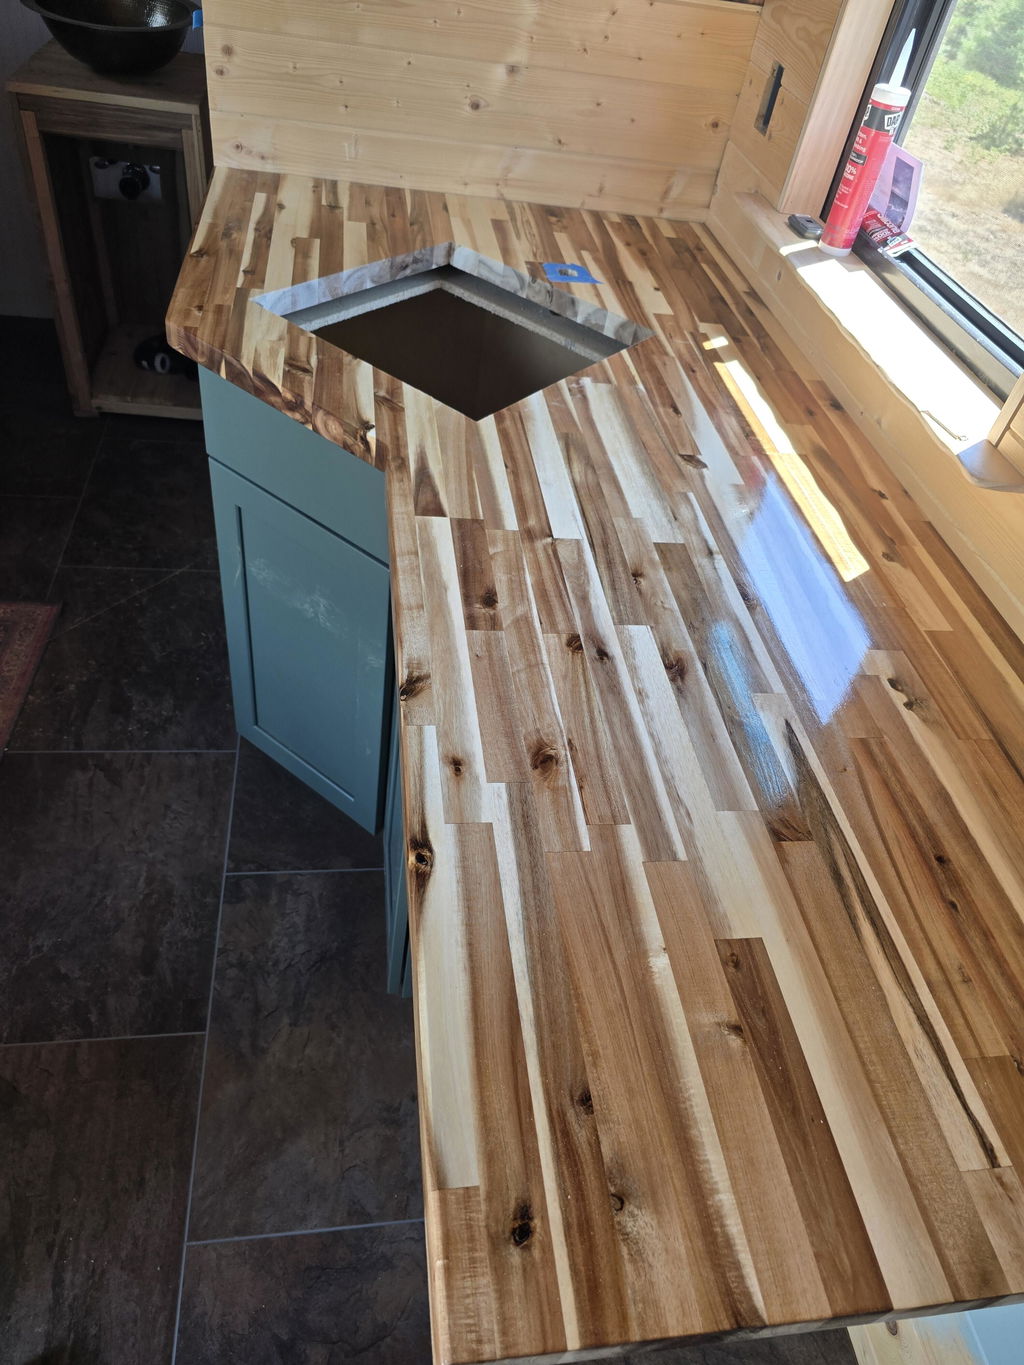
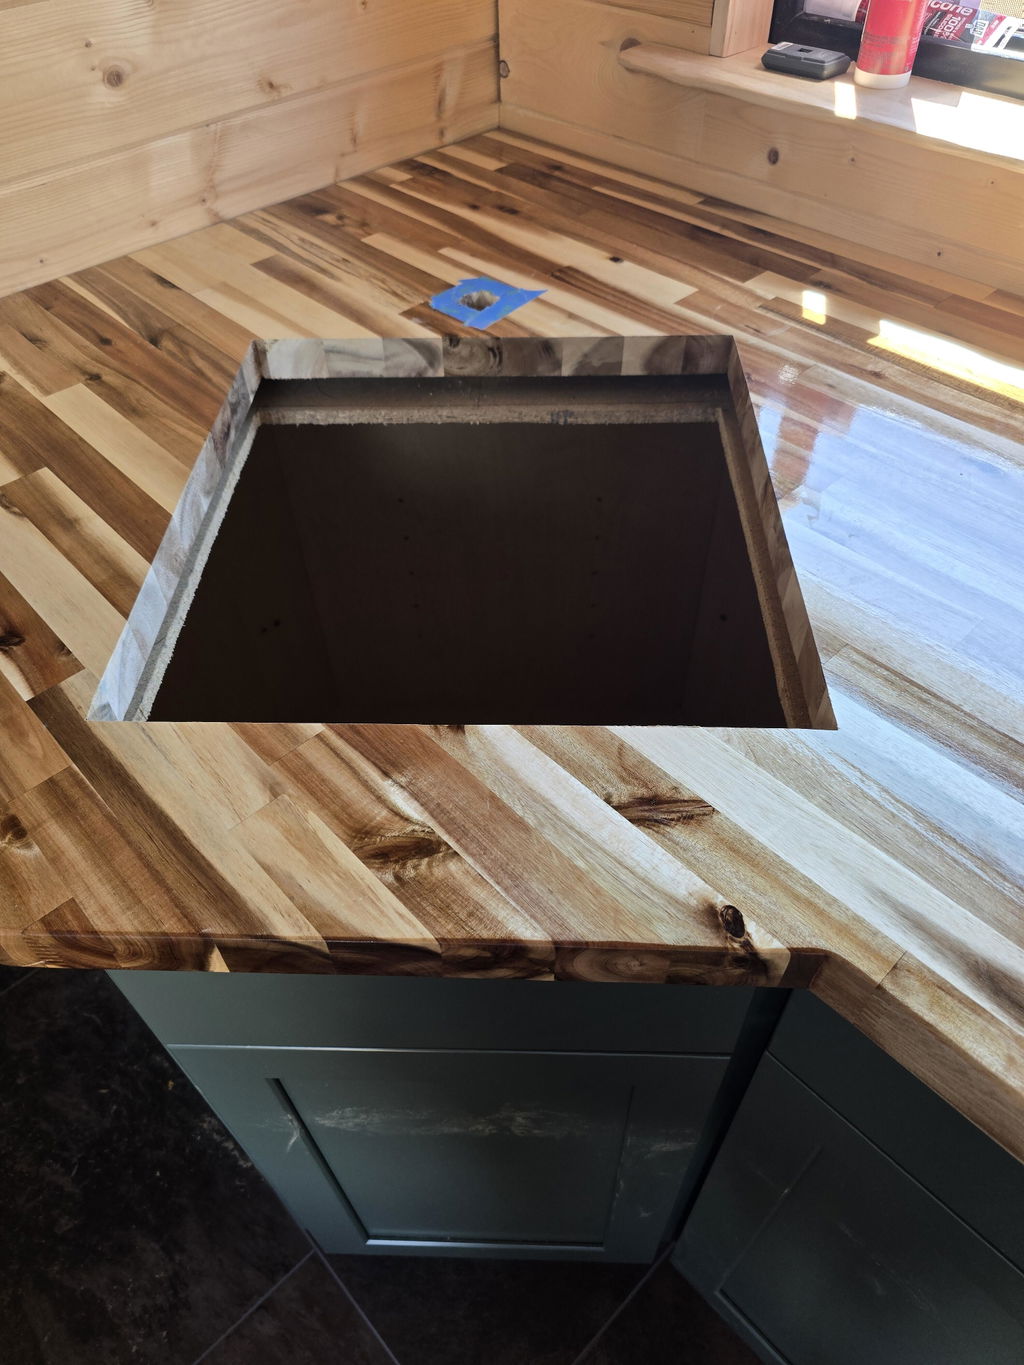
Love this product. Started with the sample kit and played with mixing 700 with 716 to get the finish I liked.watched Pierce’s videos. Very helpful. Also, Pierce was very helpful and responsive to my questions. A++ supplier of a great product.
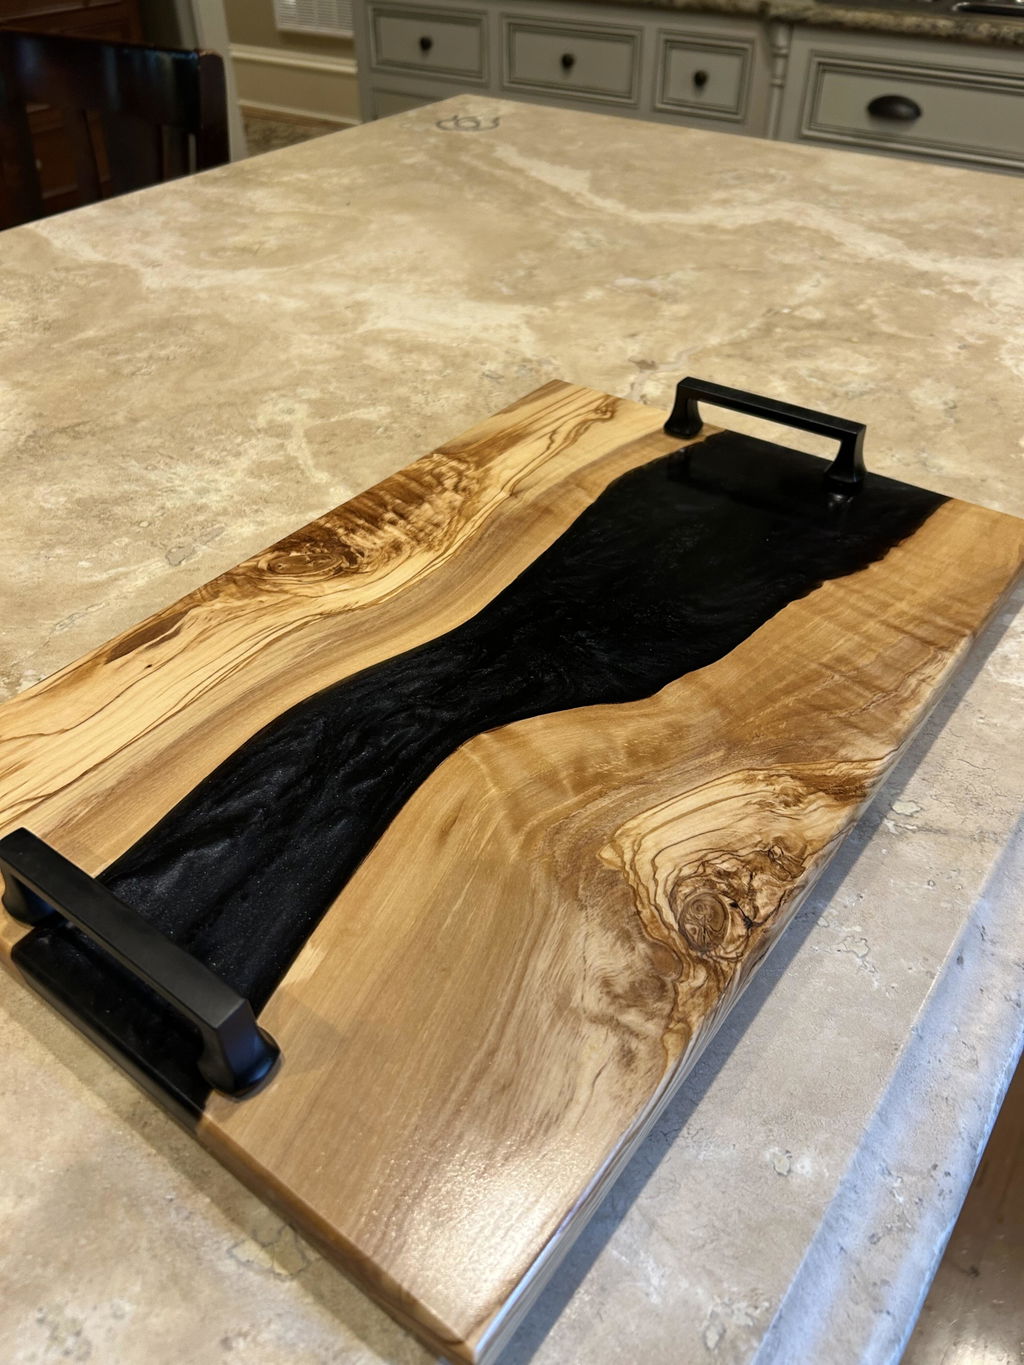
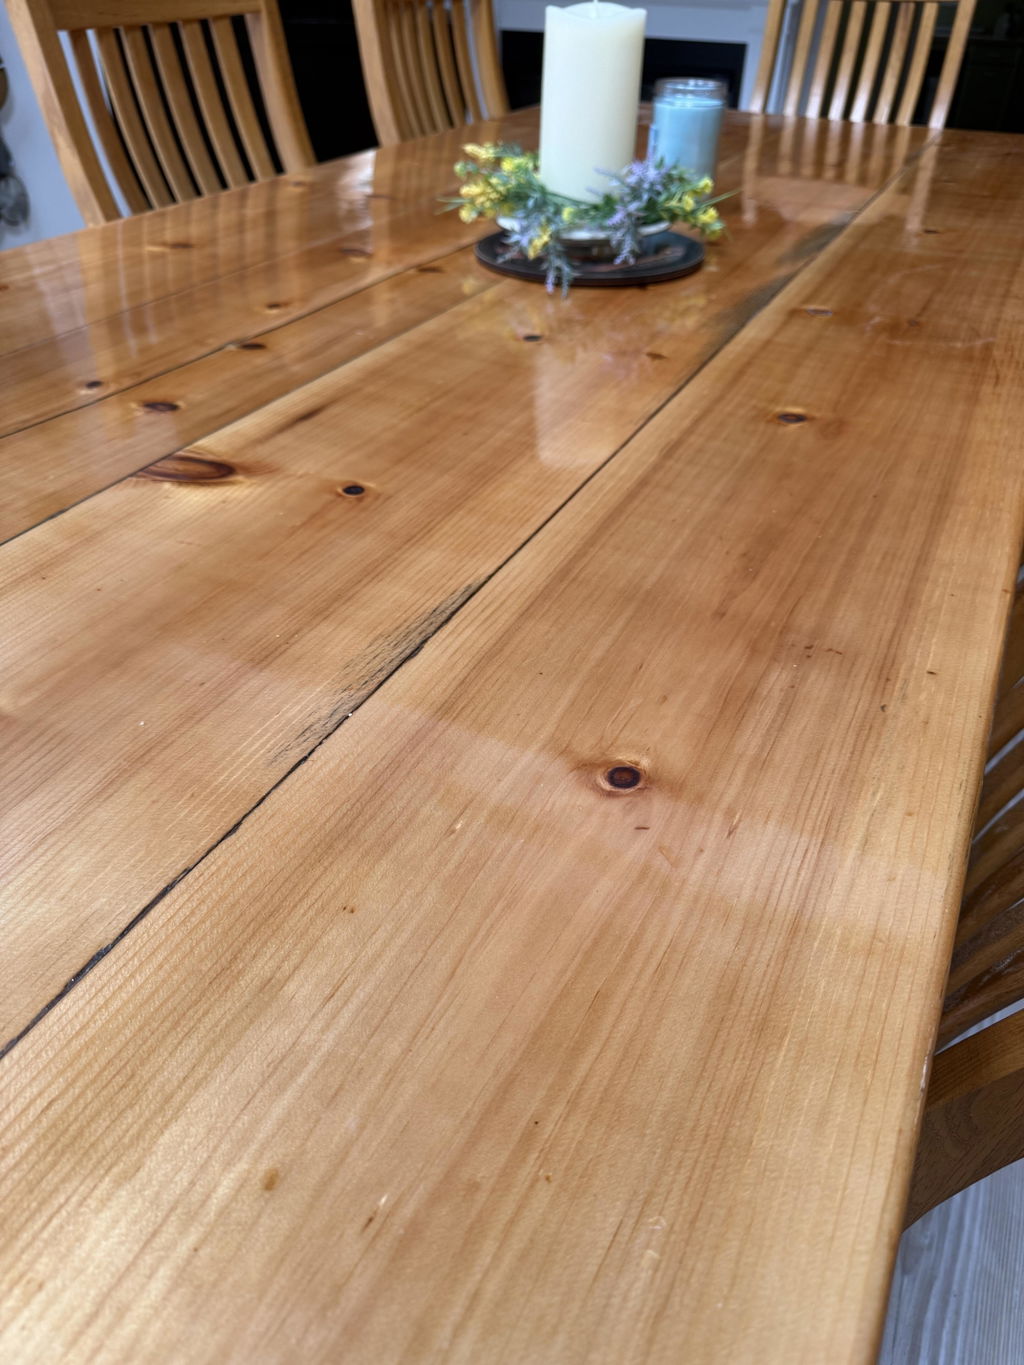
Great product, easy to appt and unbelievable Finnish. Pierce was fantastic in providing help to a fragile novice. Simple easy to apply and uick finish no smell!
Clean Armor FAQs
Why is Clean Armor so Expensive?
Why is Clean Armor more expensive than traditional finishes?
While the initial cost of Clean Armor may seem higher, it's important to consider the long-term value and efficiency.
Superior Coverage: A single quart of Clean Armor covers a generous 400 square feet at 1 mil, translating to a cost-effective $0.37 per square foot.
100% Solids Technology: Unlike traditional solvent-based finishes that are only 30% solids (meaning 70% evaporates), Clean Armor is 100% solids. Every drop you apply stays on the surface, maximizing efficiency and minimizing waste.
Time is Money: Let's not forget the value of your time. With Clean Armor's rapid drying time, you can spend less time waiting around and more time enjoying your weekend.
Payment
We accept all major credit cards. For industrial customers, ACH and Wire options are available.
Shipping
Sample packs ship via UPS 2 Day Express to get the samples in your hands quickly!
UV Curing Lights ship Express Ground and is free. It generally takes 2-3 days to receive them.
All other orders are shipped via UPS Ground within 5 days of receiving payment. We ship Monday through Thursday only. You will be emailed a tracking number once your order has been picked up by UPS. We only ship within the USA
Returns
Since this is a light sensitive finish, we cannot accept any returns. We offer starter kits that are sample sized so that you can try the product before you commit to a larger order. If you are interested in trying out the product, check out our Sample Kit
For UV Lights that are received and defective, please reach out to Orders@litendone.com for help.
Sample Packs are non-returnable. They are designed to only test the products before you purchase.
Cancelation of order
Orders can be canceled before shipping. A 25% restocking fee will be applied. If the order has shipped, we cannot accept the return.
Why wont my finish flatten out?
Most likely there are two causes. I would suggest adding 10-20% of a thinner to your finish such as 90-99% Isopropyl Alcohol. Denatured Alcohol will not work.
The other contributing factor is most likely due to the temperature. Make sure your finish and project are both above 70 degrees. These are the most common reasons Clean Armor is not laying flat after application.
Since Clean Armor has zero VOC's, you might want to consider sanding and doing all of the dusty work out in your shop or garage, and bring in your ready-to-finish piece to a nice warm room for finishing.
If moving the piece is not optional, another trick I have used is to place the bottle of Clean Armor in some hot water to get the finish to flow better.
How do I eliminate "fisheyes" from my finish?
It is imperative that when spraying Clean Armor, you use conditioned air from your compressor to your gun. This can be achieved with a water/ oil separator or an refrigerated air dryer for larger shops. The Fisheye in your finish is coming from contaminants in your gun or the air.
For the home shop or smaller manufacturer, after you have installed a water collector on your line, you can flush out your existing hoses with 99% isopropyl alcohol to remove any traces of moisture from the lines.
What is the difference between the 700 and 757 finishes?
When in doubt, order the 700. The 757 is quite a bit thicker and is meant to be applied in an industrial setting with dedicated application equipment. When ordering Clean Armor for the first time, I made the same mistake of ordering the 757 thinking it was more durable because it had the word Commercial in the name. You will have greater success with getting your finish to lay down properly when you order the 700. It is every bit as durable as the 757 with easier application.
Tips for Application
- MOST IMPORTANT TIP: "When you see what you like... shine the light". Do not cure the product until you see the look you want, curing will lock it in place!
- APPLICATION: All sealers and clear topcoats can be brushed, rolled, wiped or sprayed on.
- SPRAYING: It is recommended that you use between a 0.8-1.3 tip and a pressure setting of 16-35 psi. These finishes need to be finely atomized, due to having 100% solids. Fine atomization spray equipment is recommended. Follow the manufacturer’s recommendations for use.
- WIPING: It is recommended to use a stain pad or a lint free cloth when applying by hand. A lint free fine nap roller can be used, but we don’t recommend foam rollers or foam brushes (as they can inject air bubbles into the finish). If you see air bubbles appear, continue to hand wipe (and/or self level) until you achieve a clear appearance.
- THINNING: Can be thinned with IPA (isopropyl alcohol 91-99) up to 20%. Do not use denatured alcohol.
- TEMPERATURE: For best results, Clean Armor finishes should be used at a temperature between 70°-110°F.
- AGITATION: Satin and matte sheens should be shaken weekly to avoid settling.
- SANDING: Between coats, start with a 320 grit or finer. Course, low grit sandpaper doesn’t work well on these finishes.
- SELF LEVELING: These finishes are self leveling. They will stay “open” for as long as you’d like, until you cure them with sunlight or the appropriate LED light .
- CURING: These finishes will not dry on their own. The recommended method of curing is to use one of our professional UV lights indoors. Clean Armor finishes will cure in 2 minutes with the proper wavelength (365-405 nanometers). Our lighting operates at 385nm wavelength and was designed to cure these products. It is important that the entire applied surface sees the light at the same time to ensure proper curing. It is not recommended to cure in sections.
- CURING LIGHT DISTANCE: Adjust the distance of your curing lights to achive a tack-free through-cure at 2 minutues exposure. If you are curing in under 1 minute the lights are too close and can cause accelerated curing of the material which can lead to micro-bubbles or can disturb the look of the applied film. The look or profile of the wet film should be substantially the same after curing at the recommended rate.
- COVERAGE: 1 quart of these finishes will cover 402 sq ft when applied at 1 mil thickness, and 1 gallon will cover 1608 sq ft when applied at 1 mil thickness.
- TESTING: We recommend that you test the application and curing of all Clean Armor products on test pieces, before applying them on a real project piece. Become familiar with how they work, first.
- LONGEVITY: Clean Armor finishes will last up to ½ year in the bottle, with no light exposure. Keep the lid on while you are working! Keep open materials away from indirect sunlight (such as windows and open doors).
- LIGHTING TEST: To test the existing lighting in your workspace, place 1 inch of coating in a clear, plastic cup and sit it in the middle of your workspace. Check it every 10-20 minutes to see if the coating has cured. This will tell you if your current lighting will prematurely cure these finishes as you are working on a project.
- PPE: Wear the same PPE as you currently wear when using a solvent system. Always wear nitrile gloves.
How much does Clean Armor wood finish cost?
Clean Armor Wood Finish Costs $130 per Quart for most products.
Is Clean Armor wood finish food safe?
No, Clean Armor has not been evaluated for food contact.
What is Clean Armor finish?
Clean Armor finish is a clear coating for wood that cures wtih UV light.
What is the difference between Clean Armor 700 and 757?
Clean Armor 700 is easier to apply for most wood workers. 757 was designed for industrial use including machine application such as roll coating and automatic spray finish lines.
What is the shelf life of Clean Armor?
The shelf life of Clean Armor is 6 months.
Where to buy Clean Armor Wood Finish?
The distributor Lite n Done is your best resource for buying Clean Armor and professional UV Curing Lights.
Clean Armor Wood Finish on Amazon?
You can only purchase our Professional Curing lights on Amazon at this time. We do offer a small sample kit on Amazon that only includes our 716 product.